

Author Archives: admin
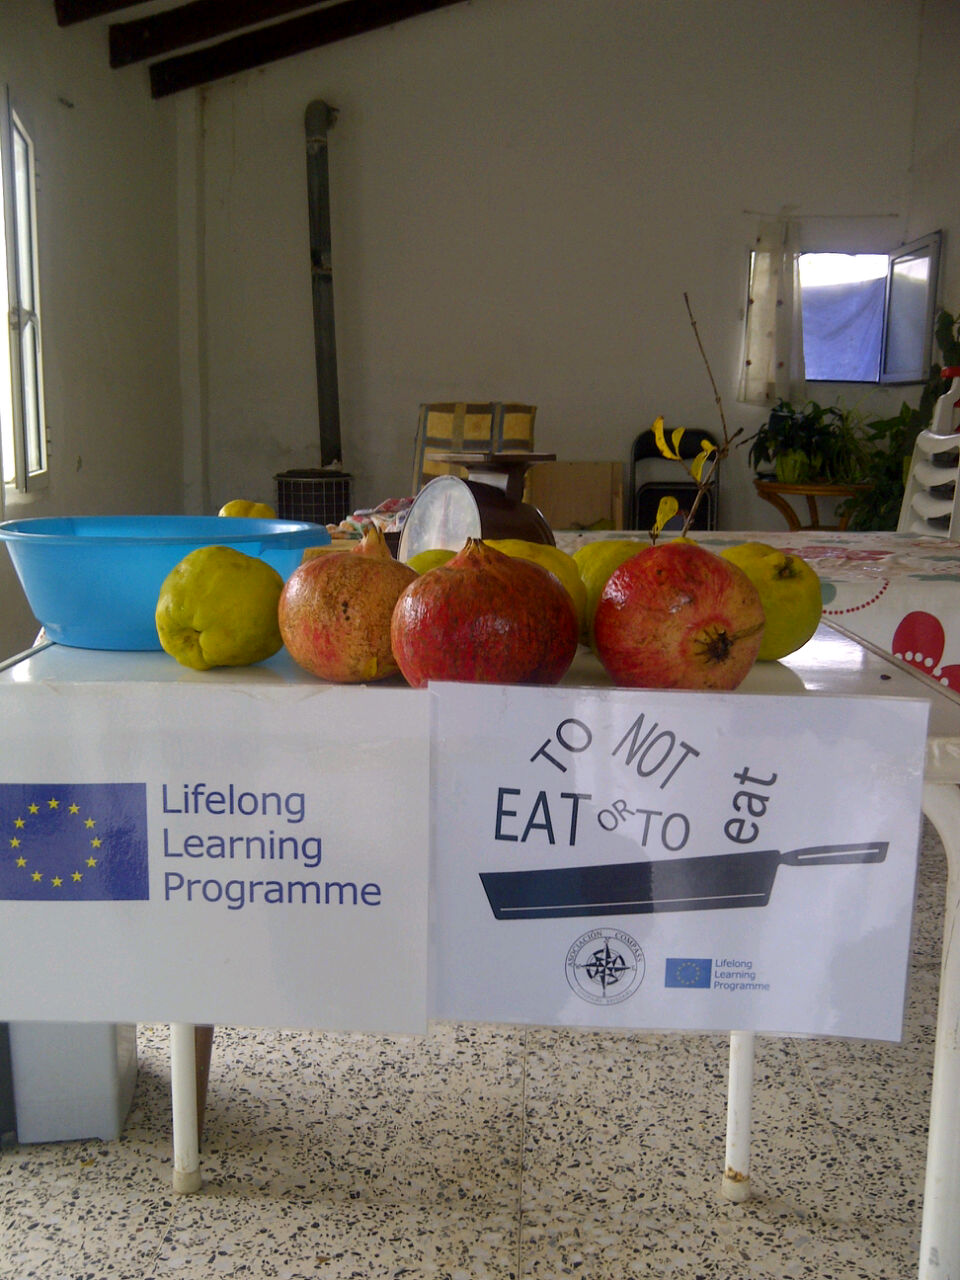
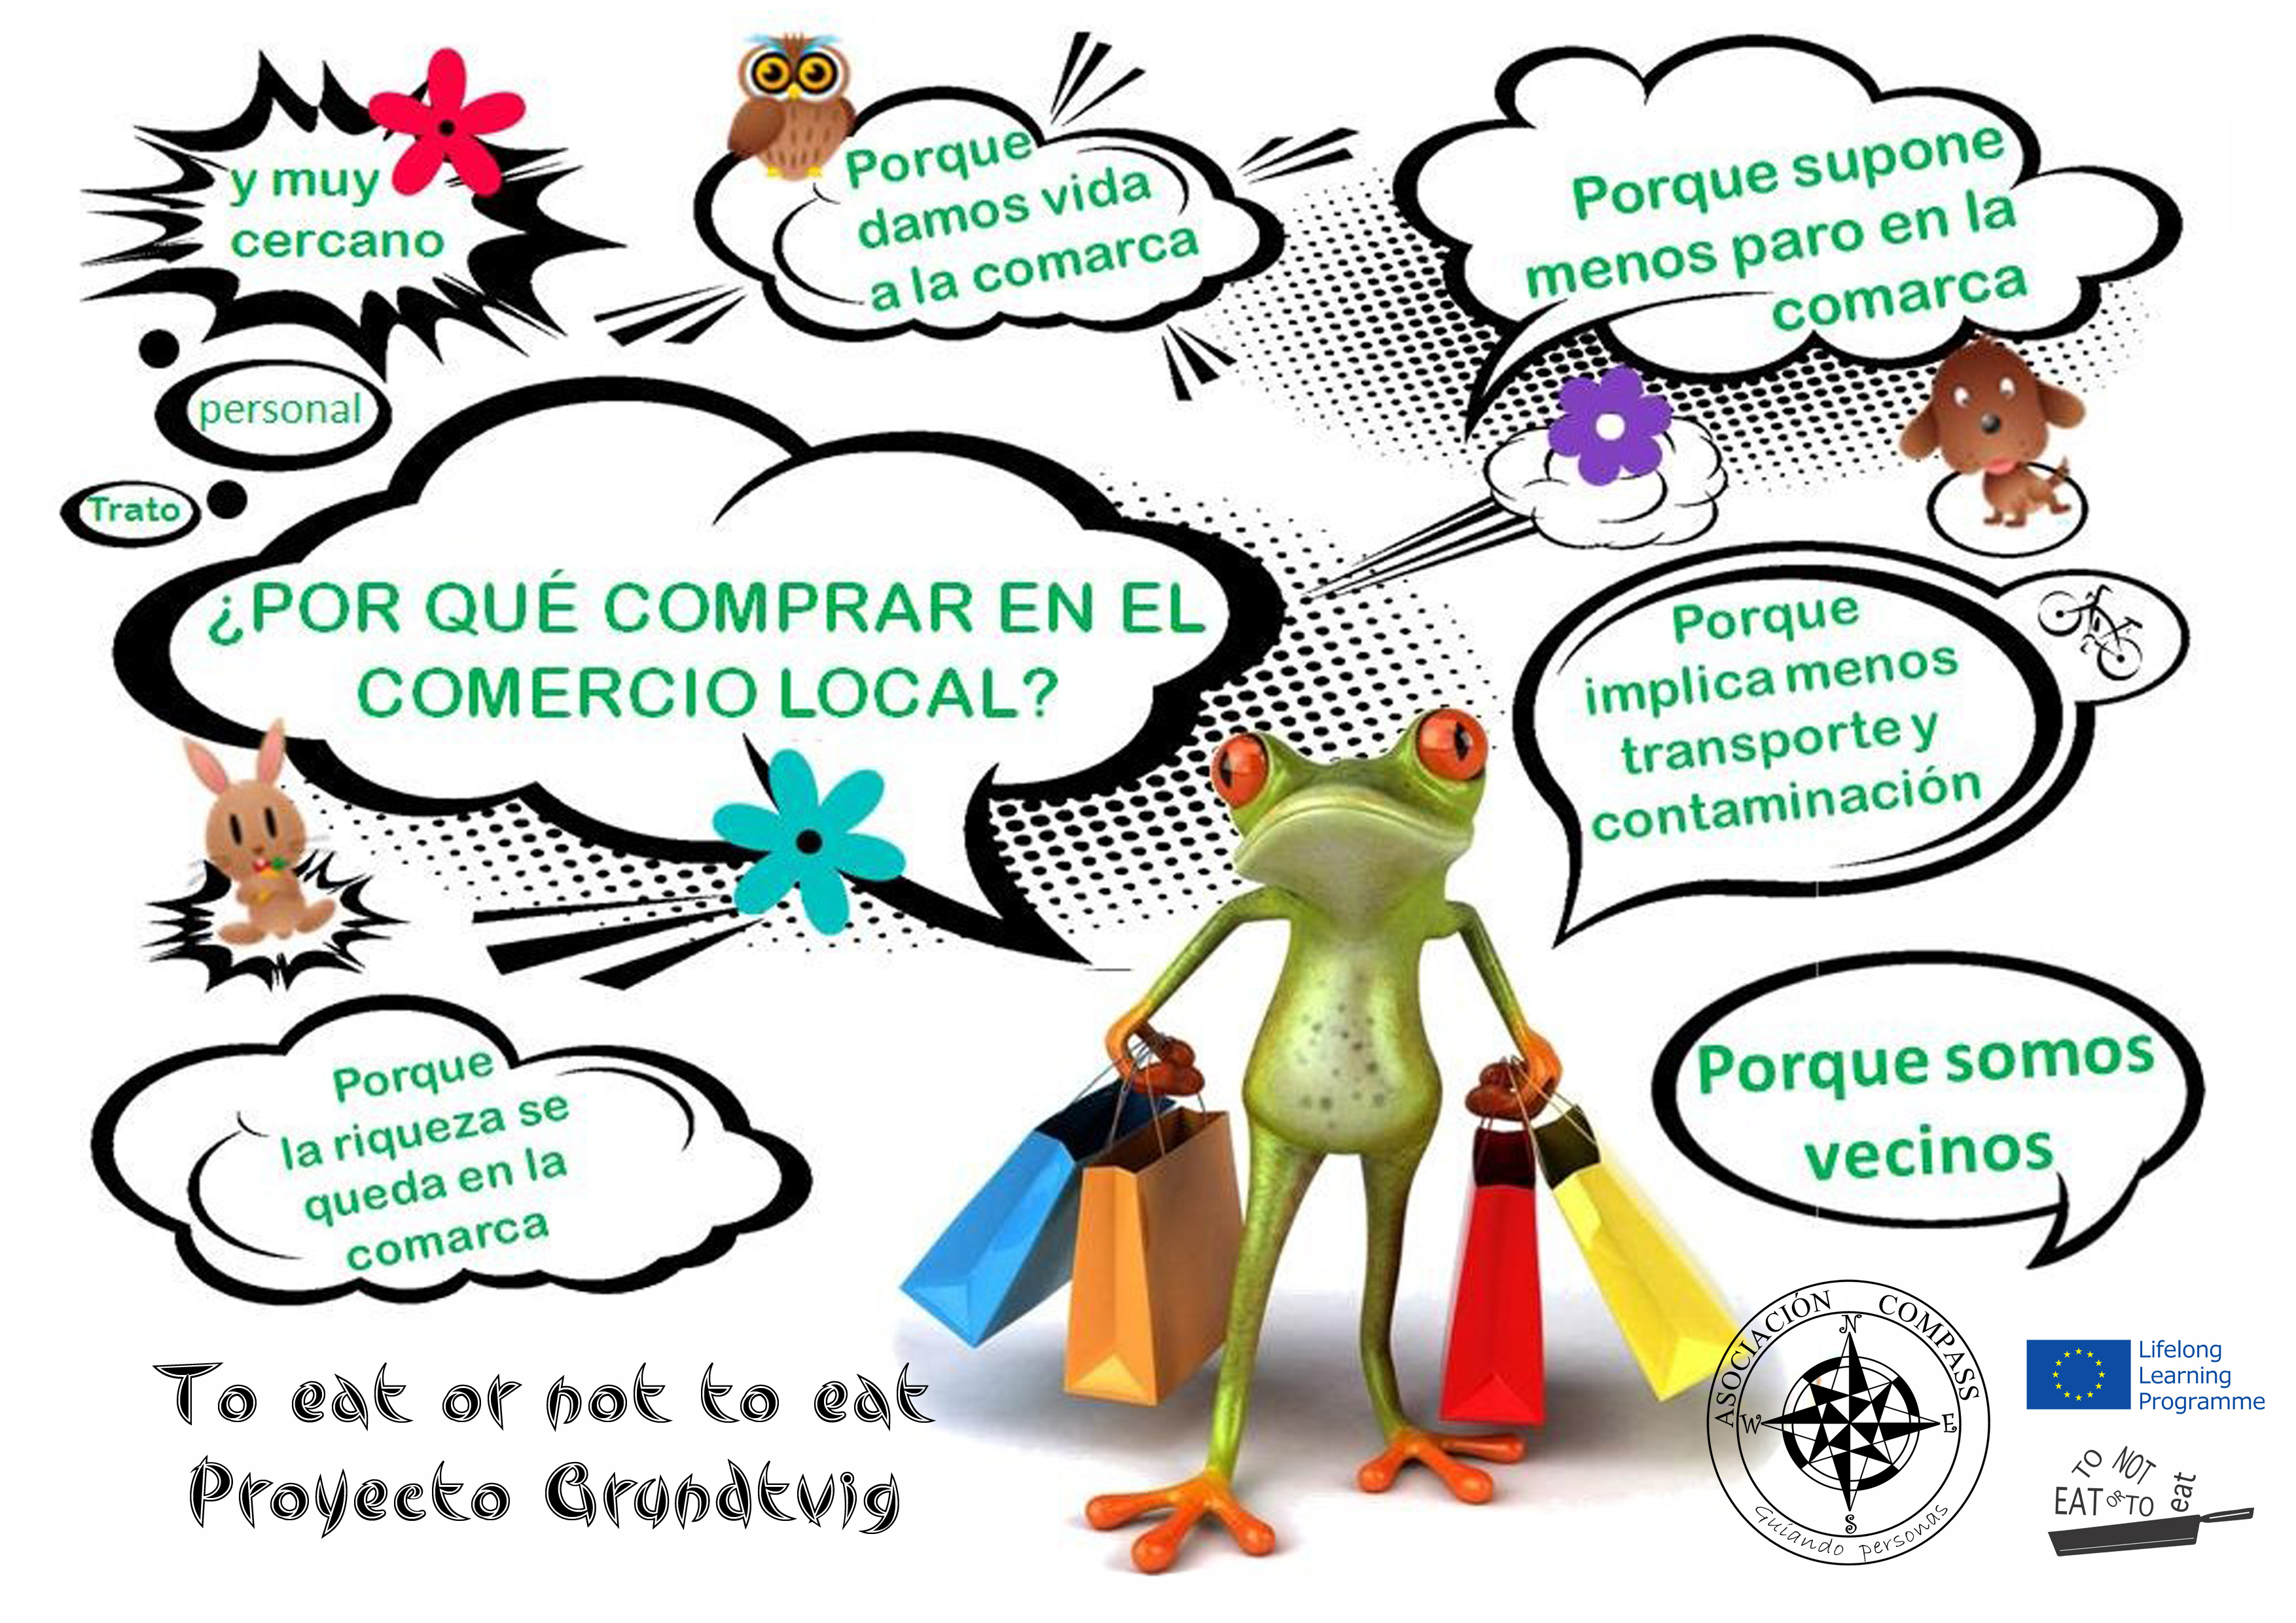
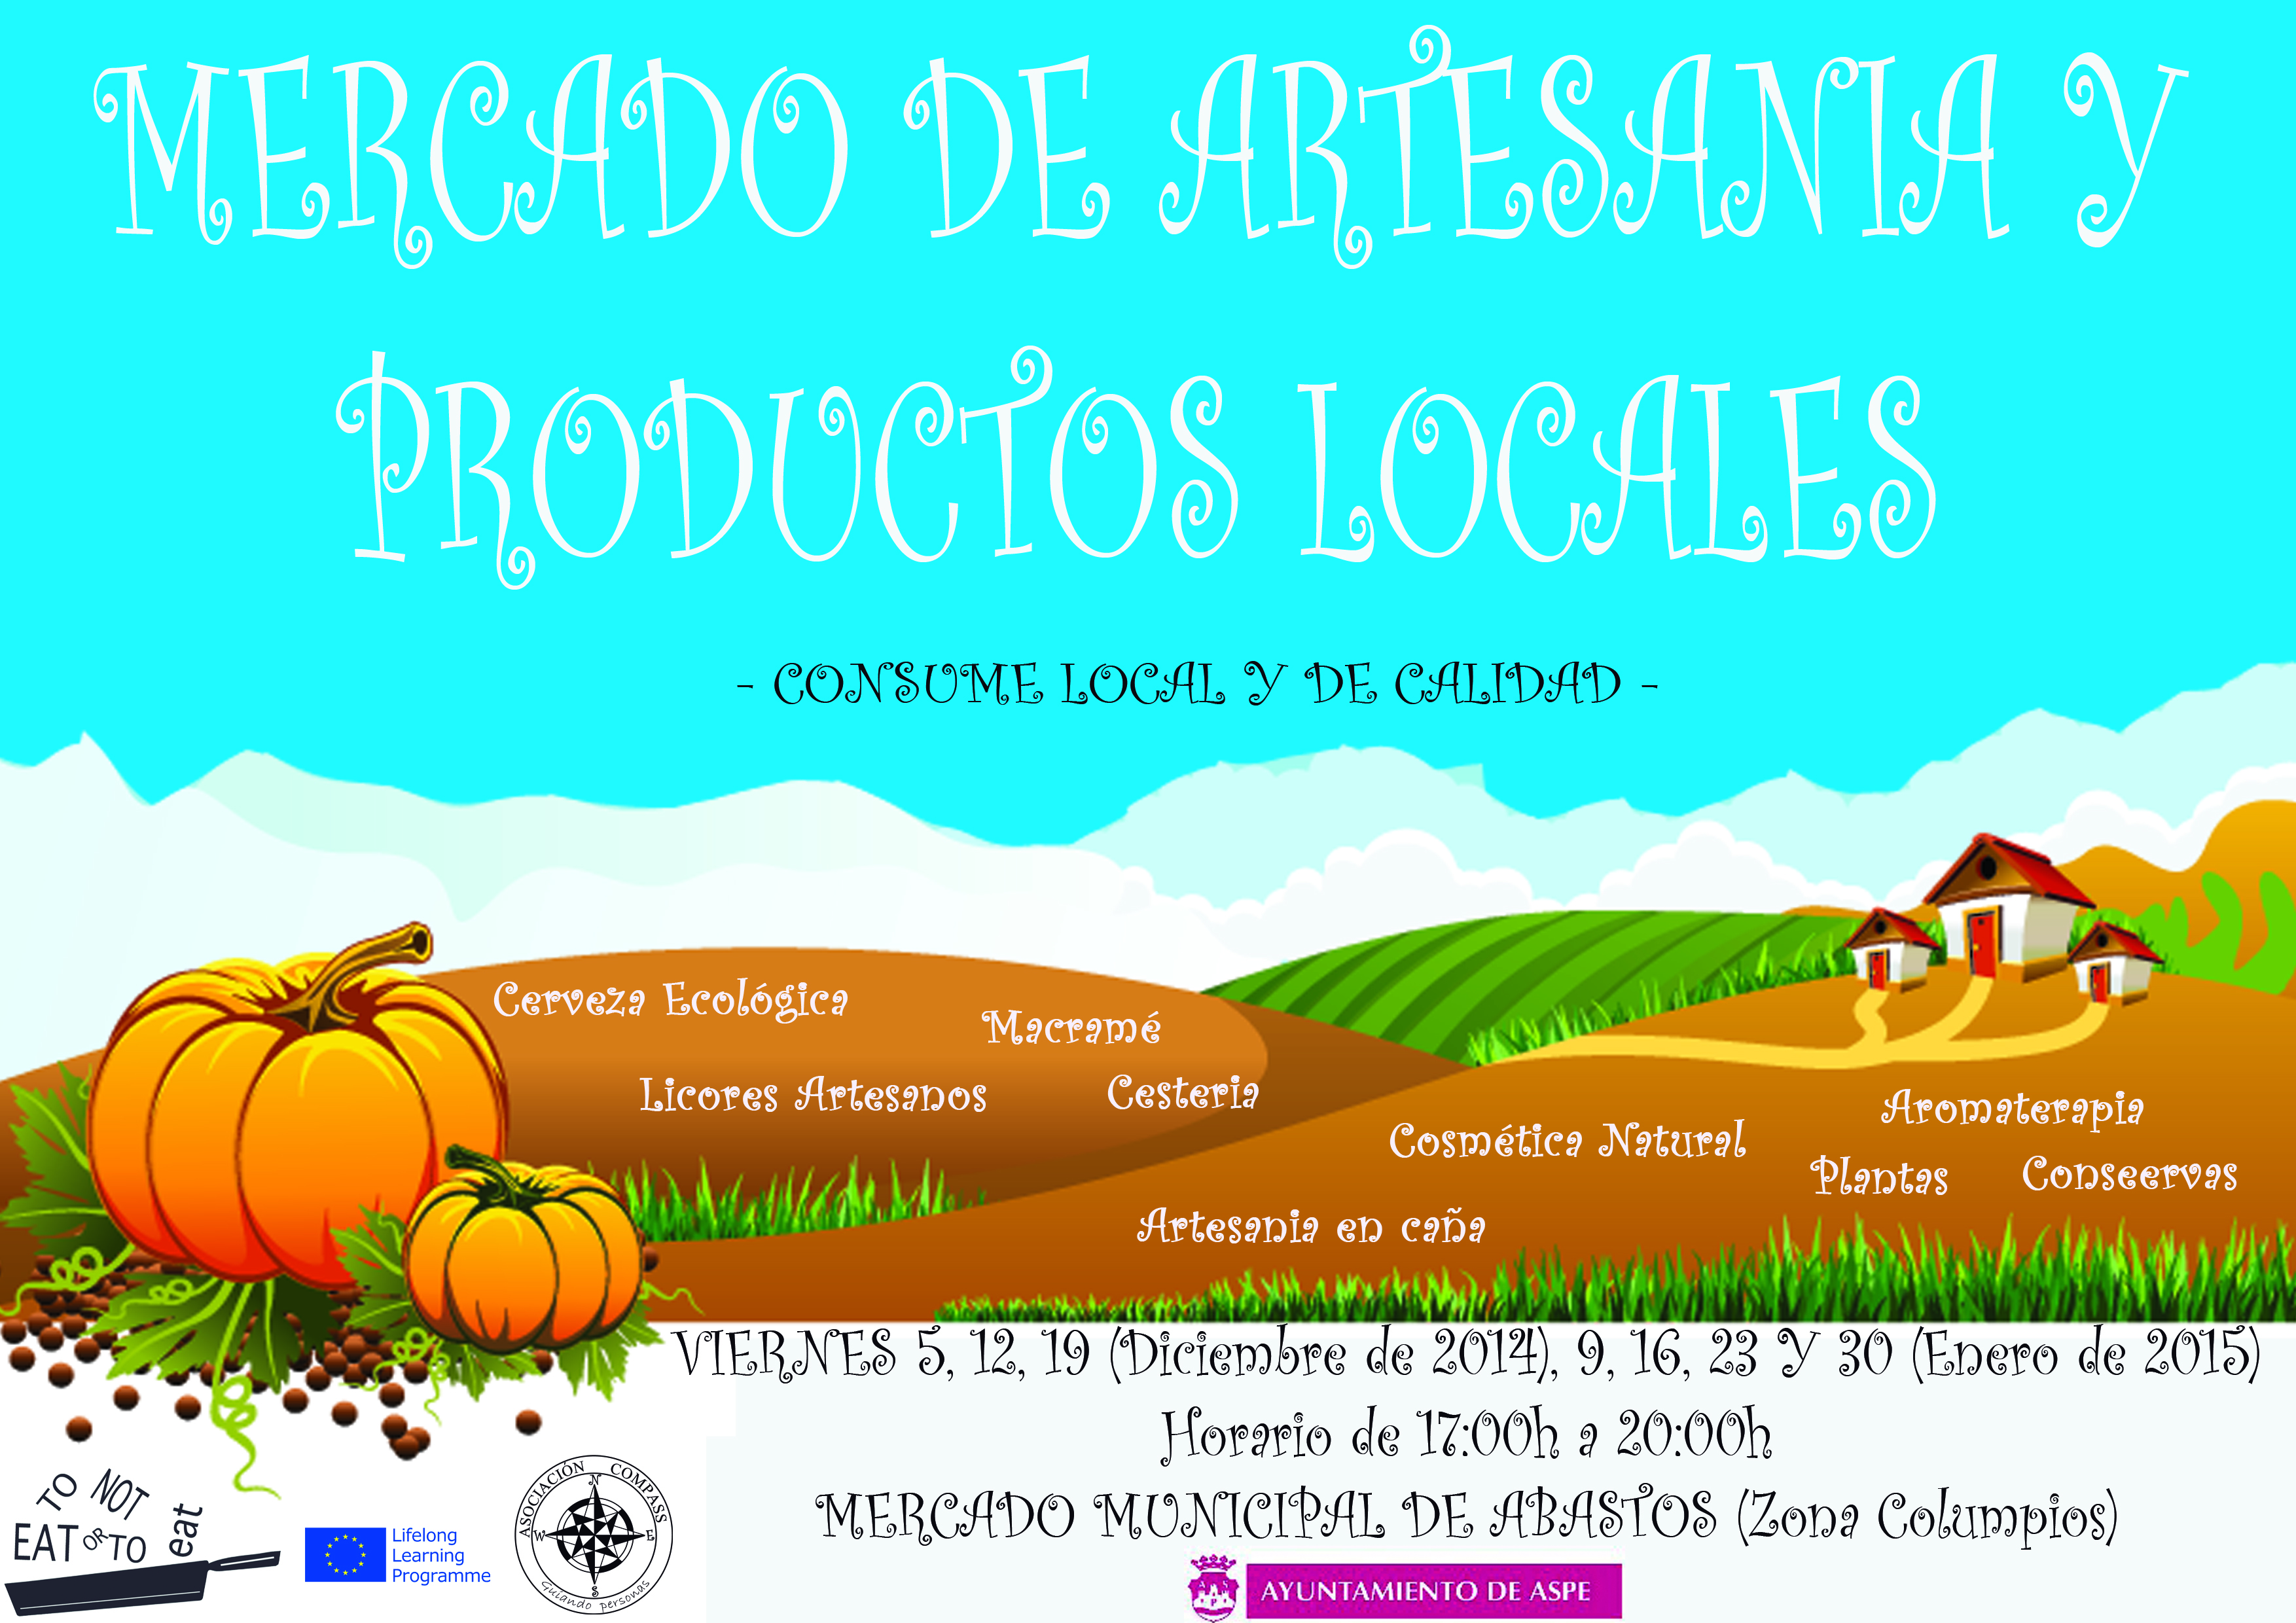
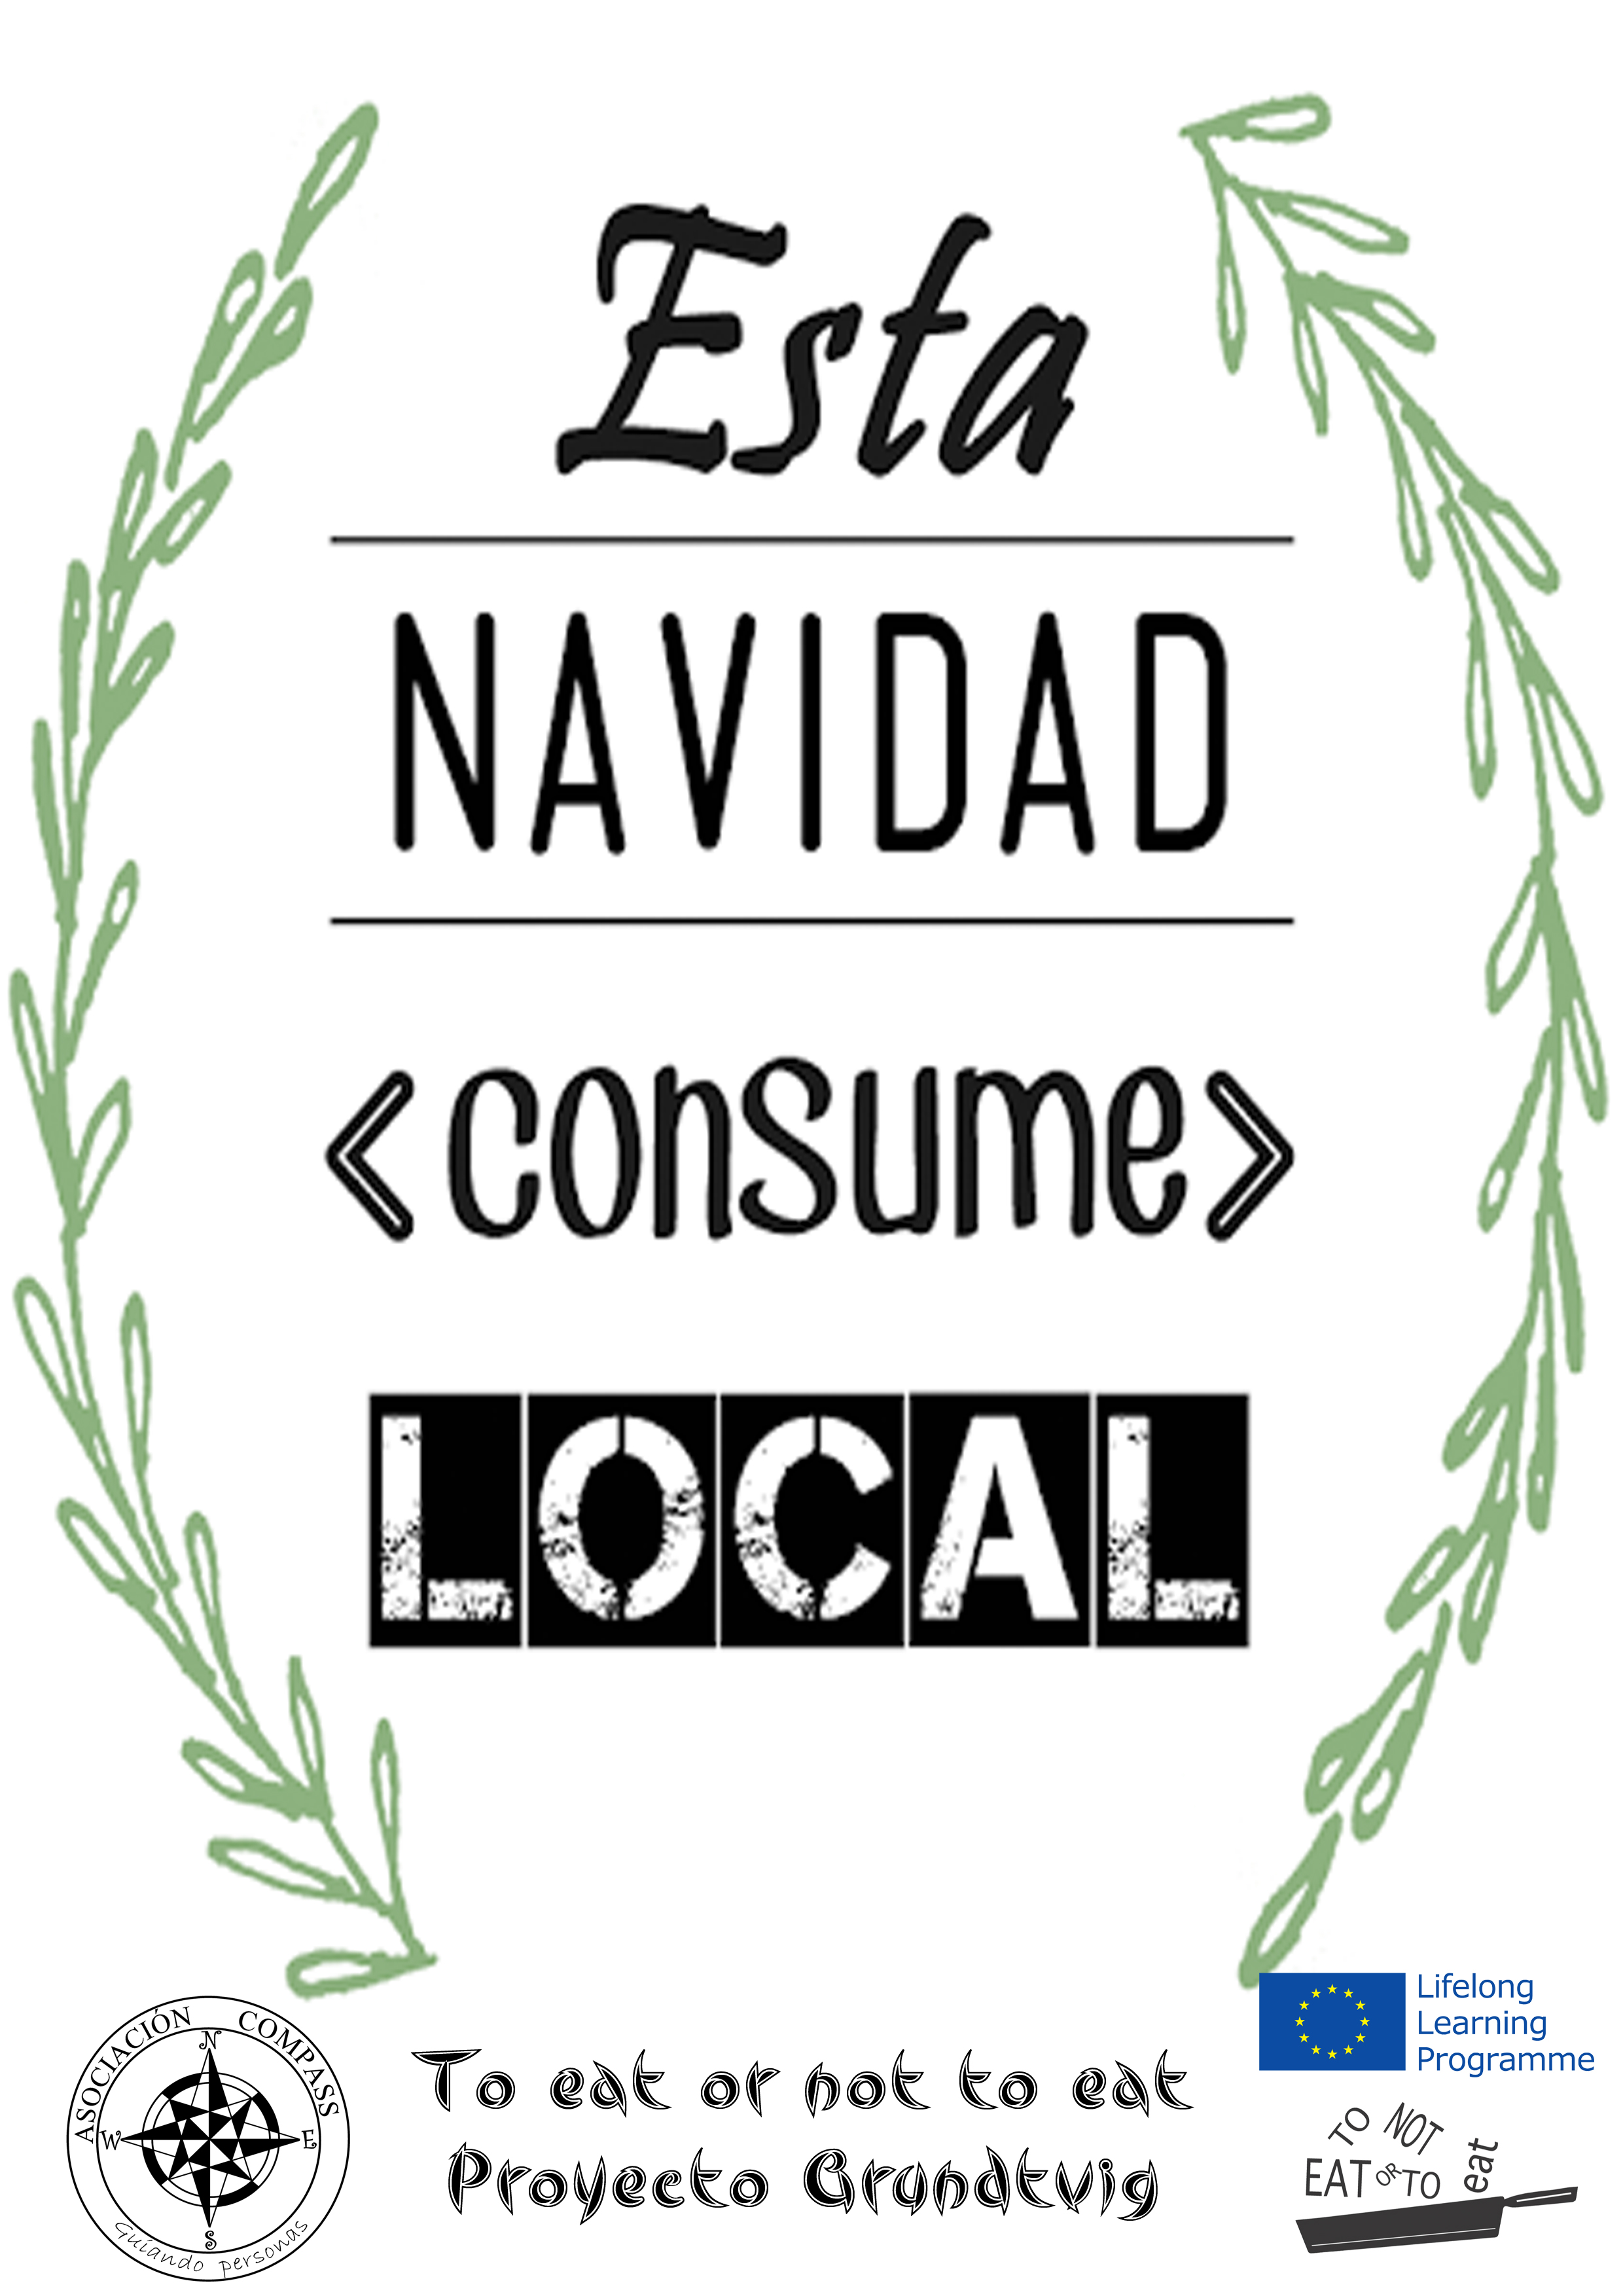
POSTER PARA PROMOCIONAR EL CONSUMO DE PRODUCTOS LOCALES – To eat or not to eat-
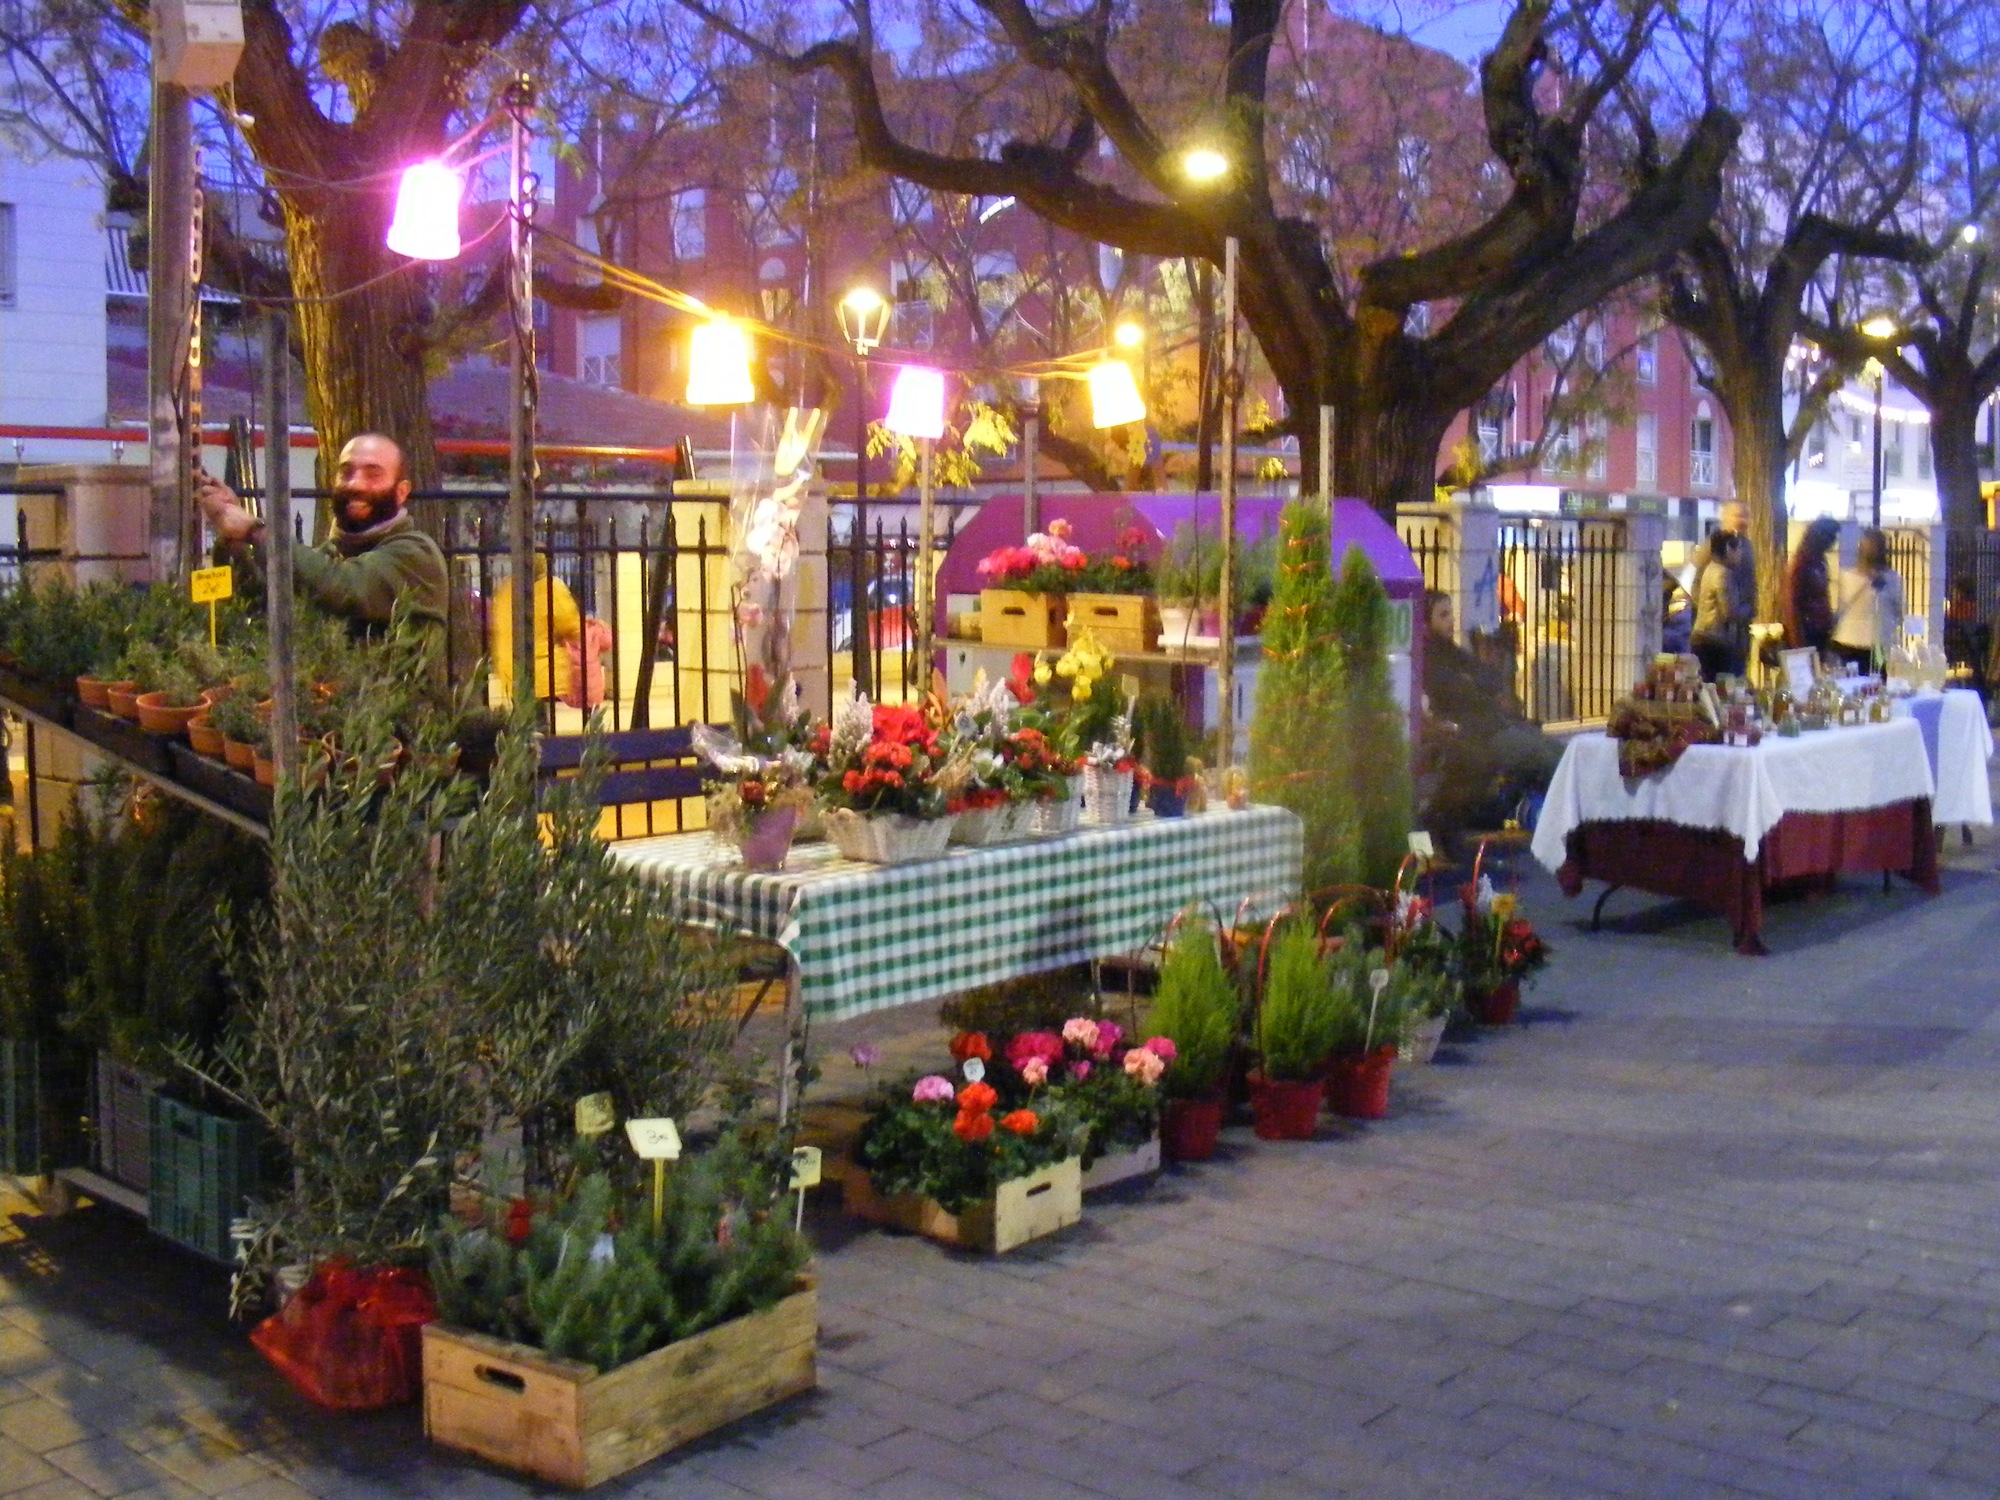
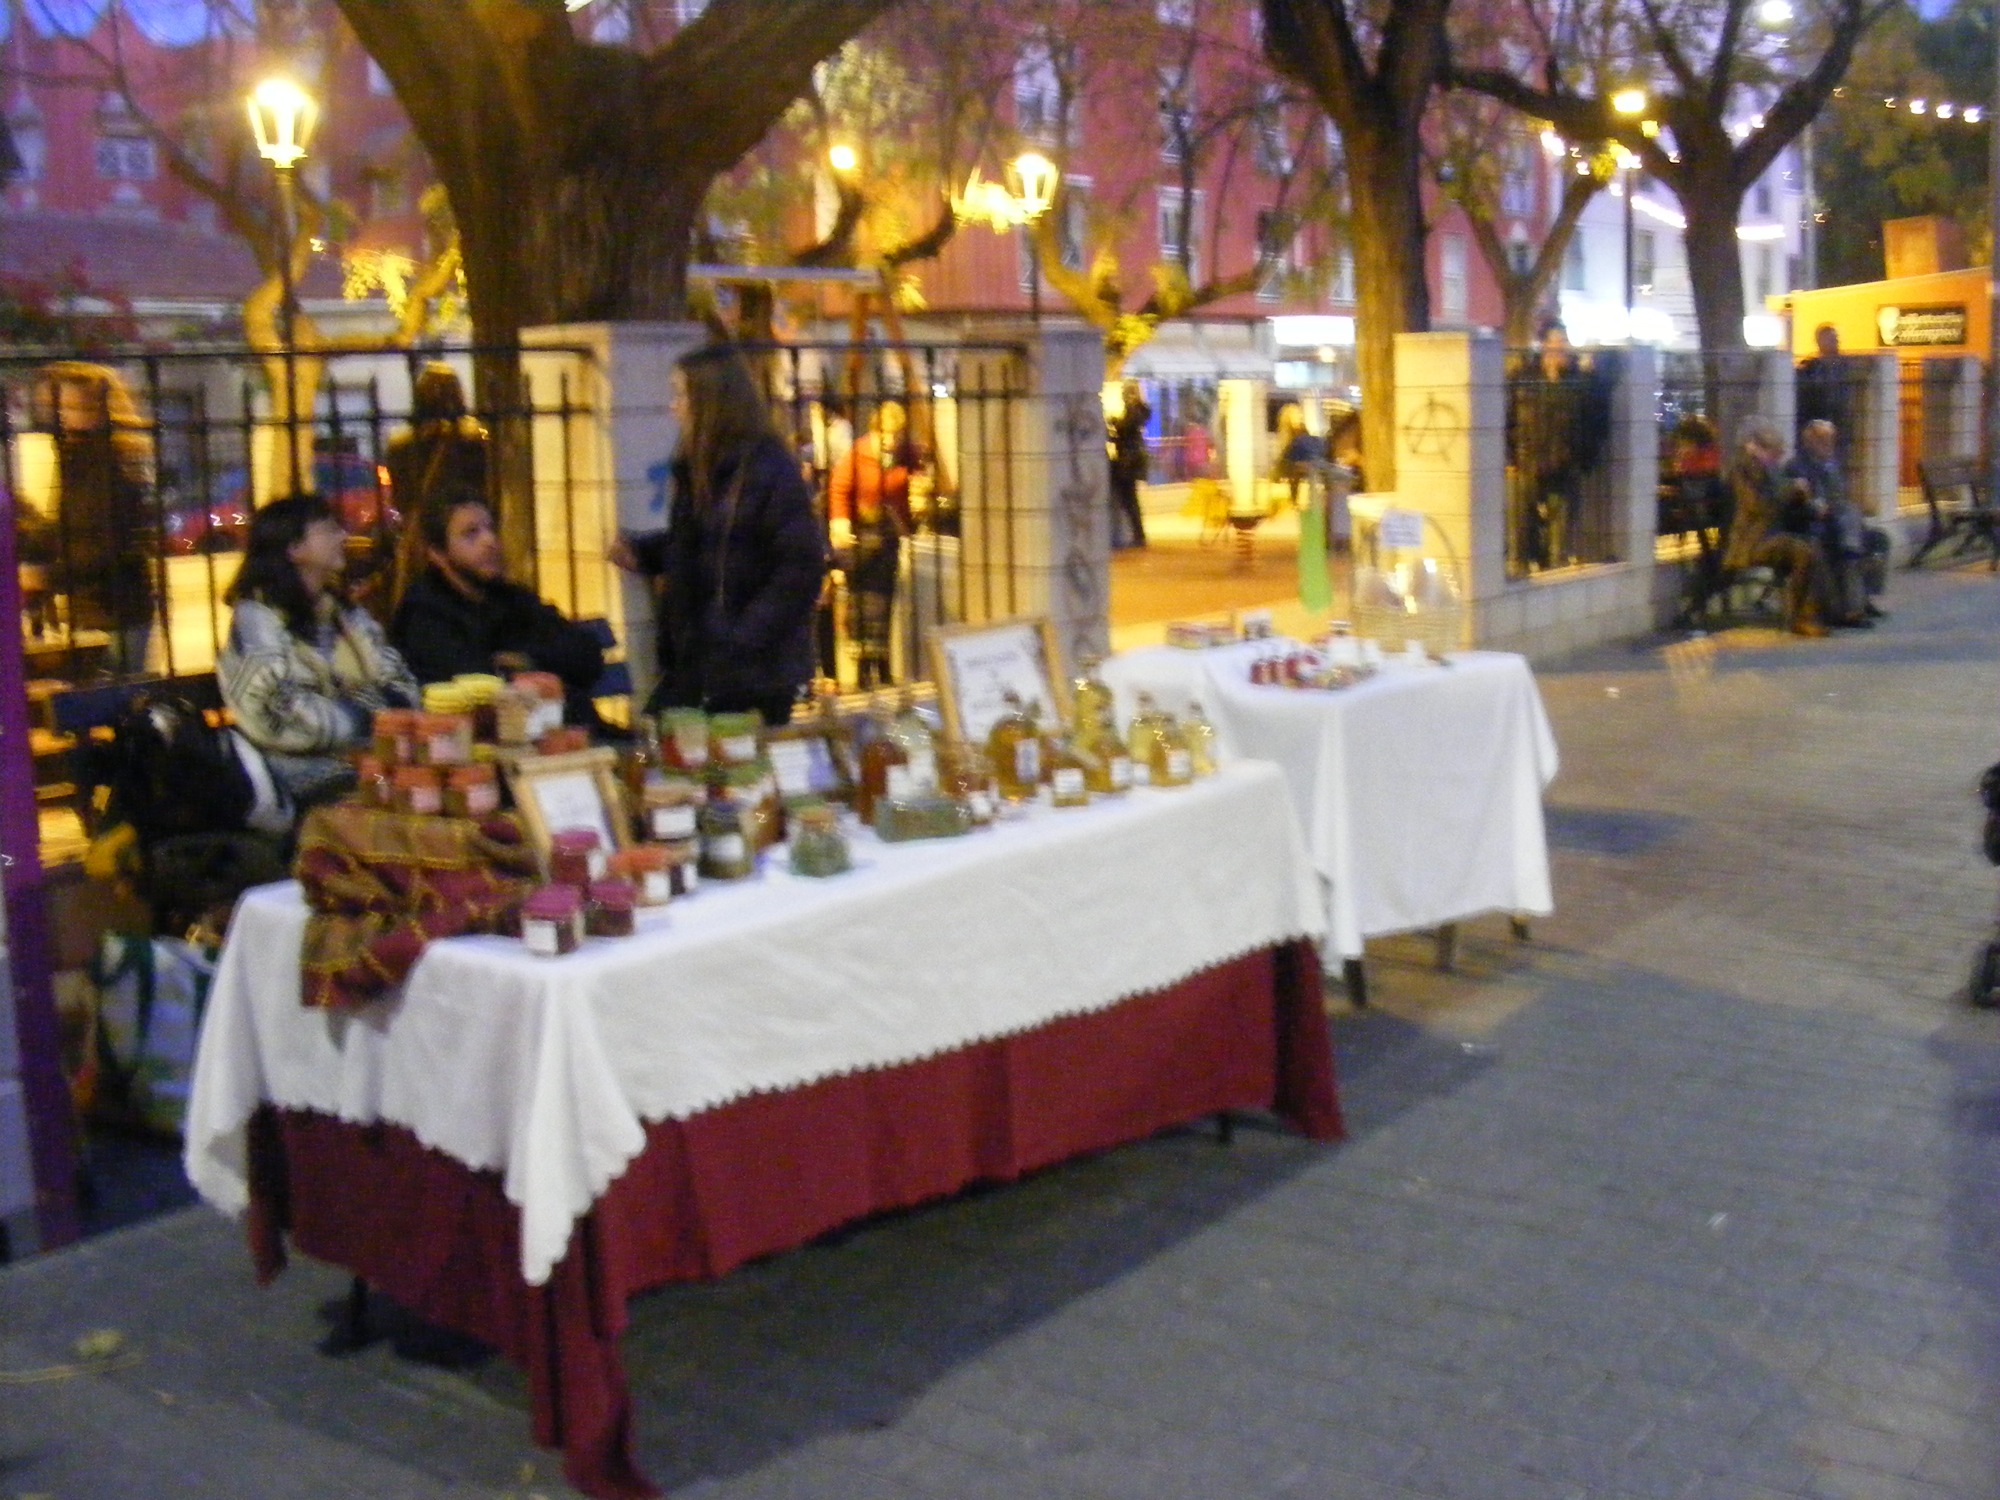
FOTOS MERCADOS PRODUCTOS LOCALES
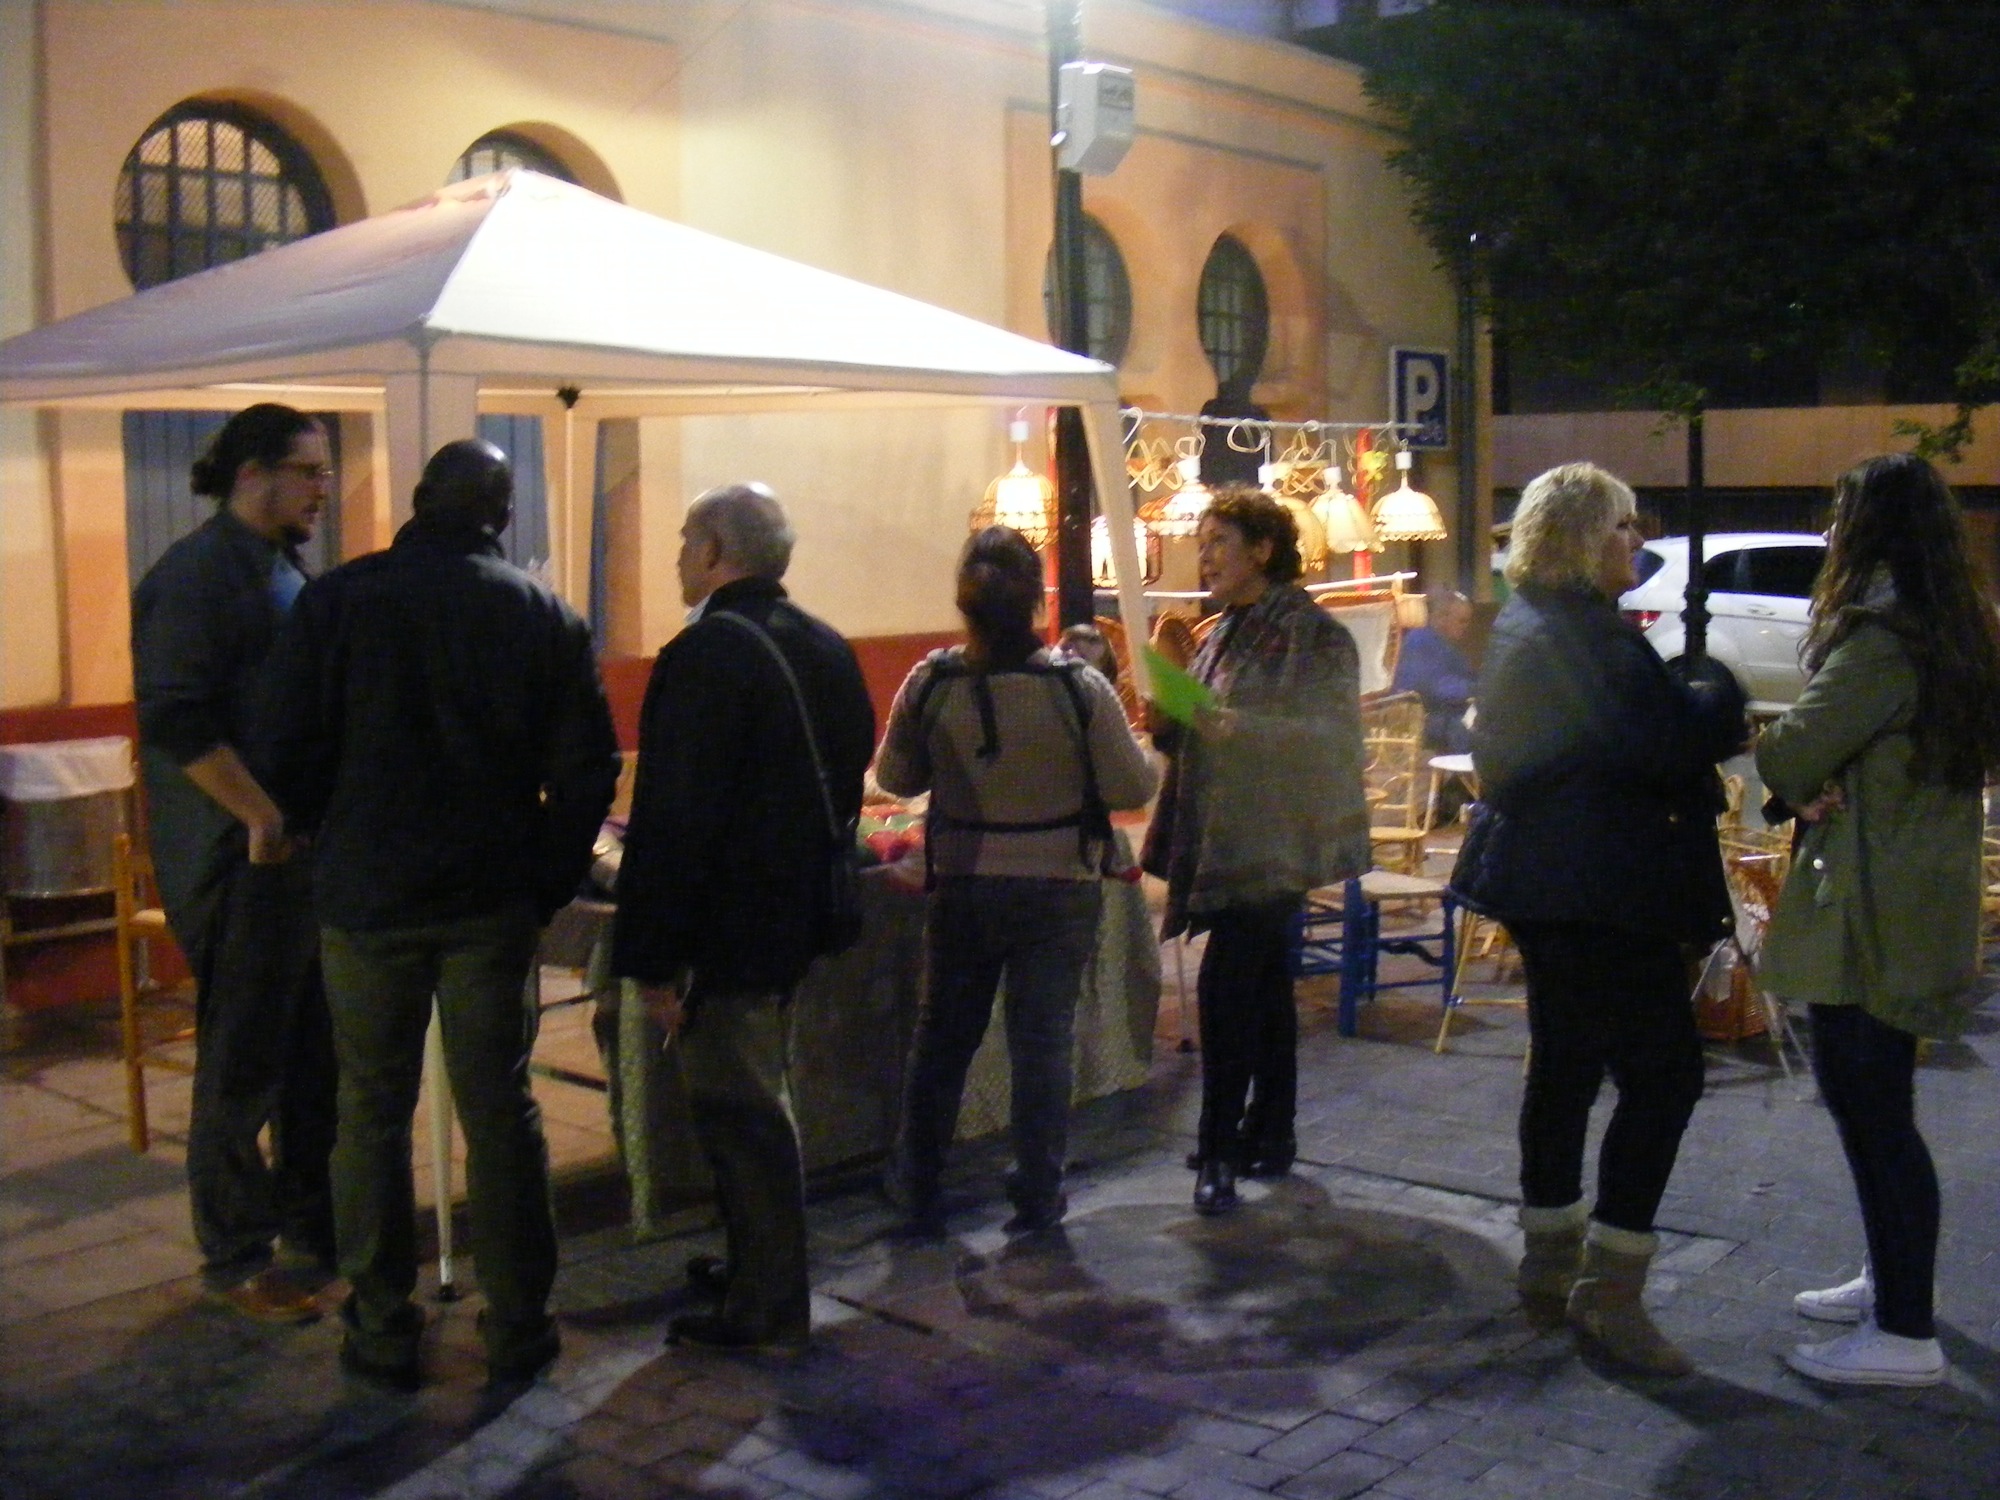
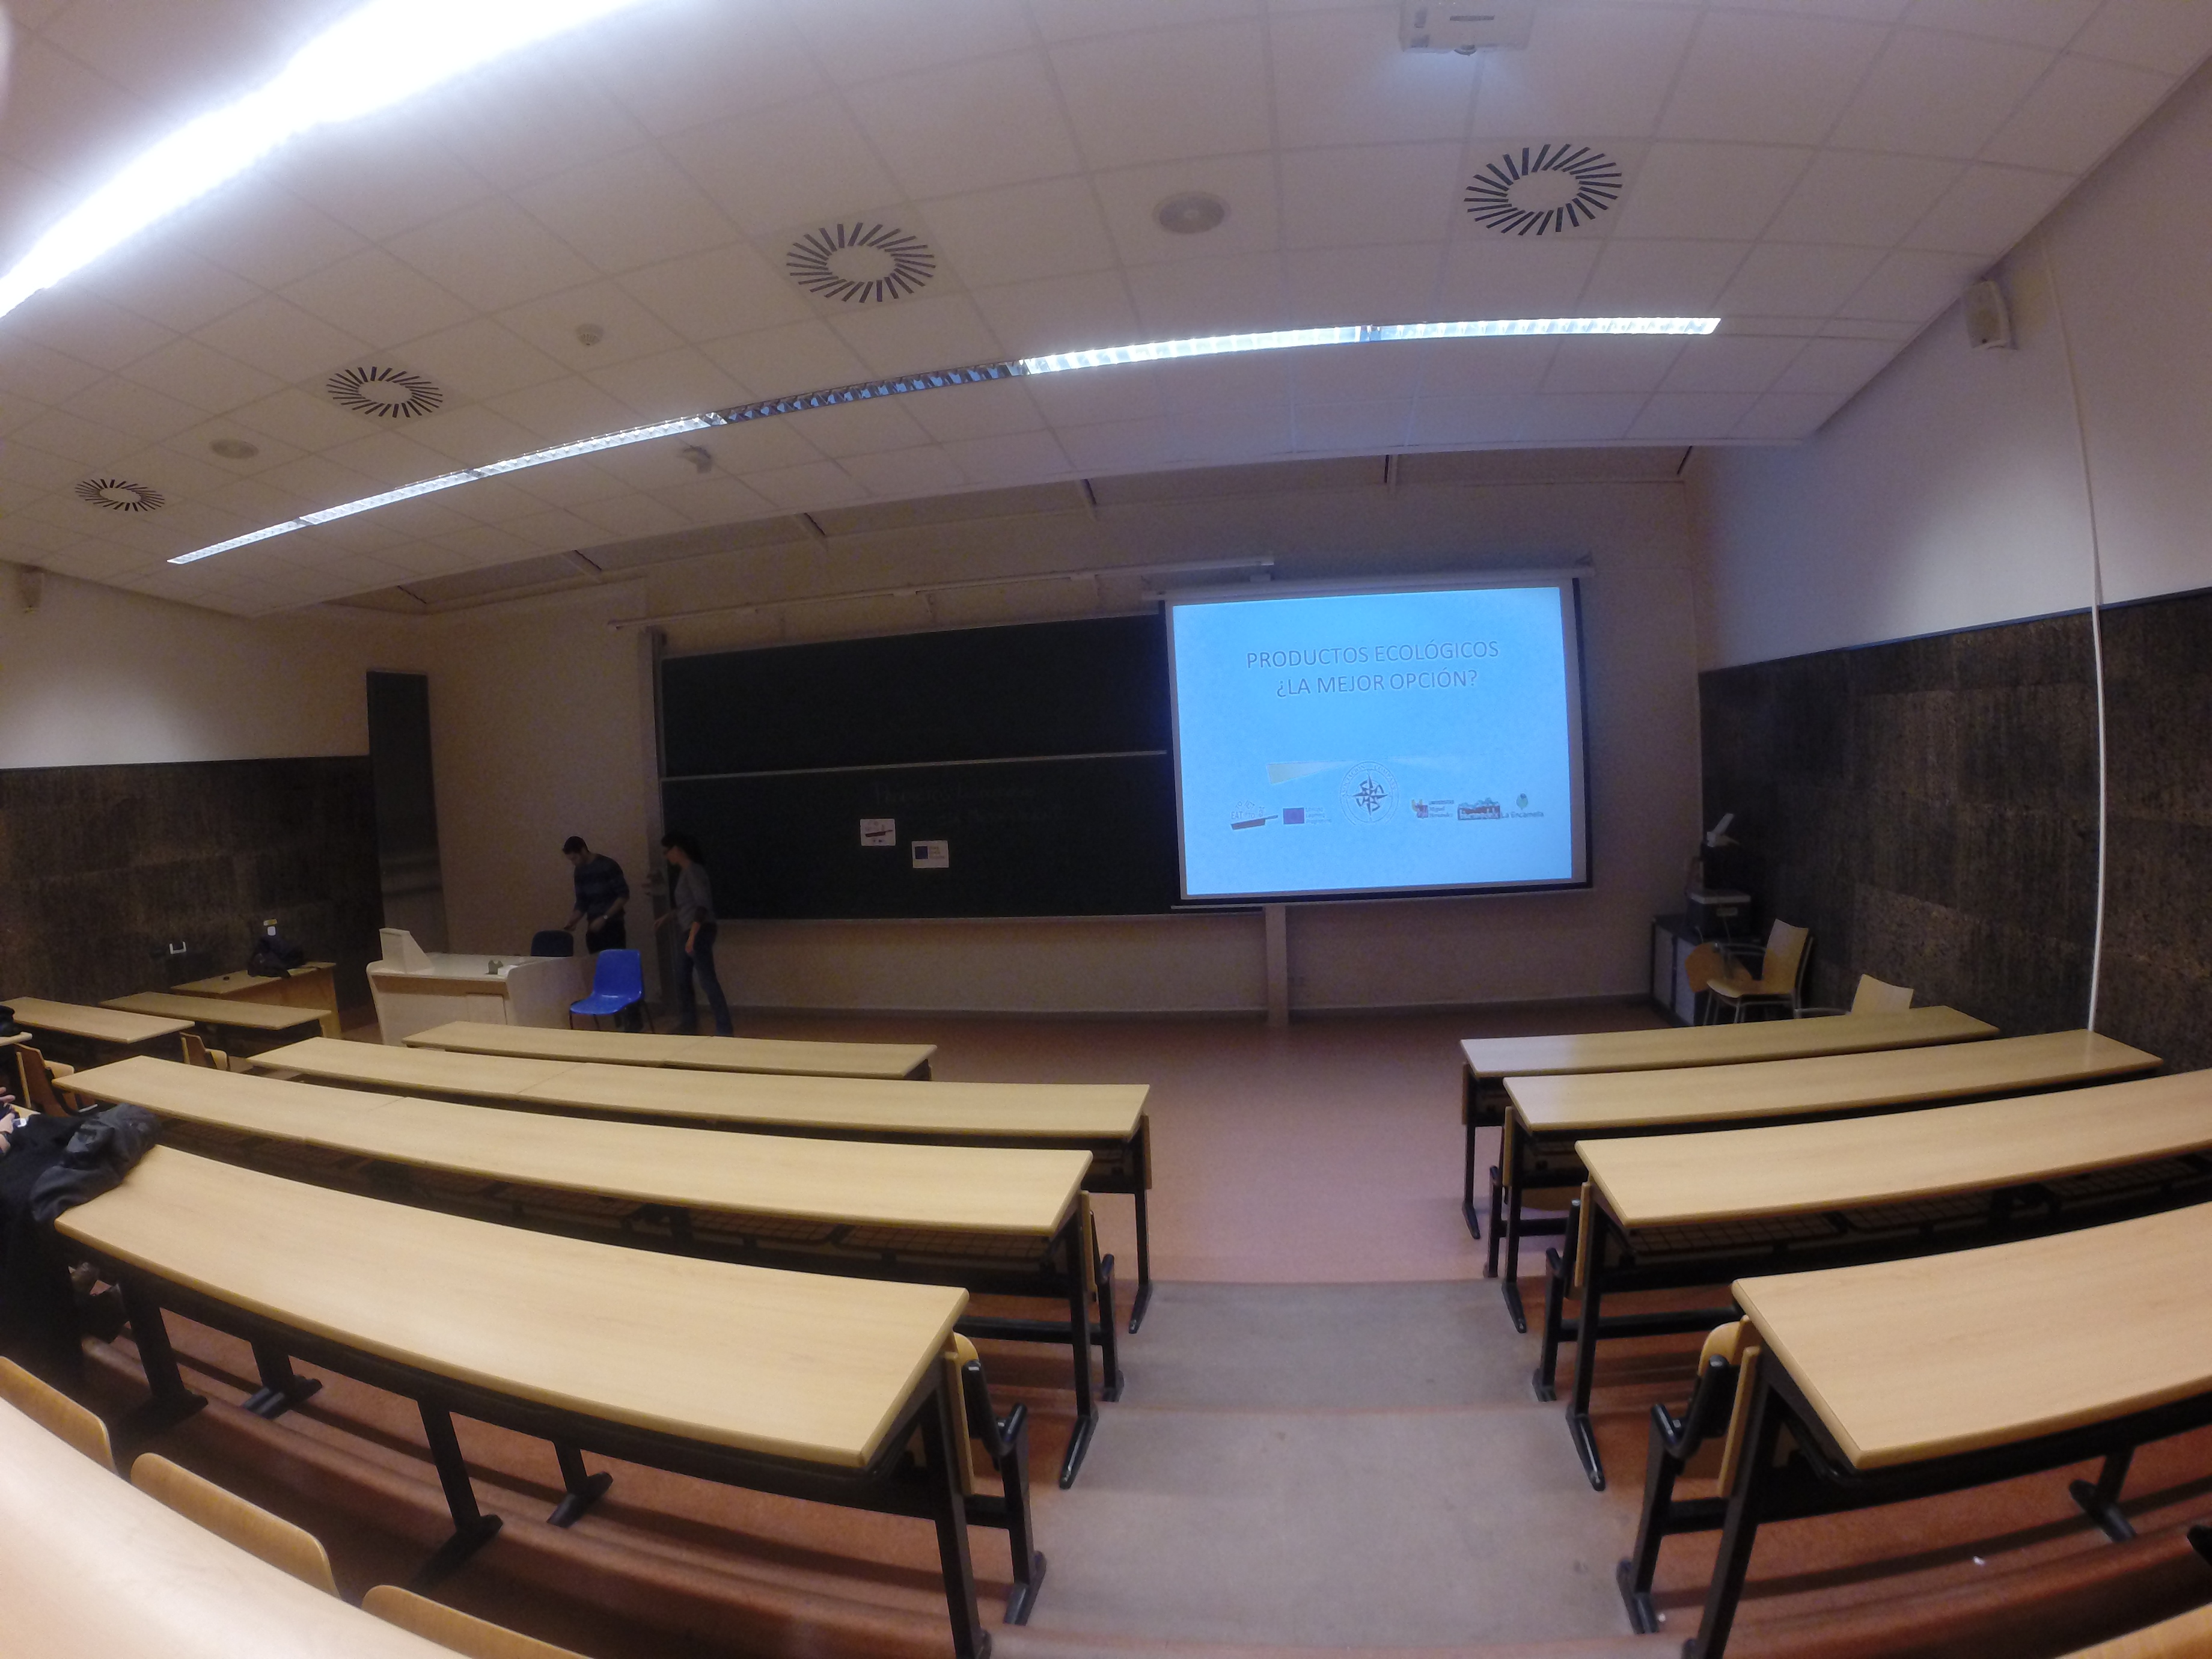
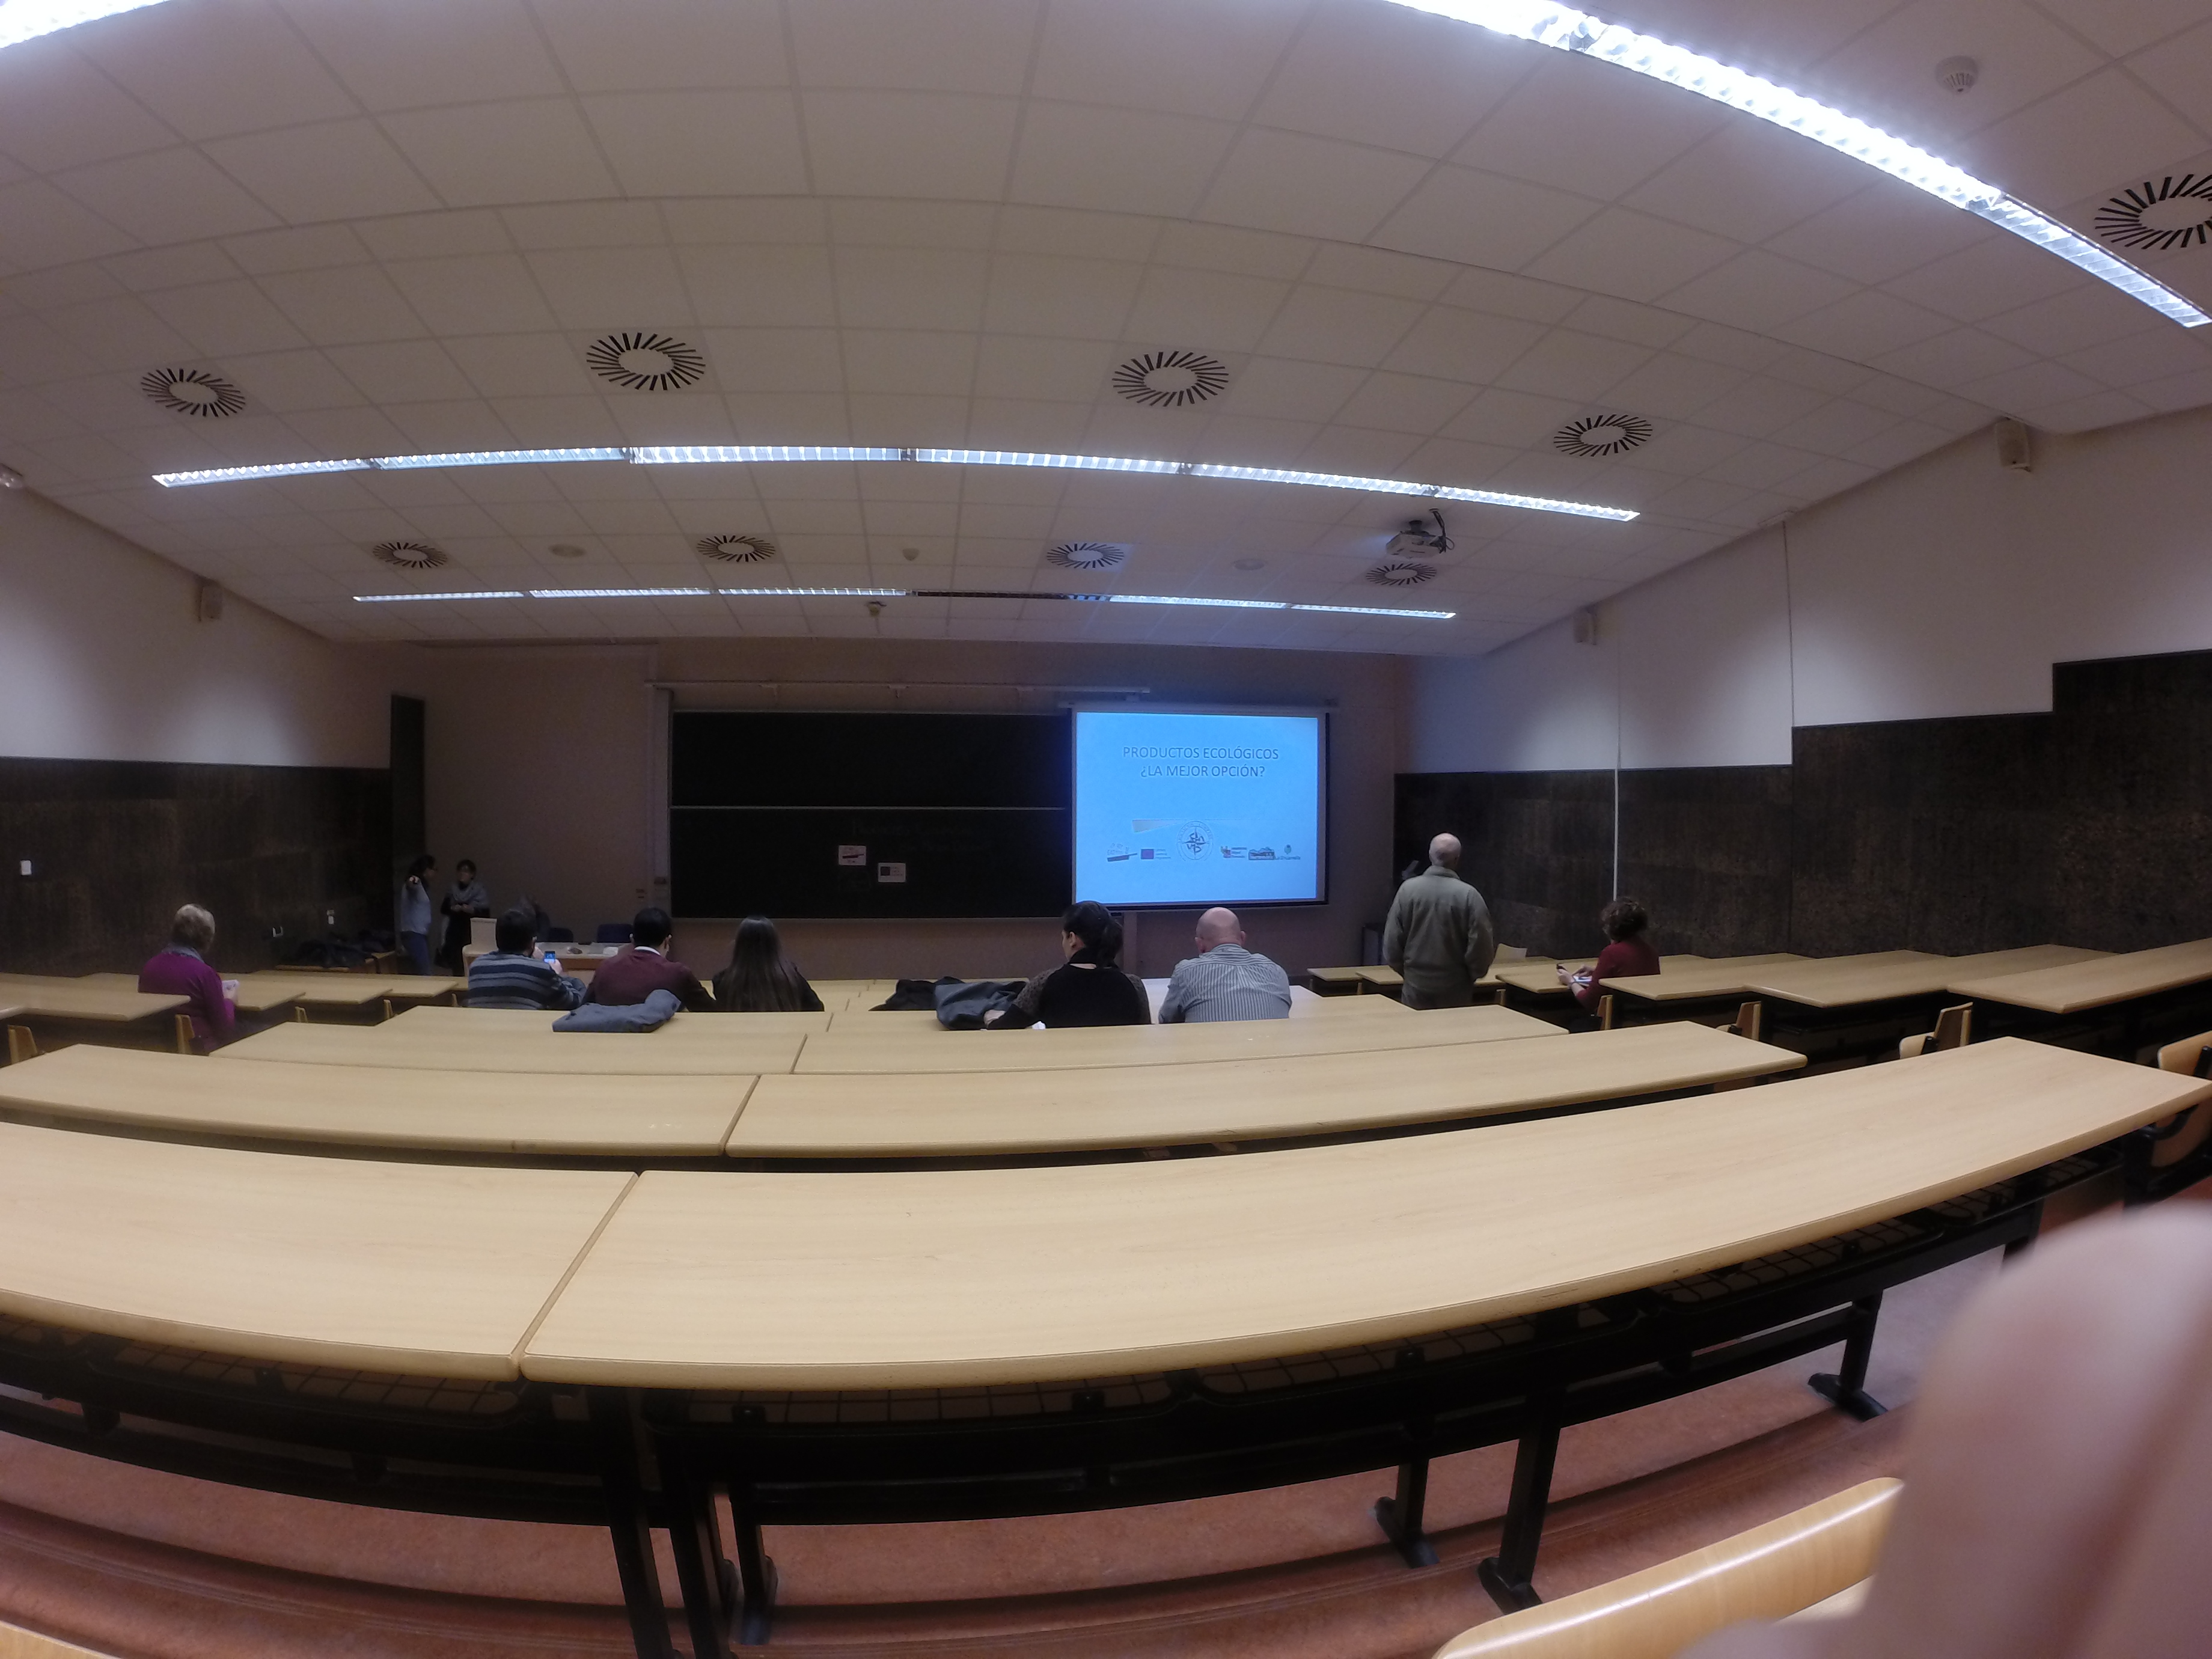
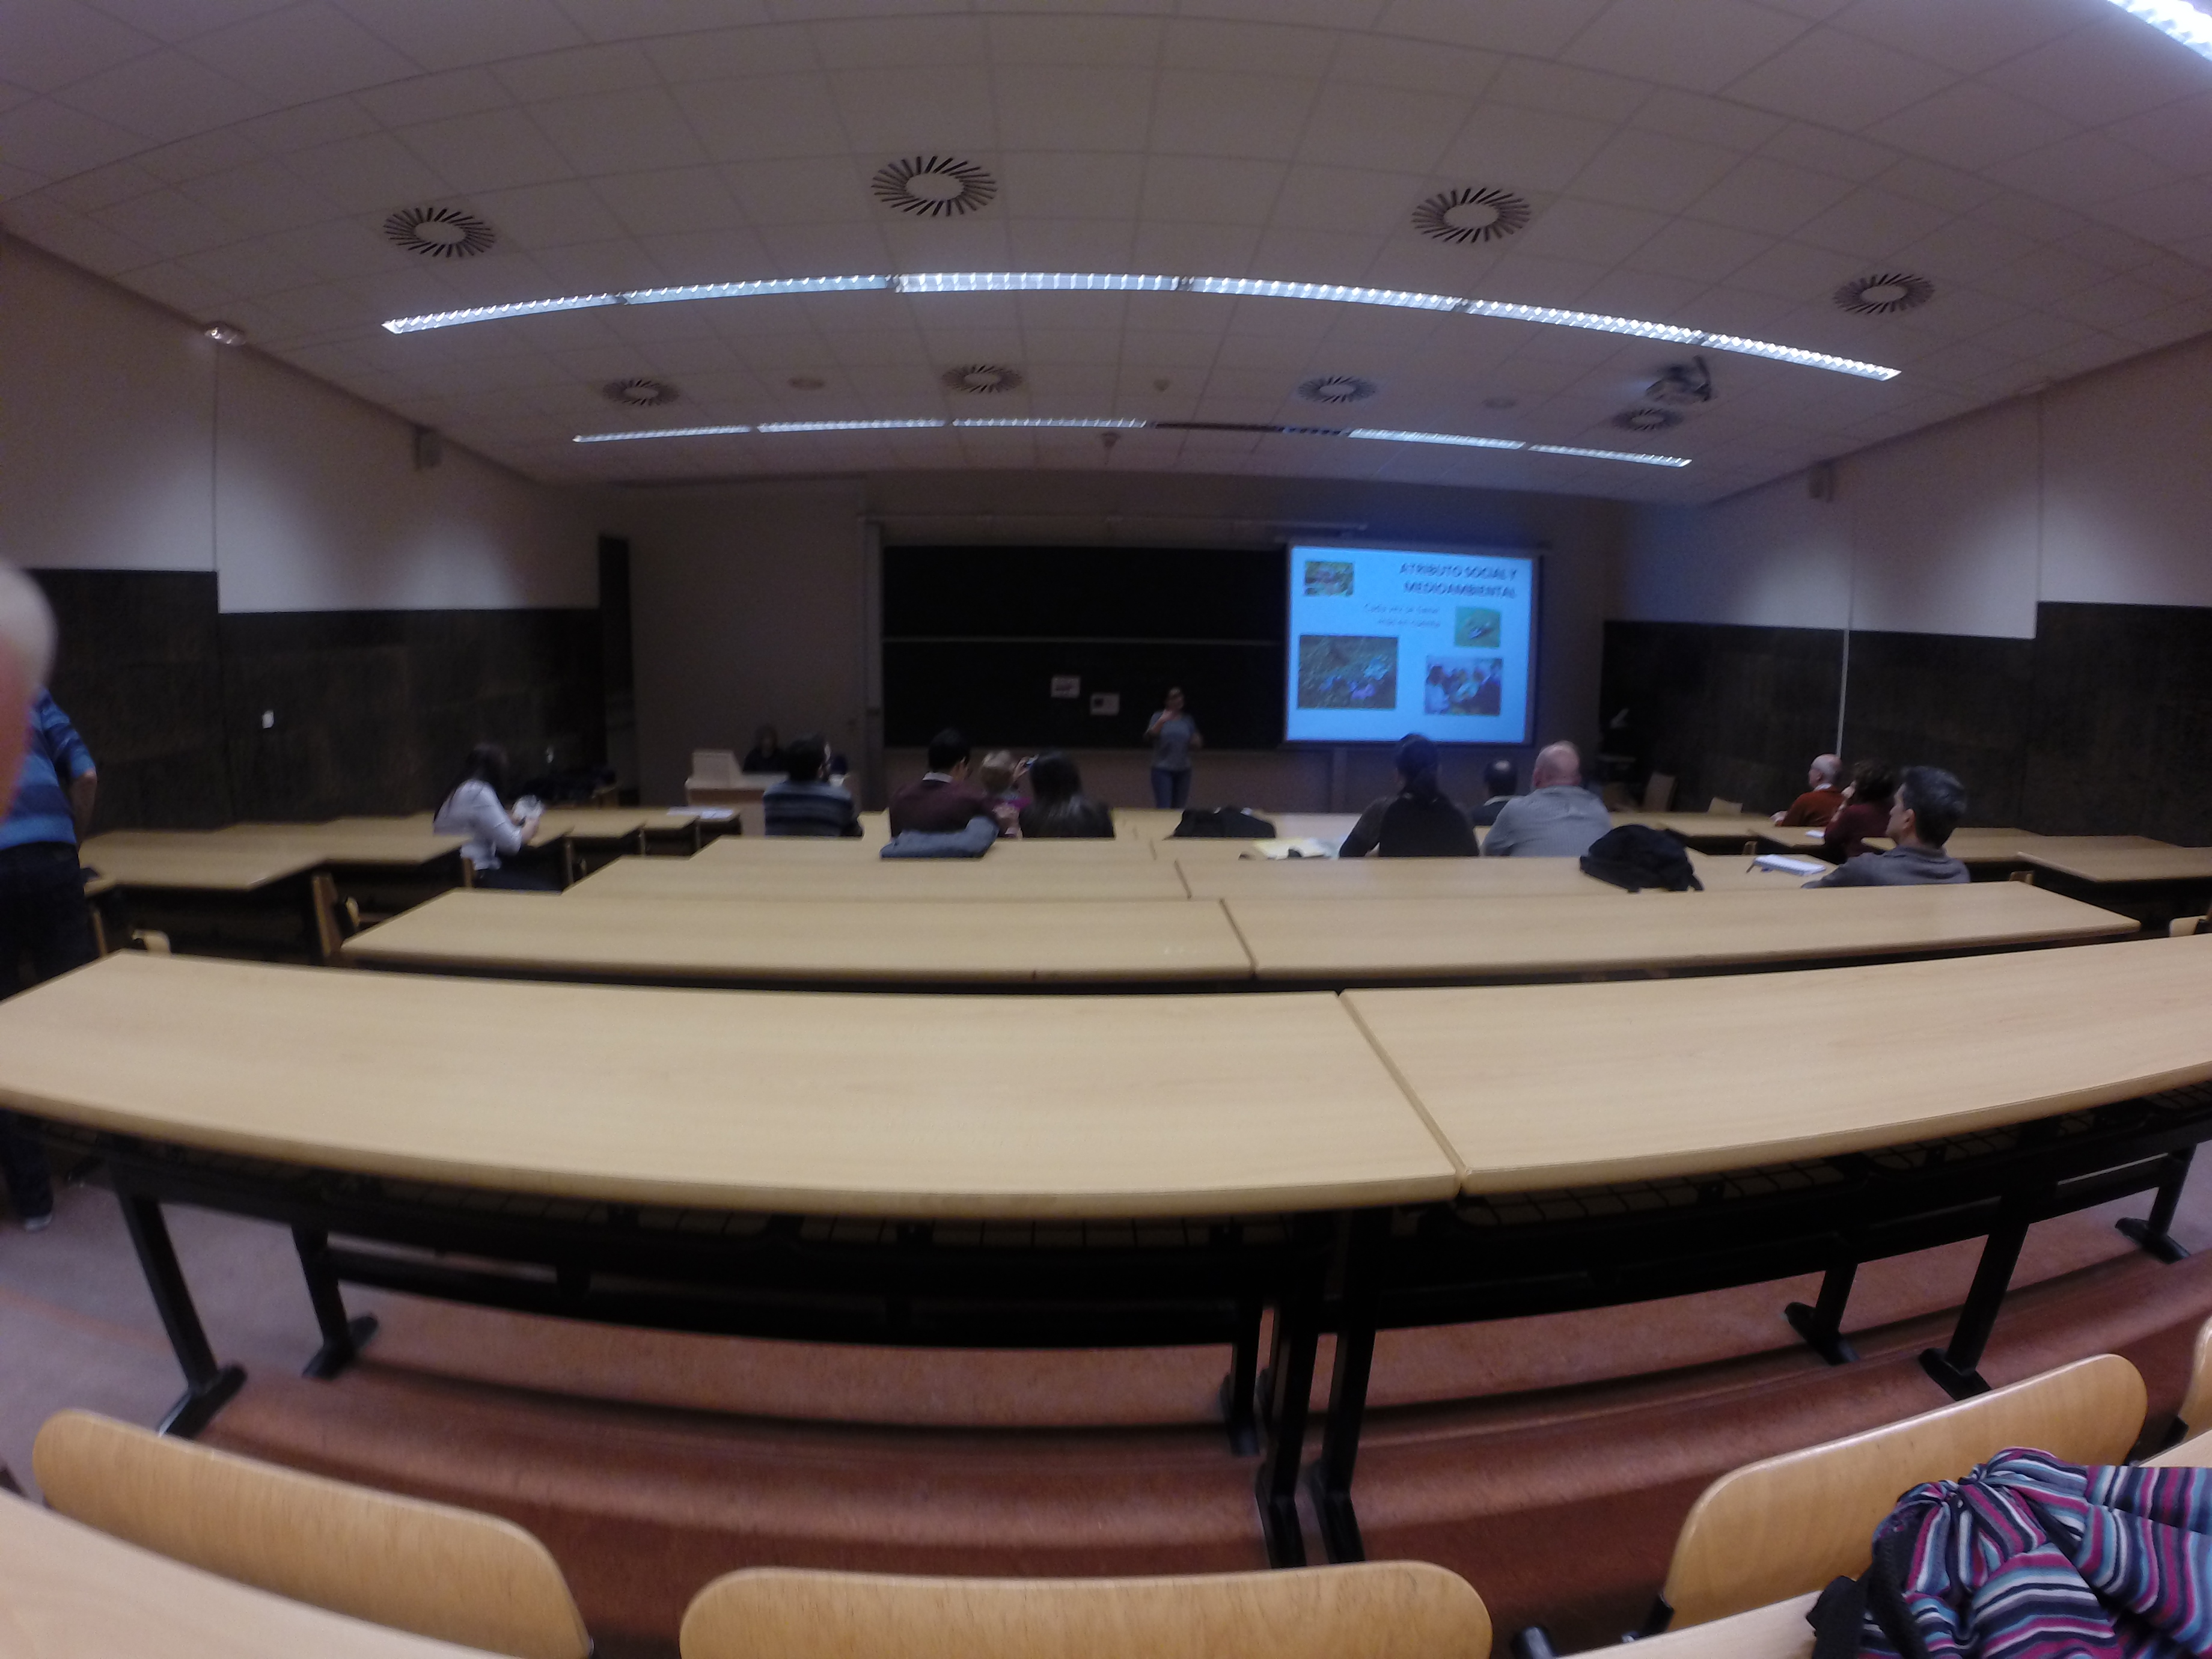
Fotos del Curso: Mercado local:Como comprar y vender productos Ecologicos


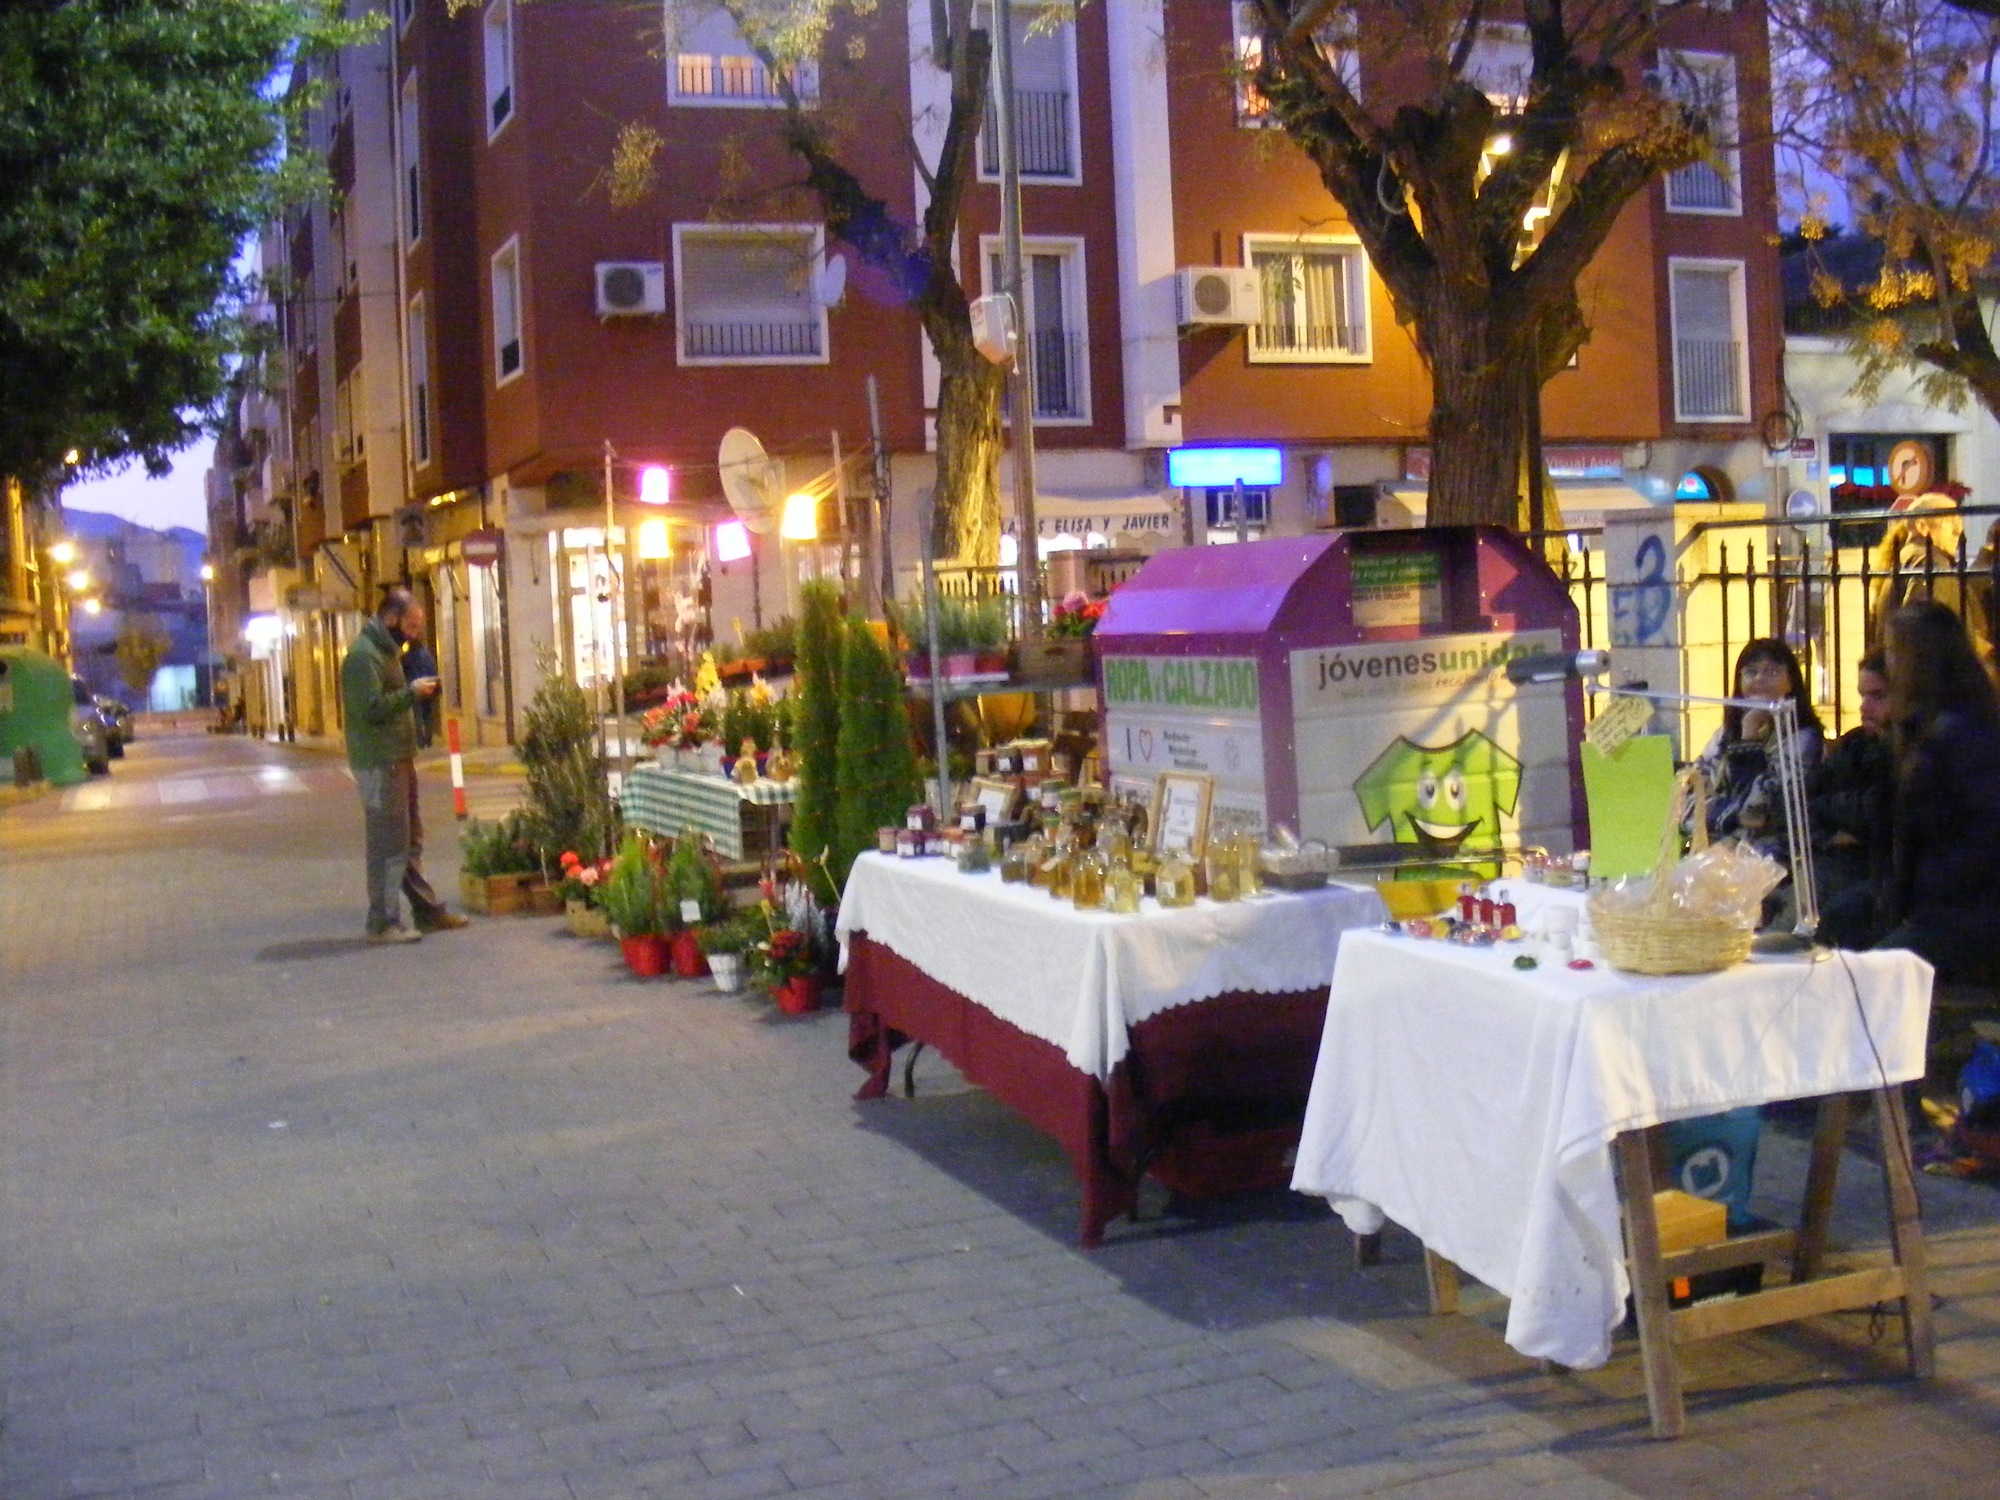
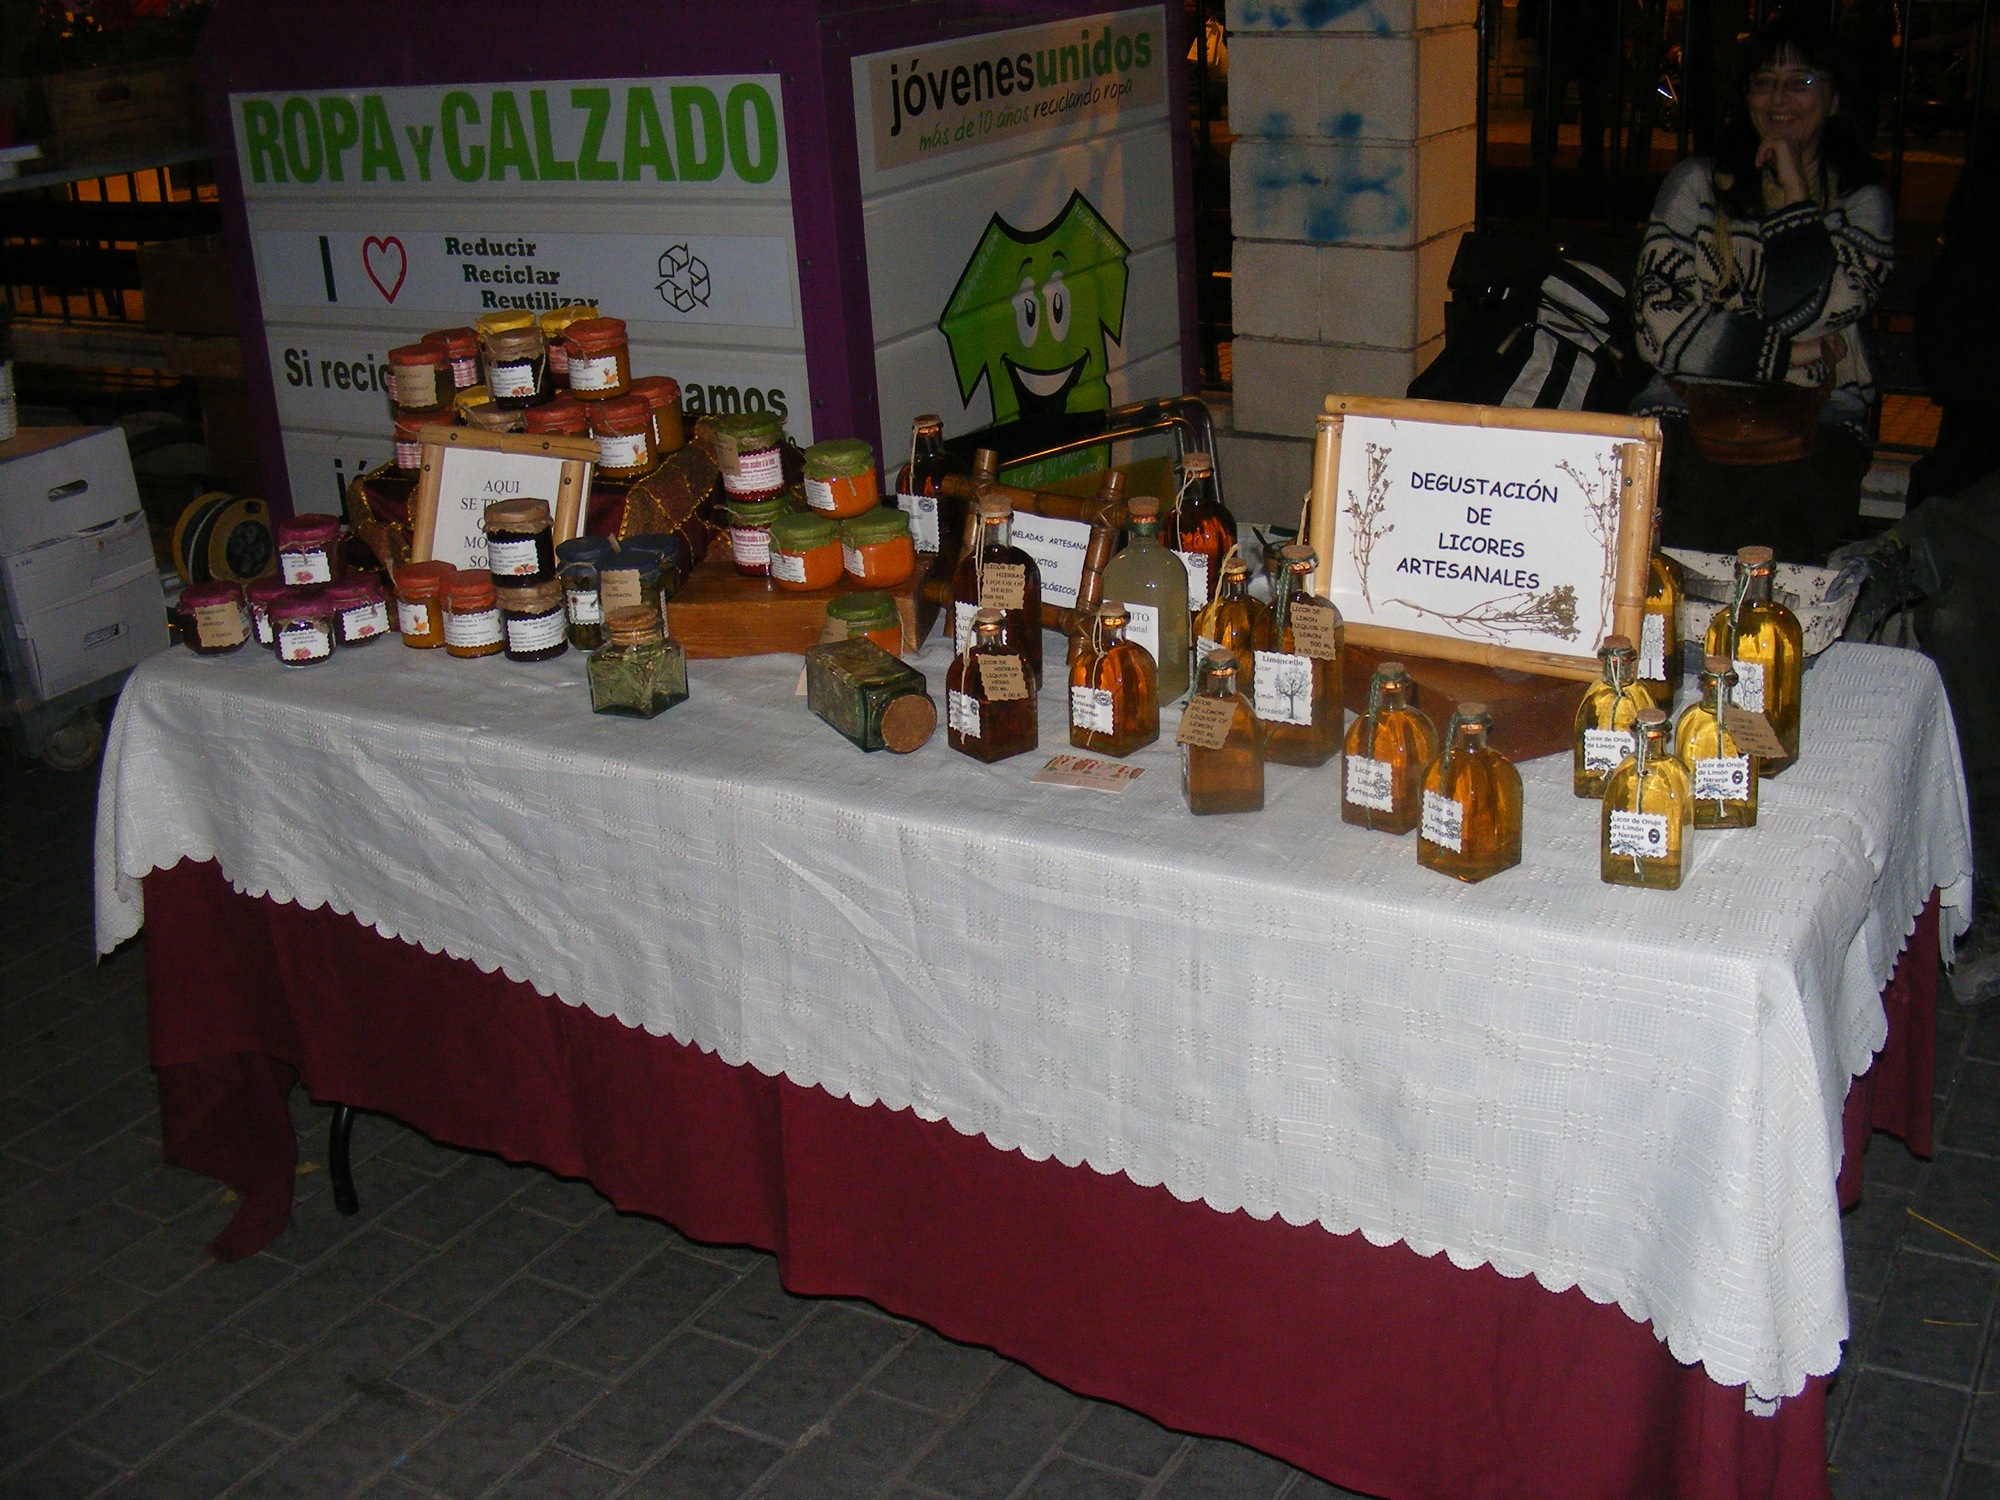
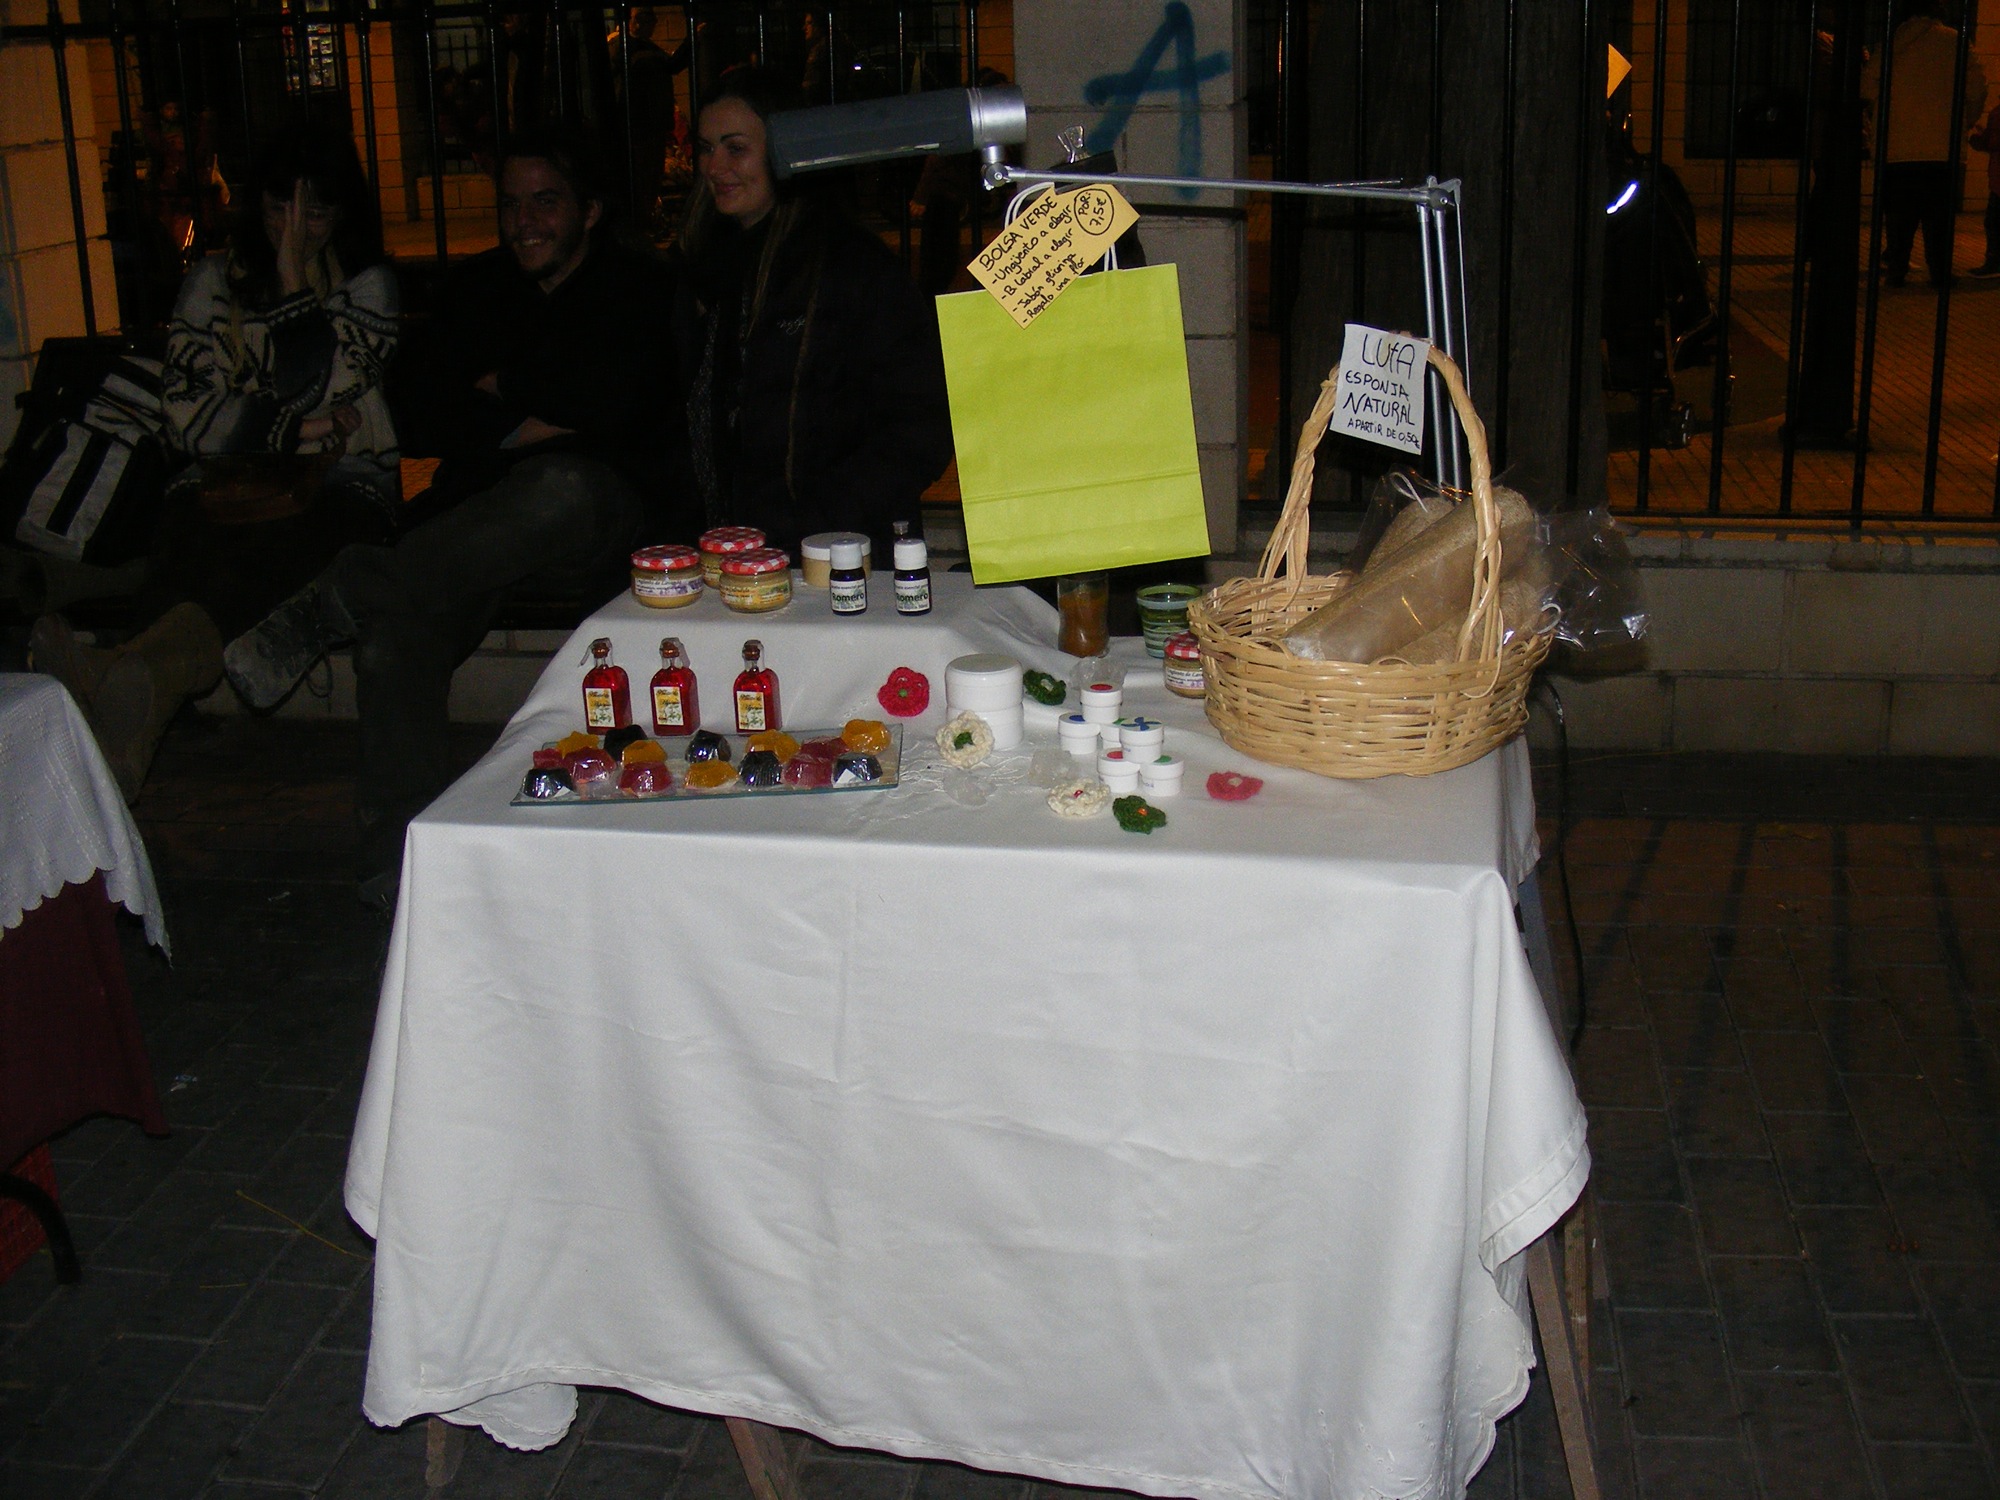
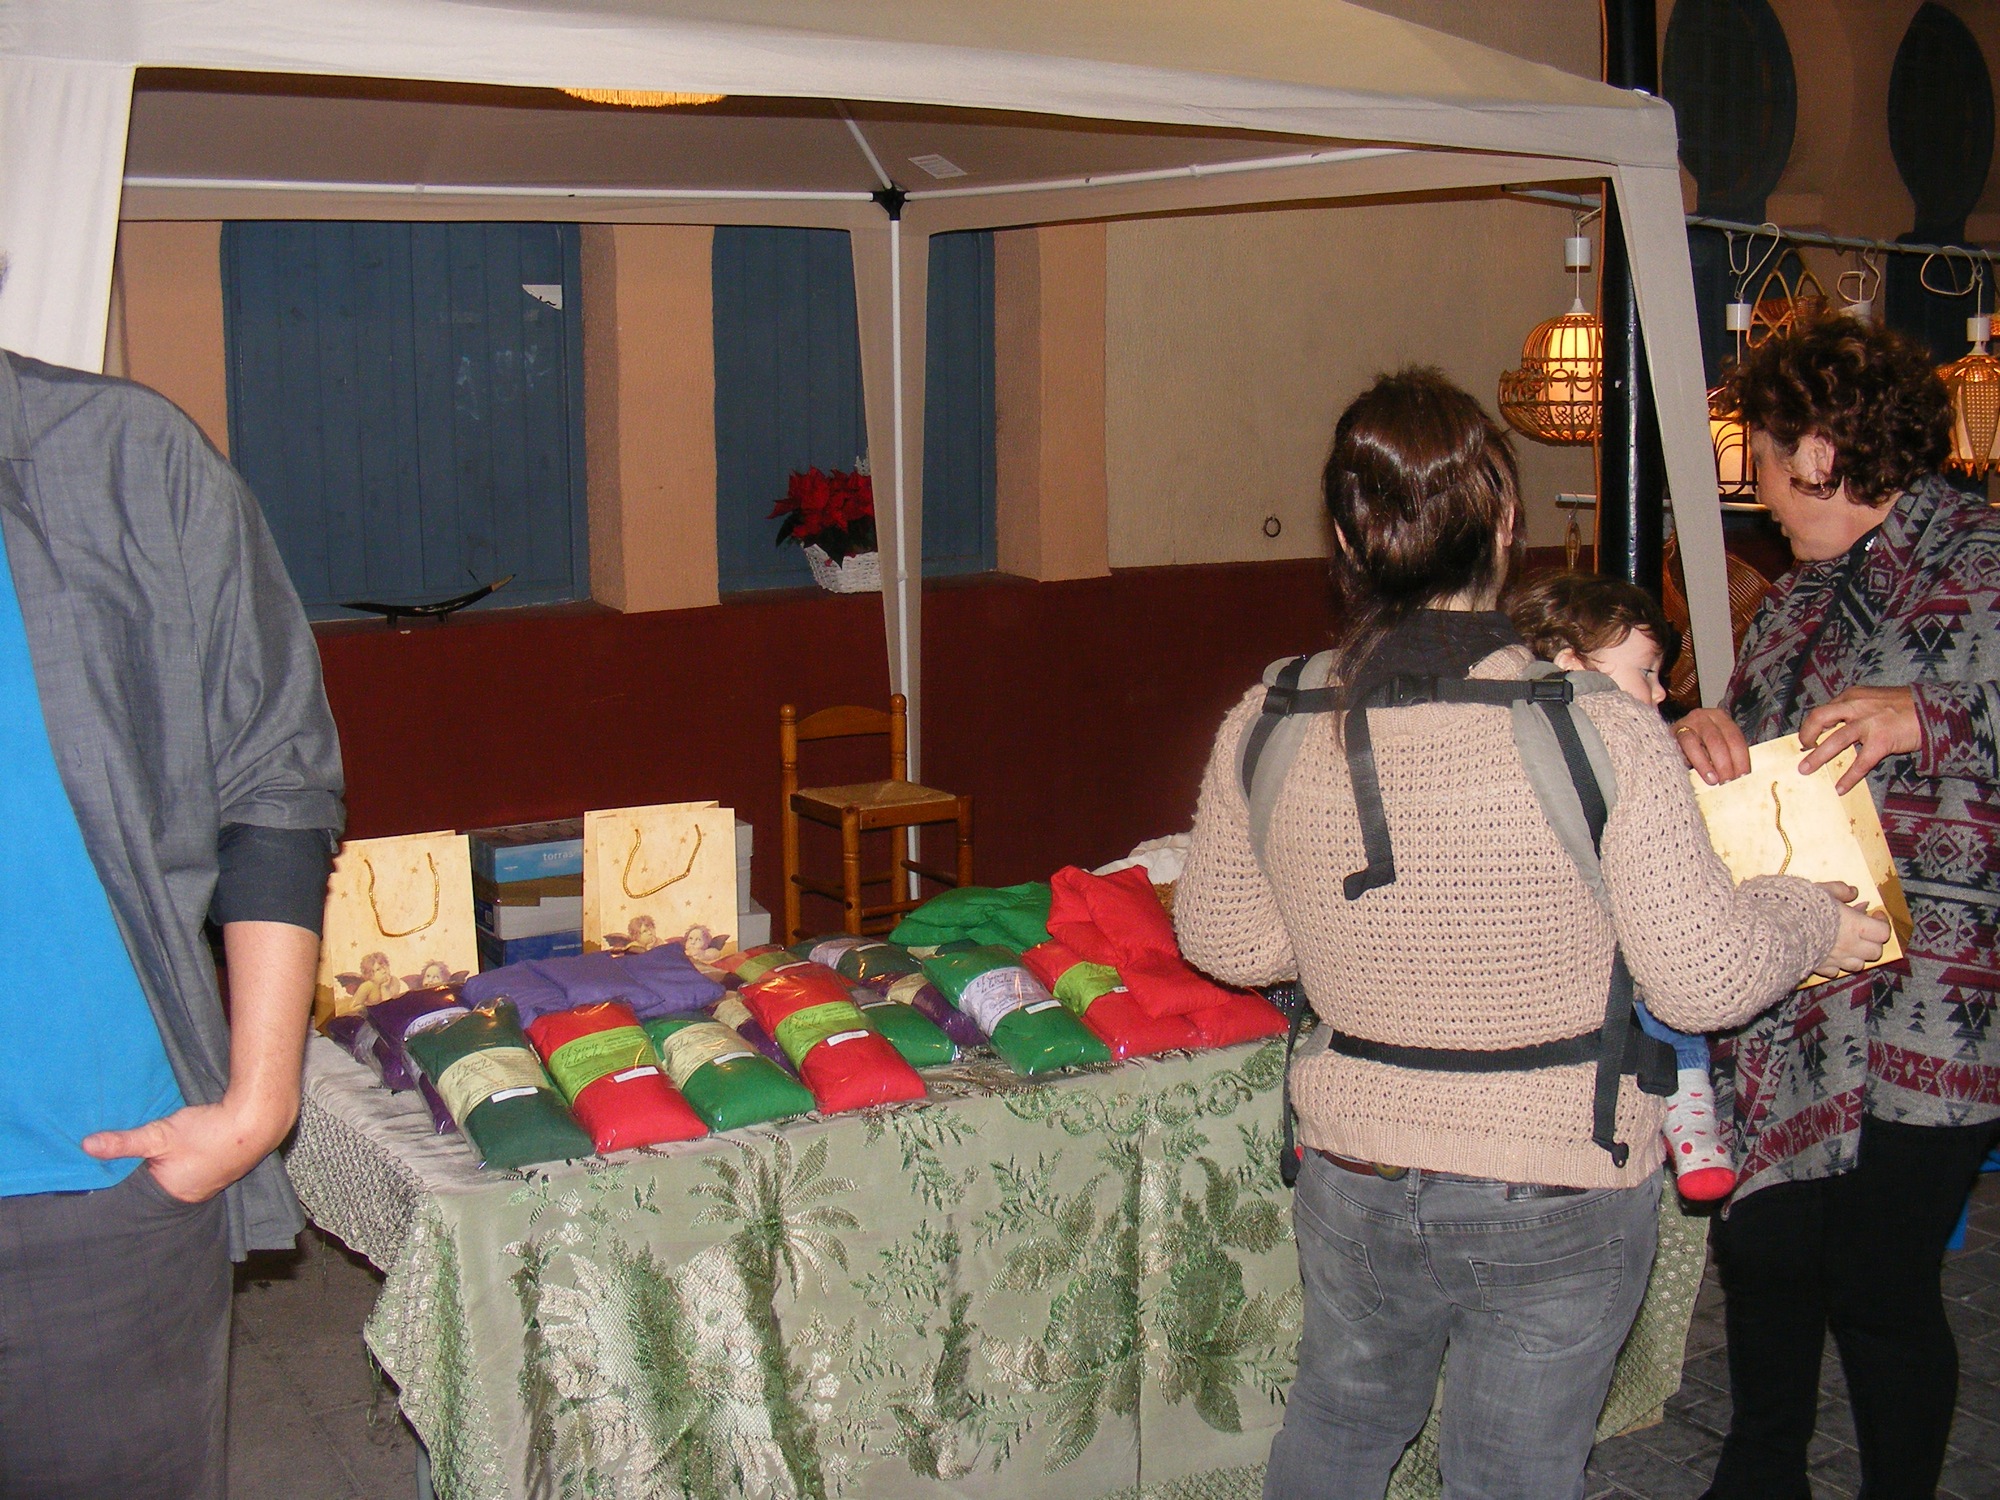
MERCADO DE ARTESANIA Y PRODUCTOS LOCALES
Dentro del proyecto EUROPEO To eat or not to eat, la asociación COMPASS con la colaboraciñon del Ayuntamiento de ASPE lanza el MERCADO DE ARTESANIA Y PRODUCTOS LOCALES, para dar promoción a los prouctos de la zona.
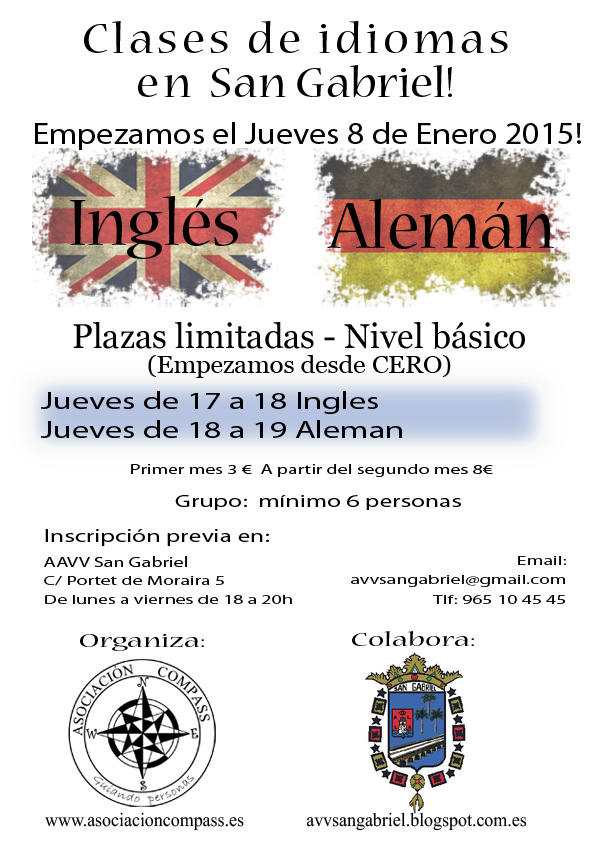
Clases de Ingles y aleman
Buenas
A todos los que les gusten los idiomas, la asociación COMPASS con la colaboracion de la AAVV de San Gabriel van a sacar curso de aleman e Ingles los jueves por la tarde.
Saludos
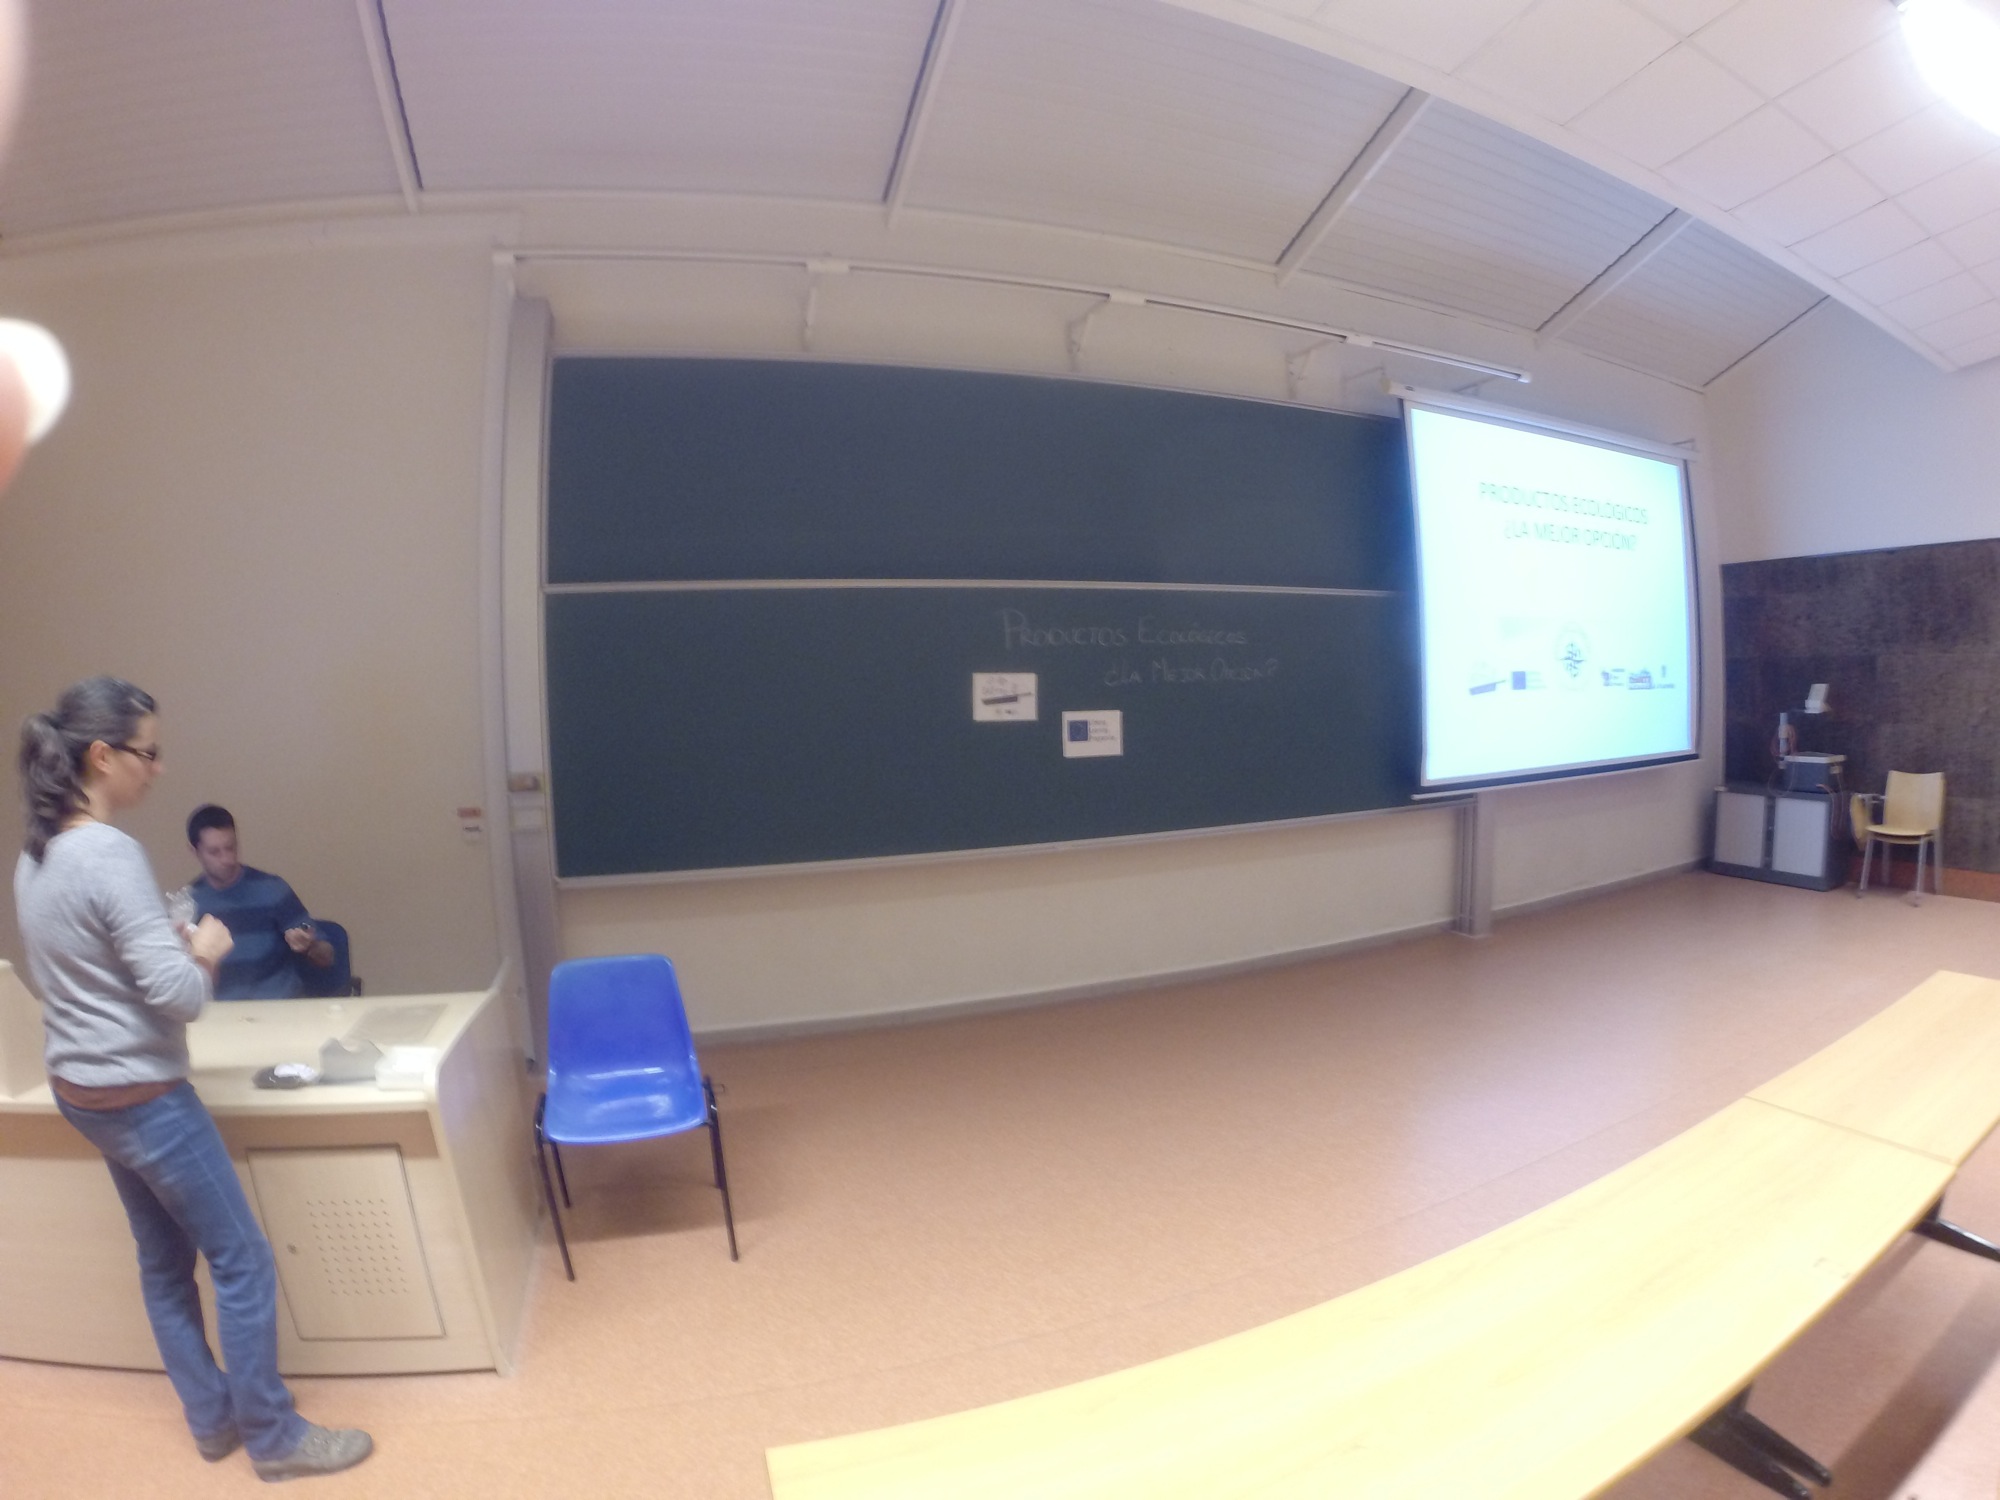
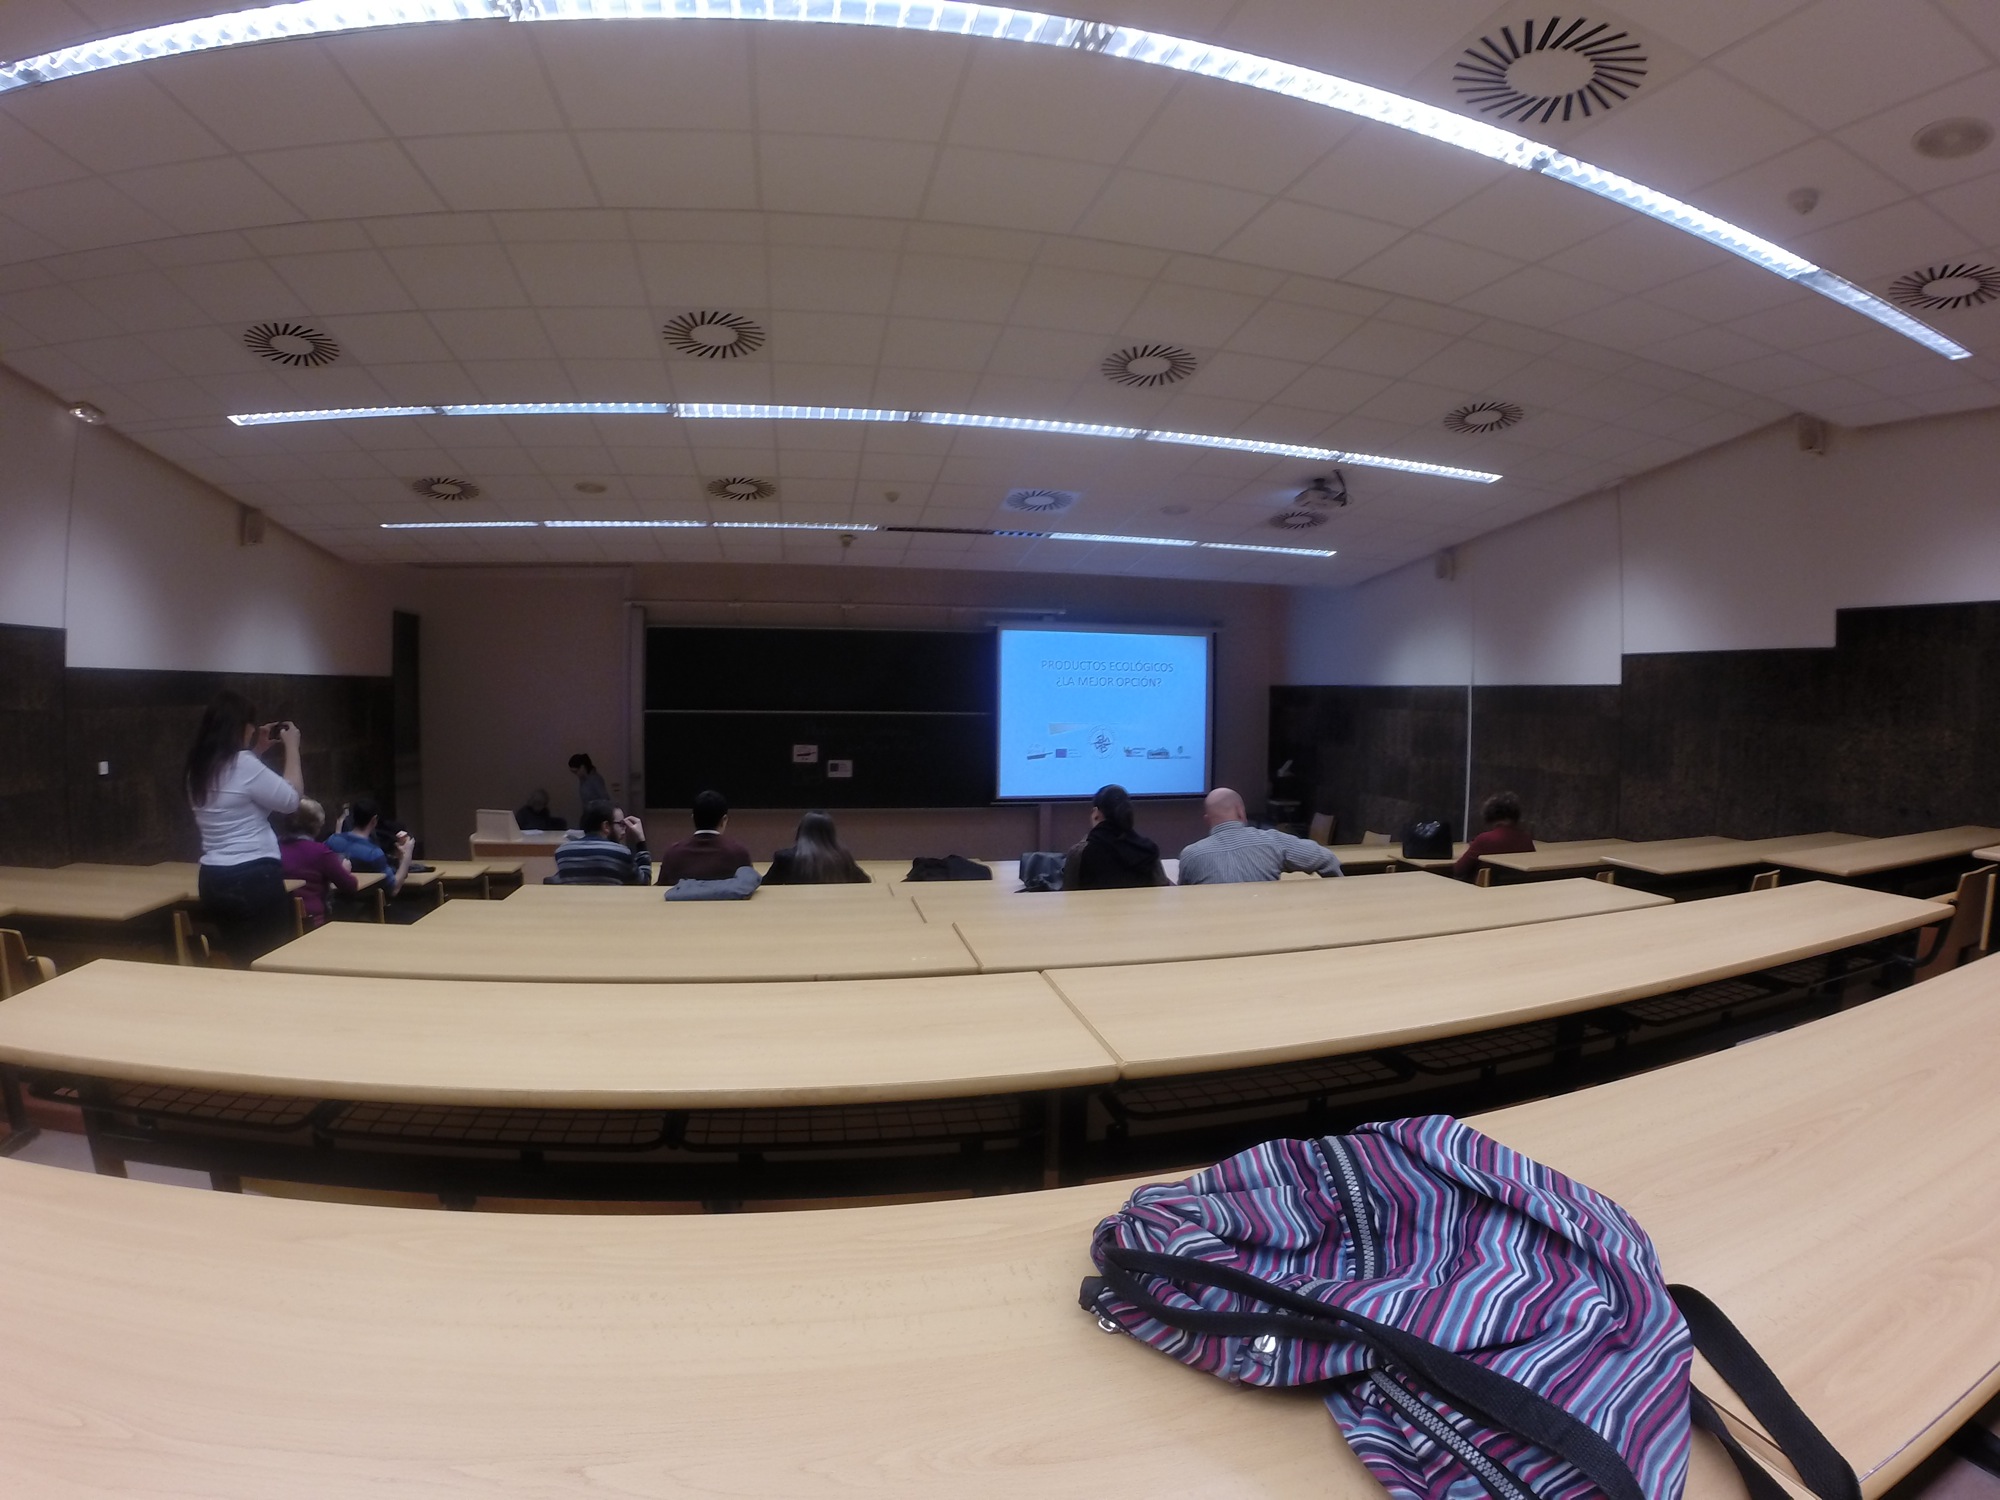
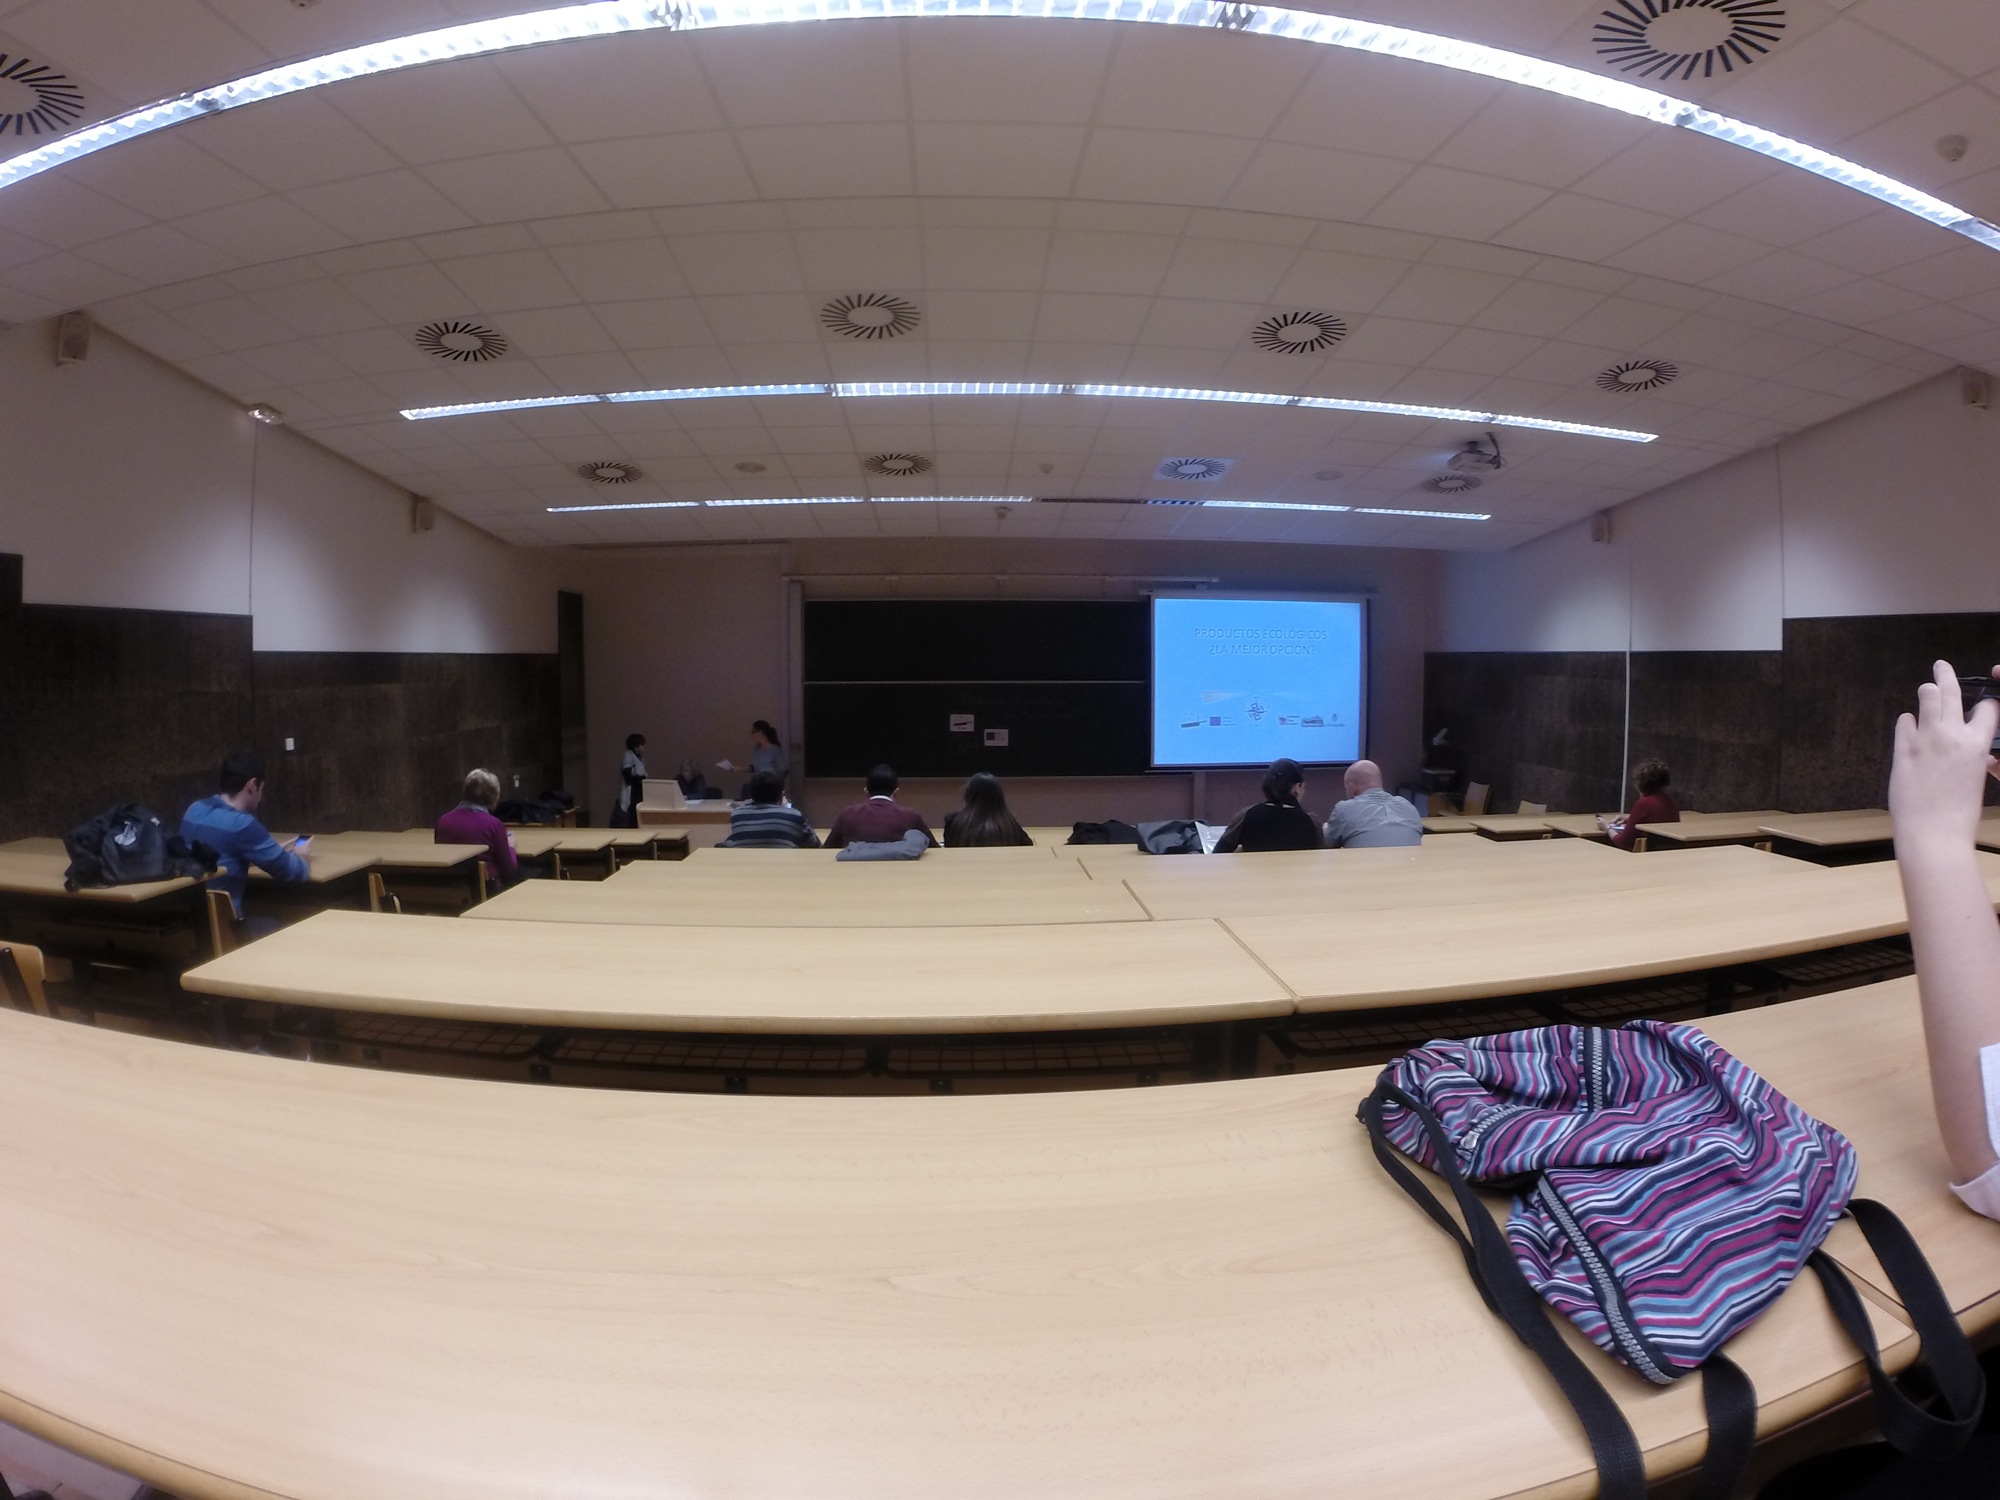
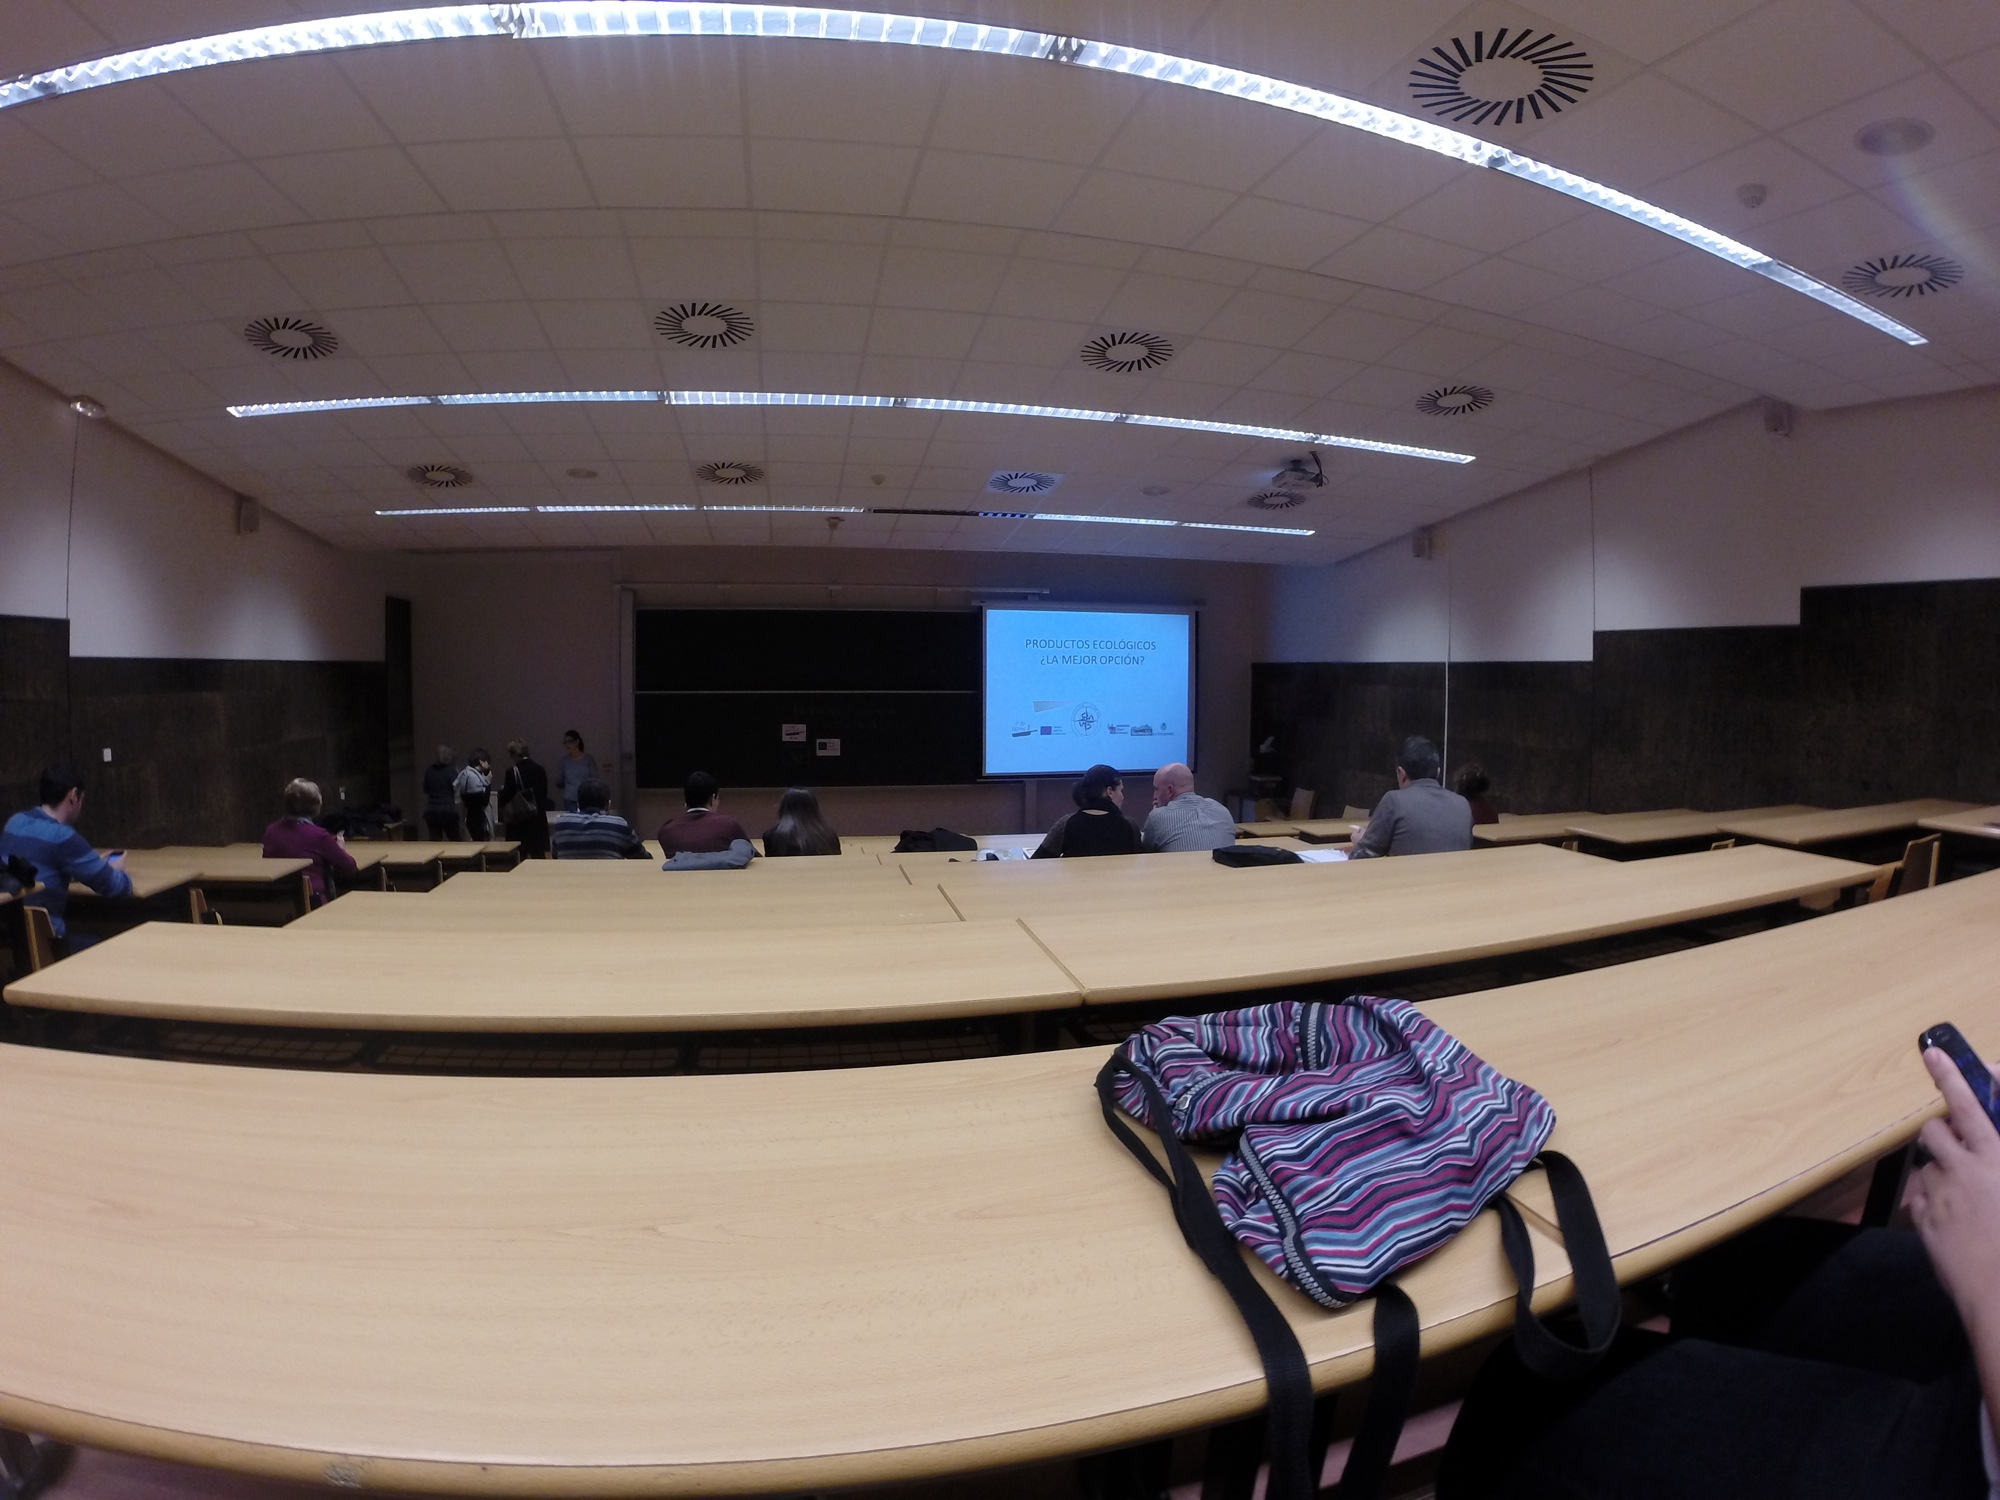
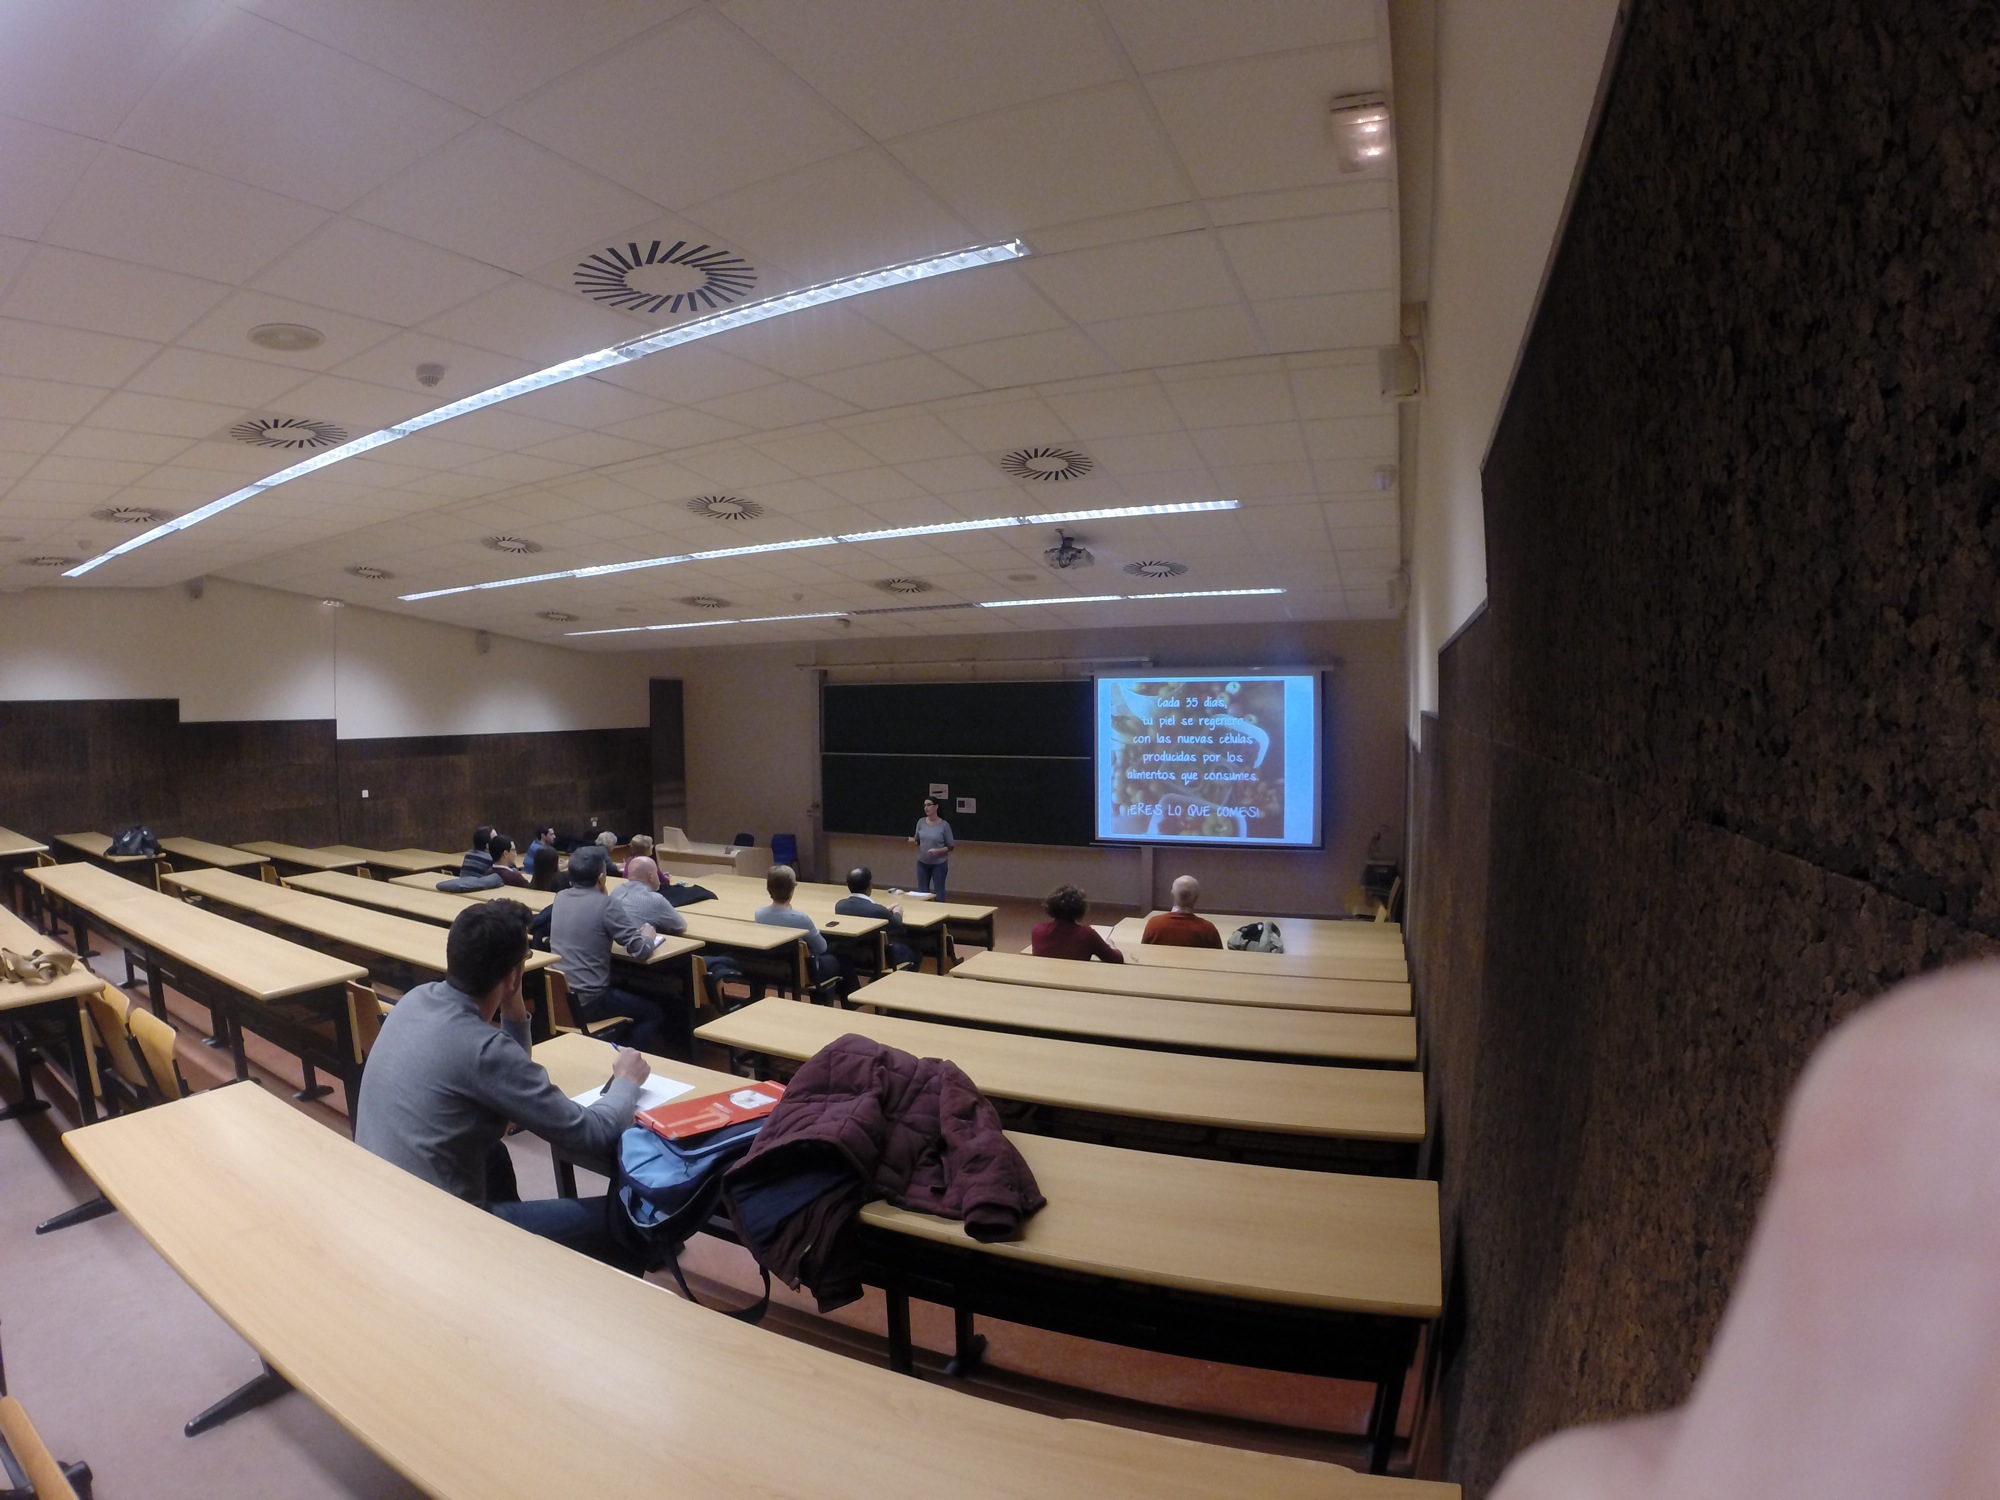
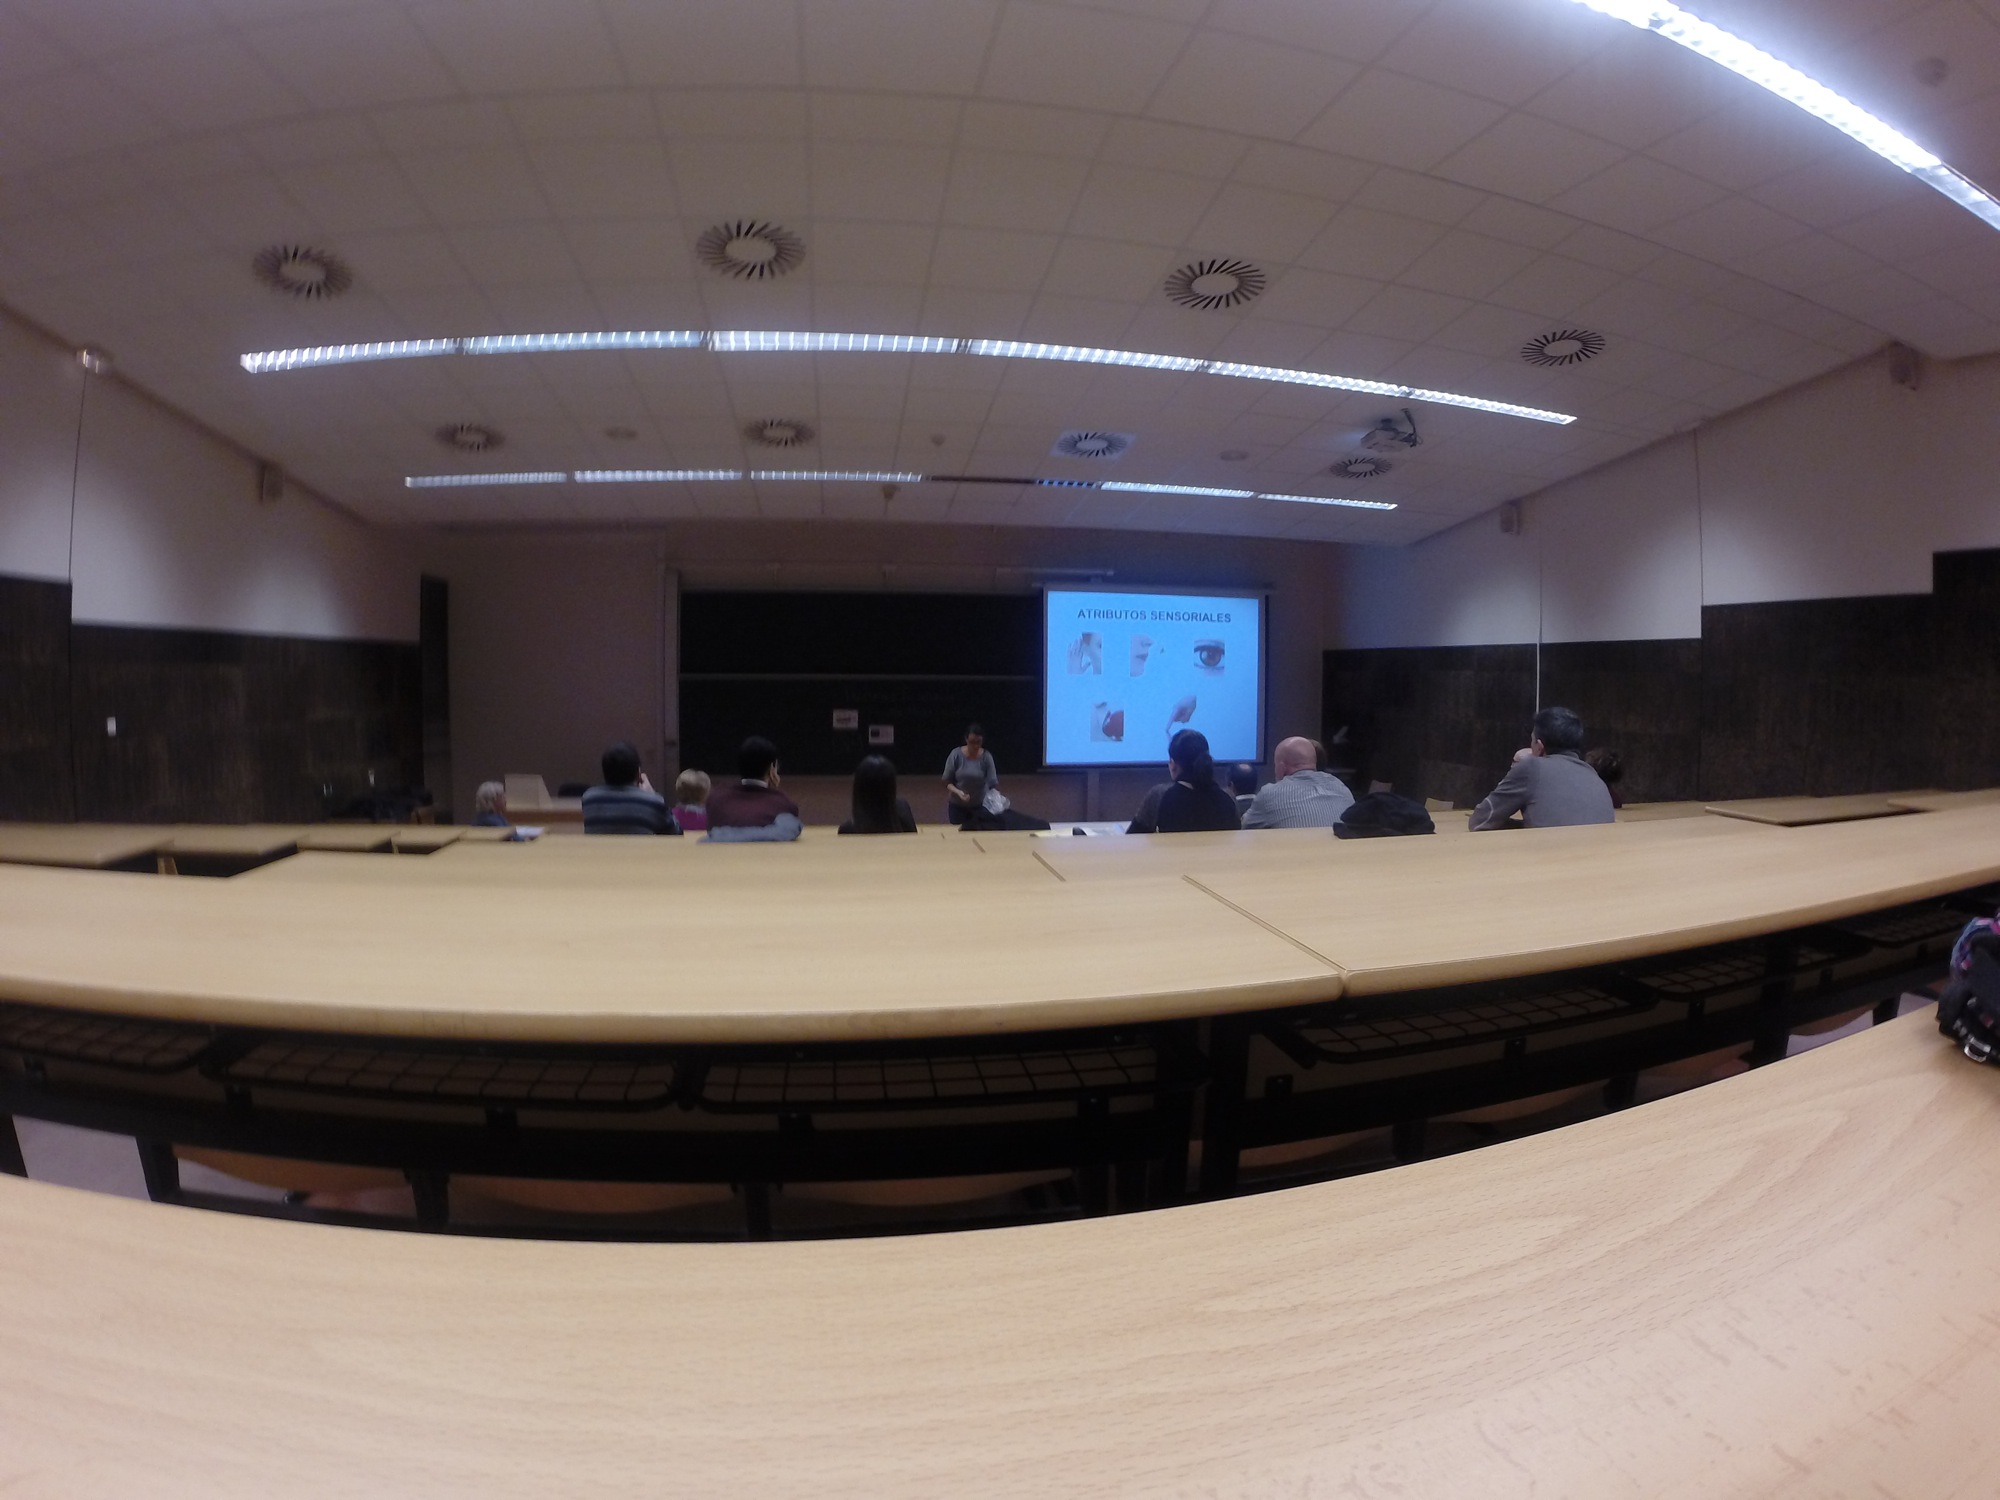
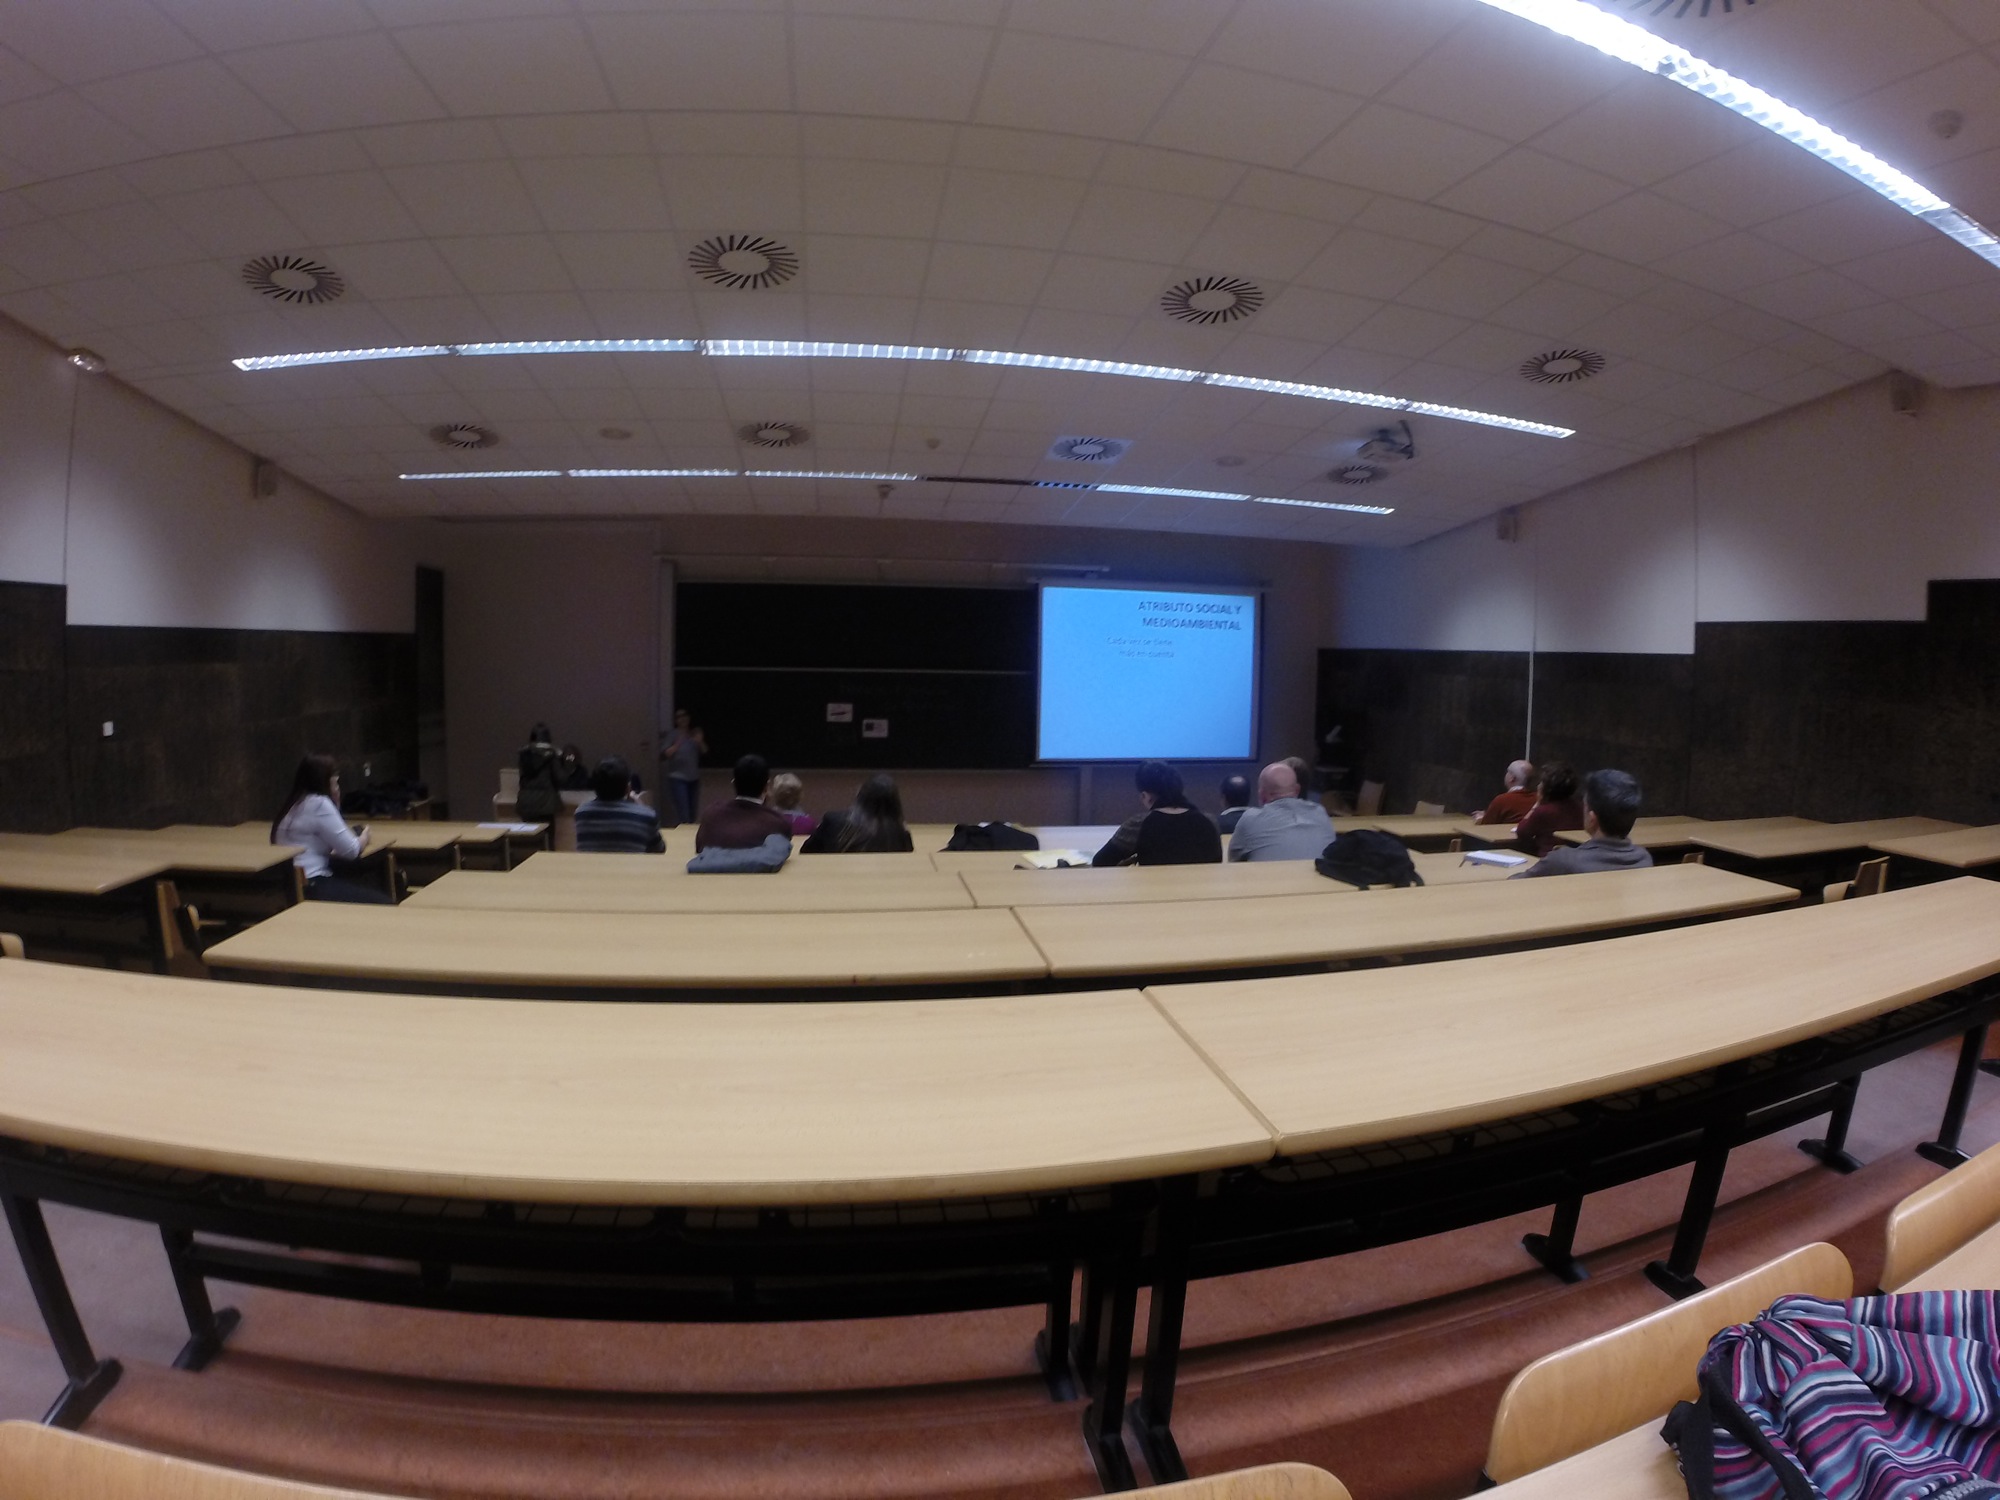
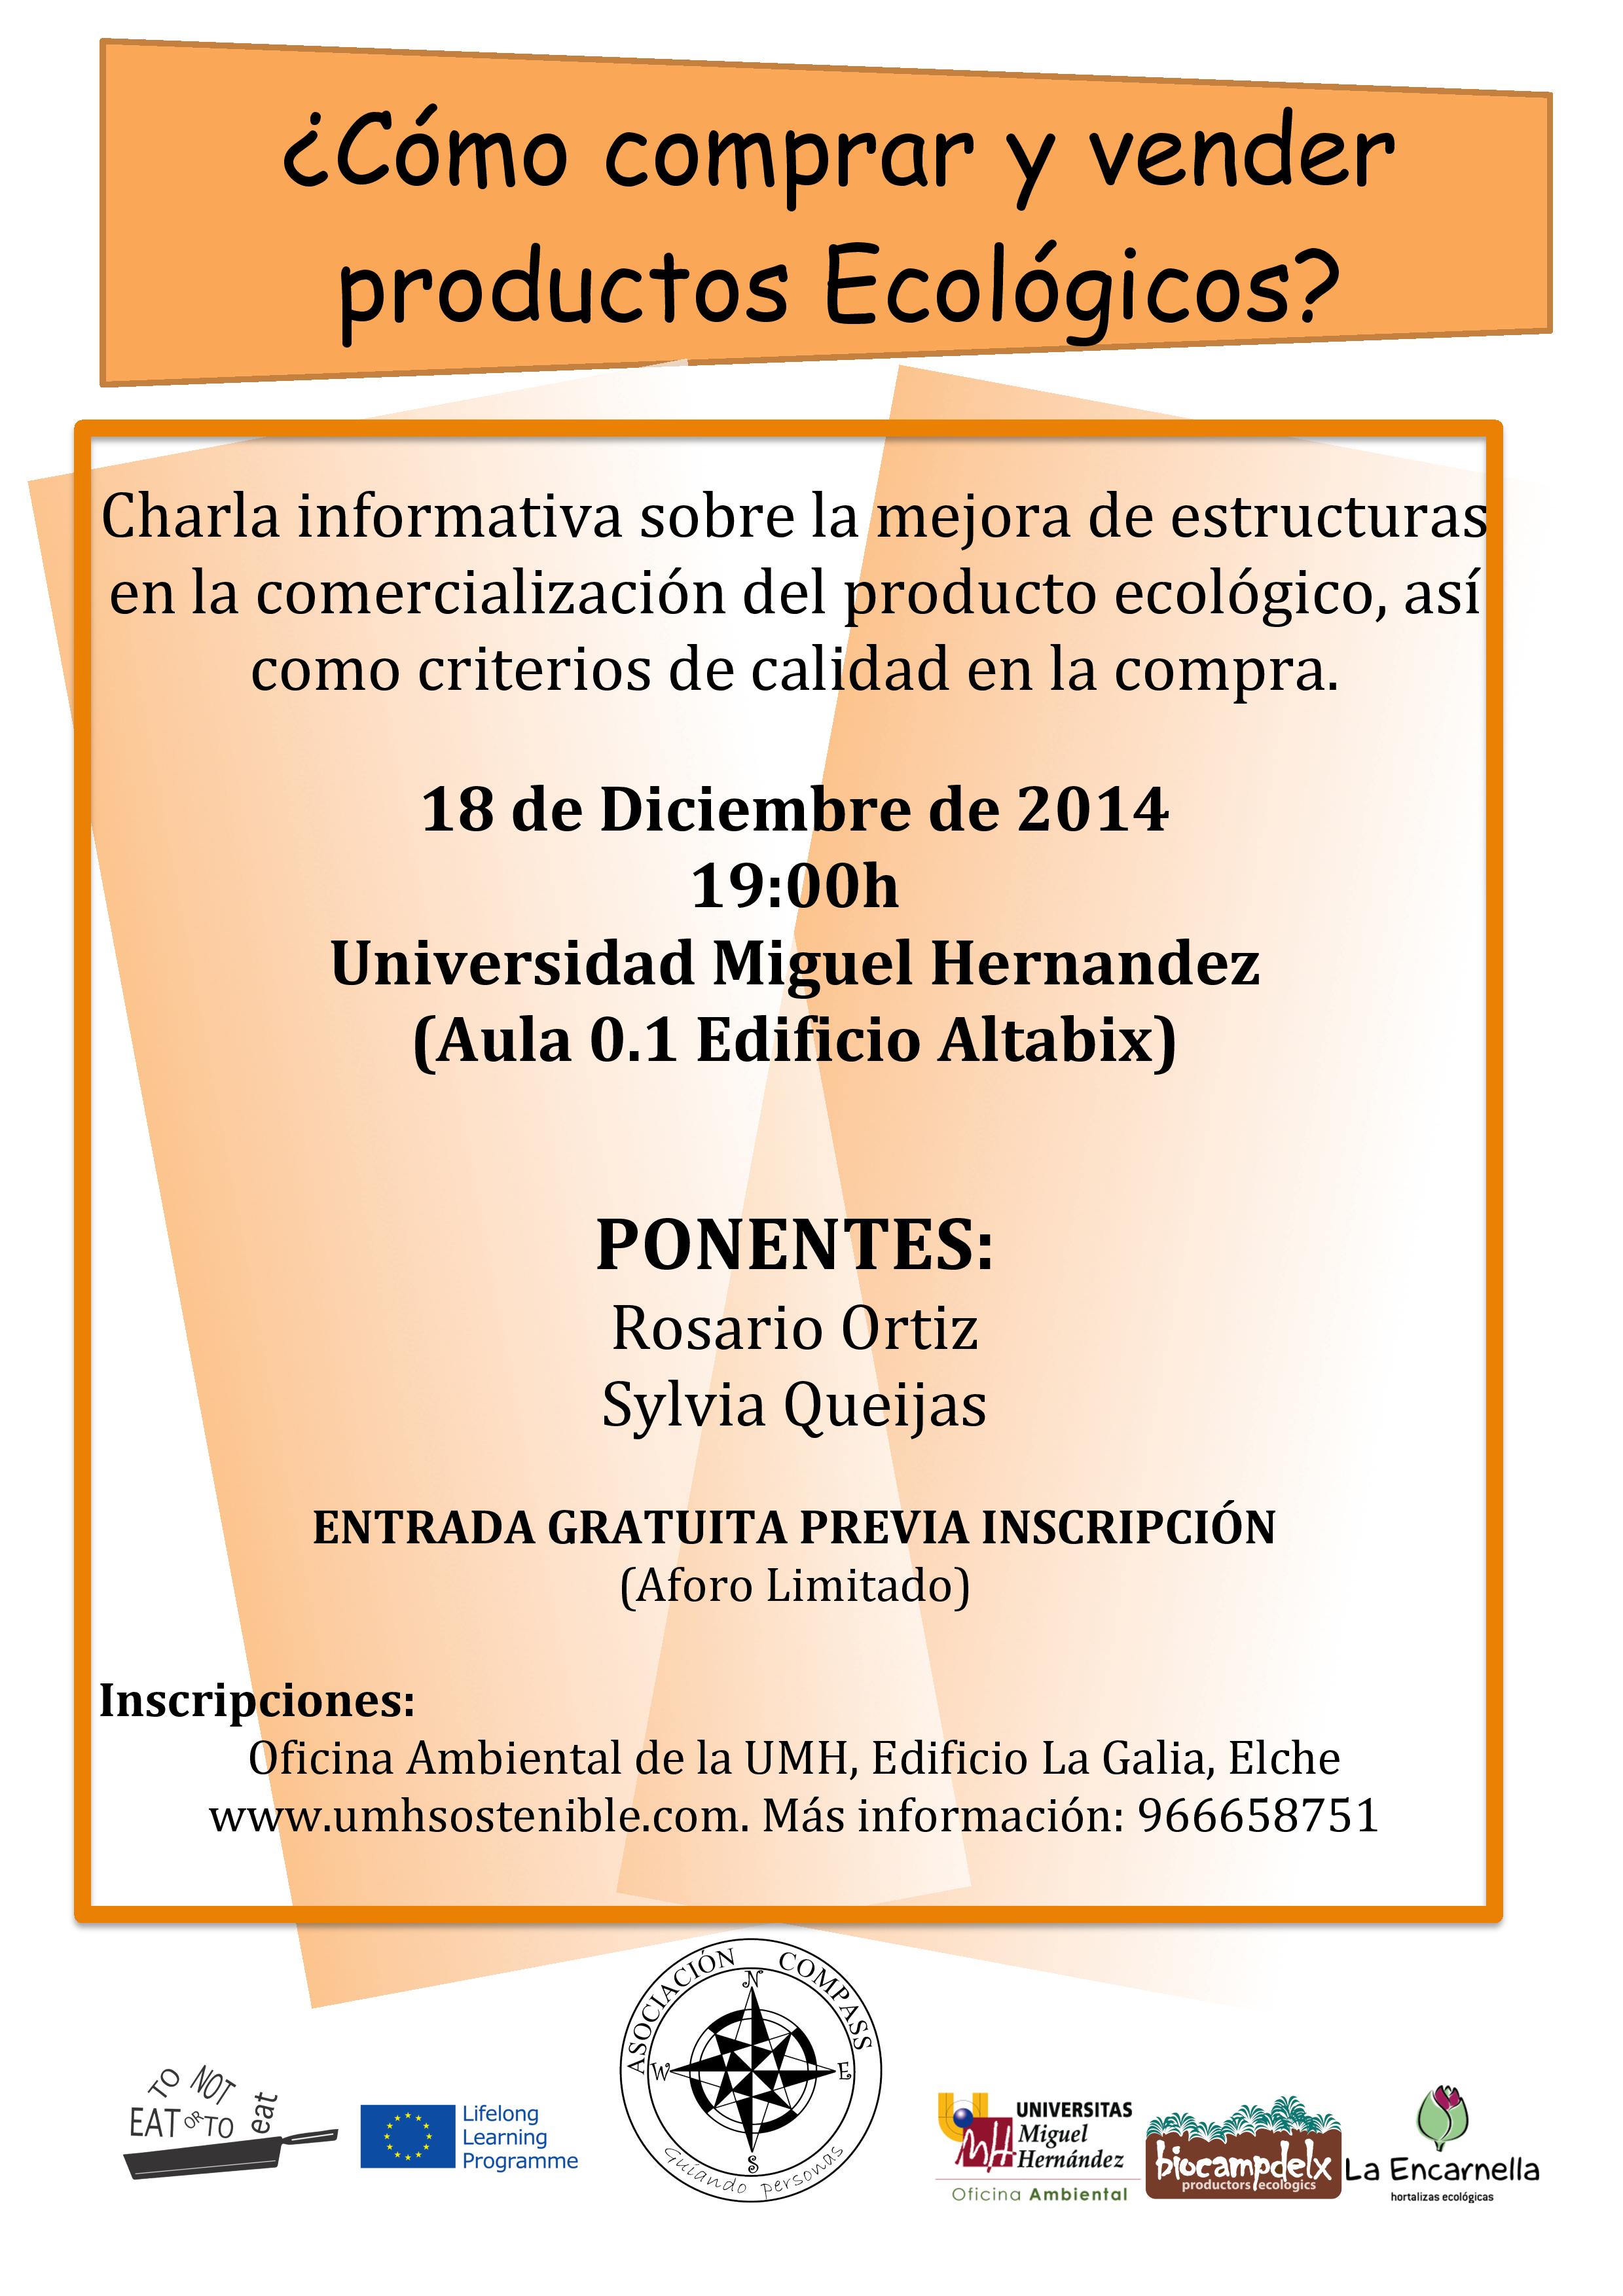
To eat or not to eat —- CHARLA: Como comprar y vender productos ecológicos
Buenos dias
La asociación Compass dentro del proyecto Europeo Grundtvig va a realizar una charla el proximo dia 18 de Diciembre sobre como poder vender y comprar productos ecológicos.
No faltes !!!
POSTER PARA PROMOCIONAR EL CONSUMO DE PRODUCTOS LOCALES – To eat or not to eat-
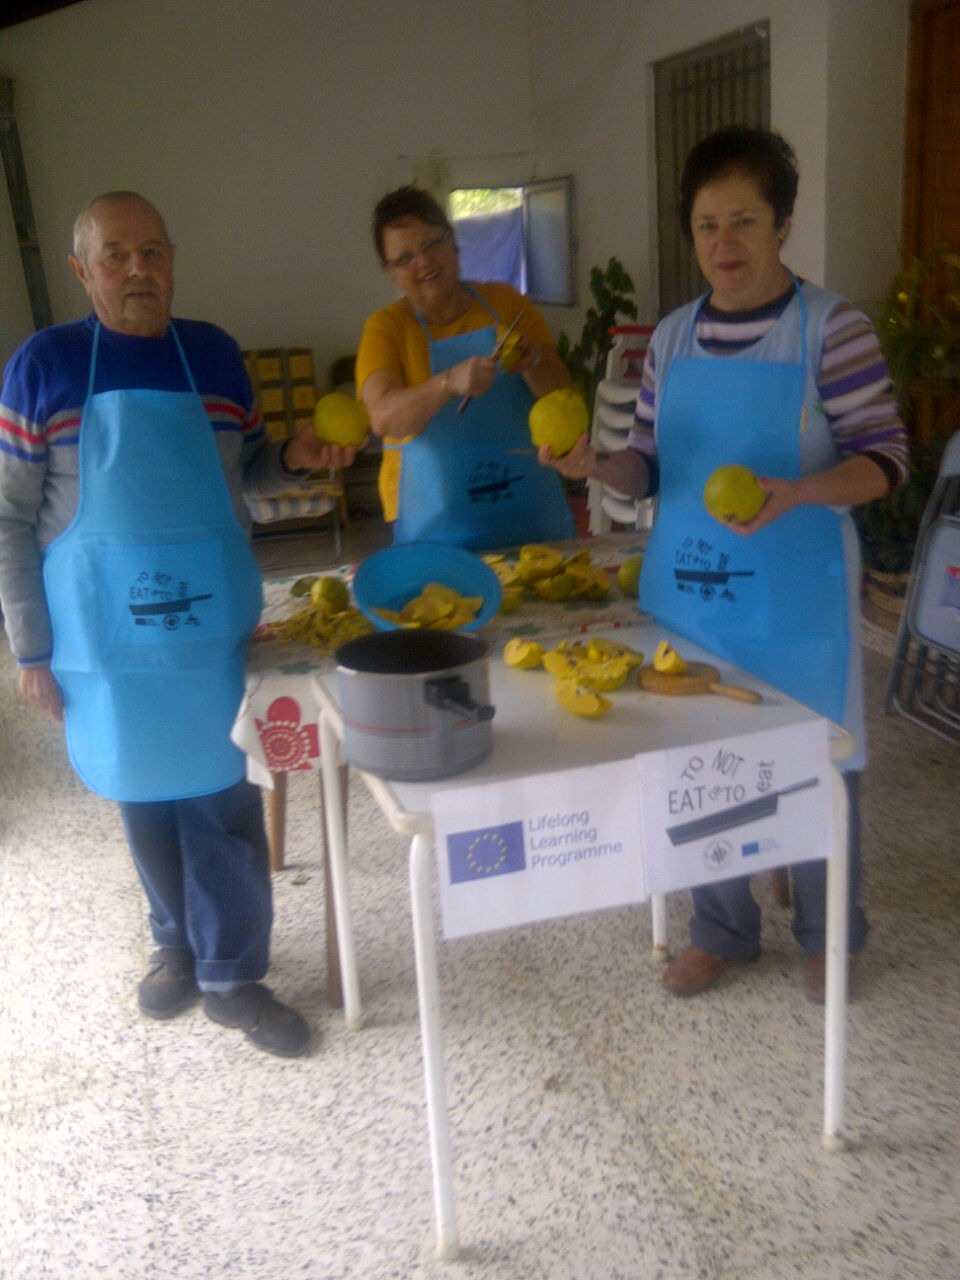
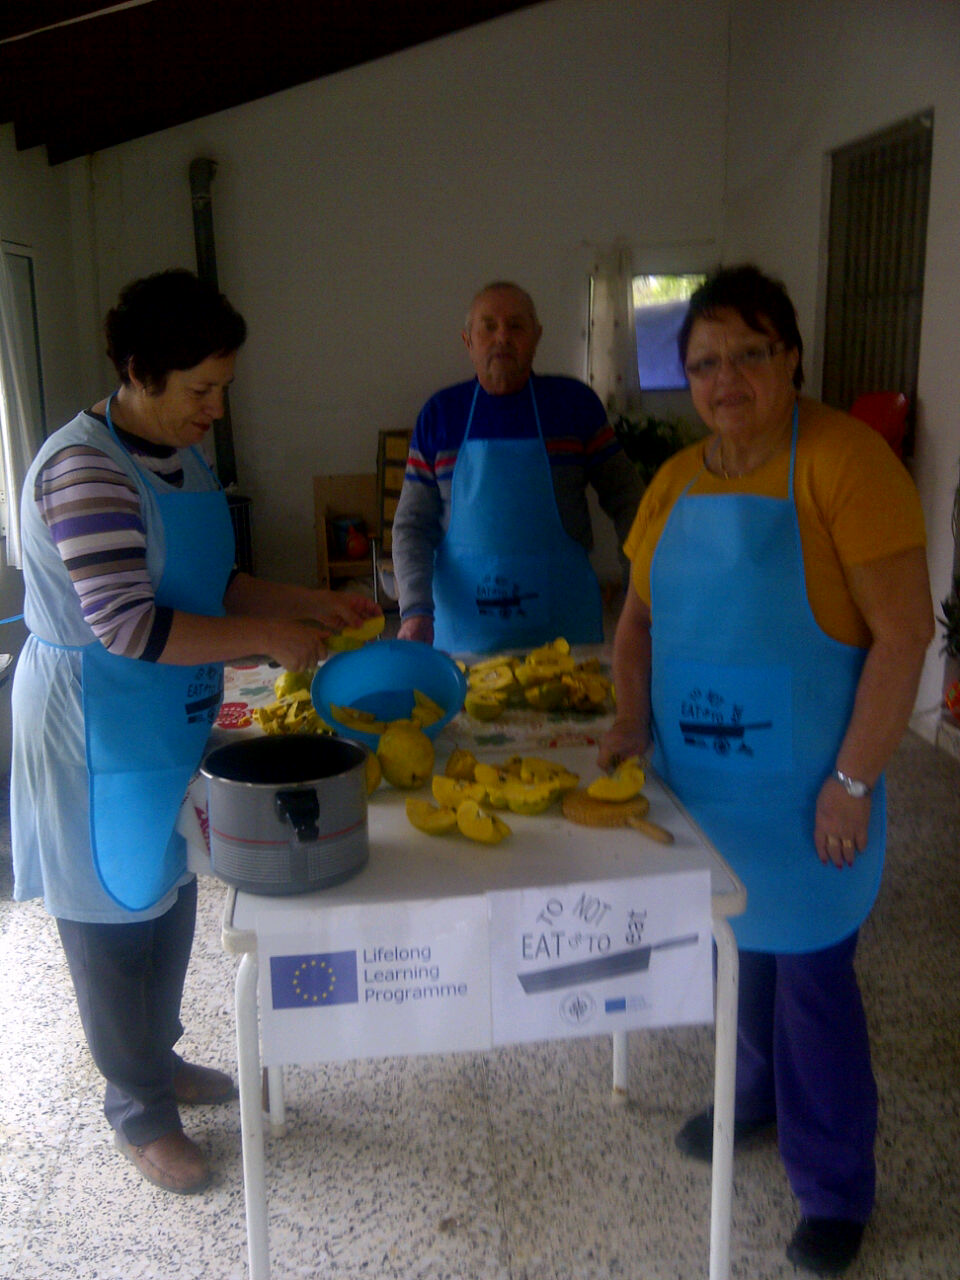
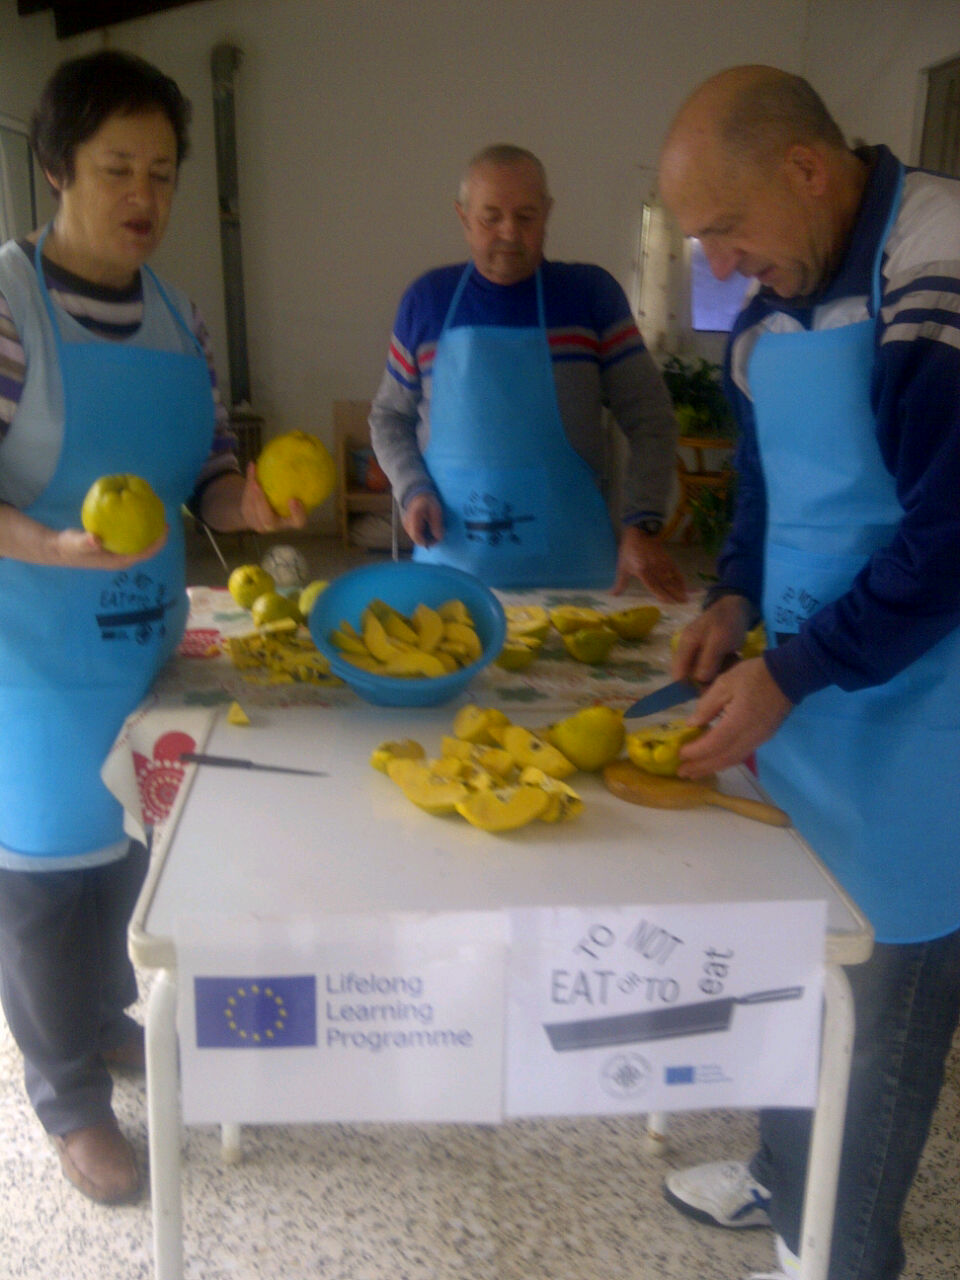
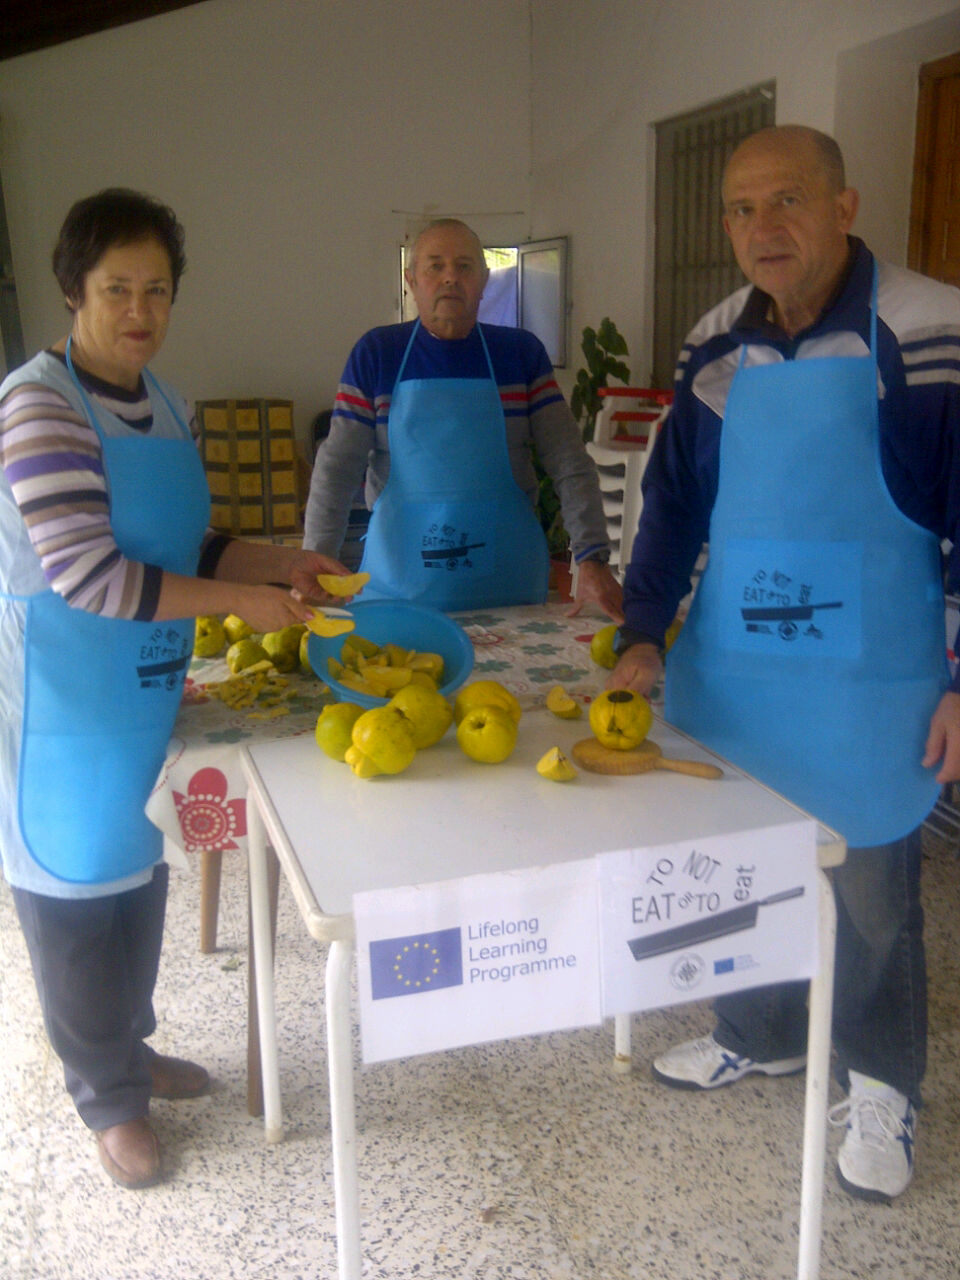
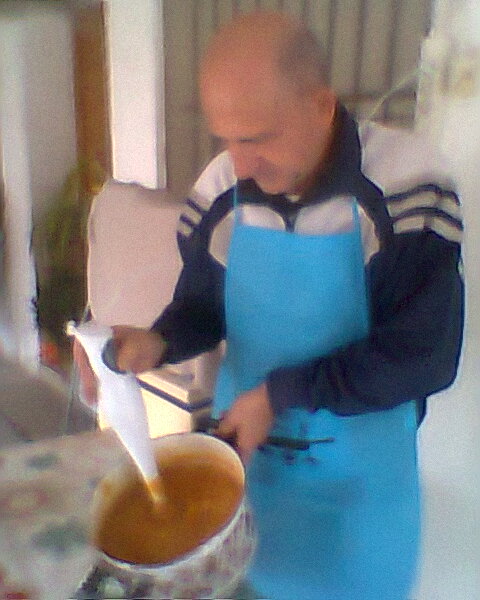
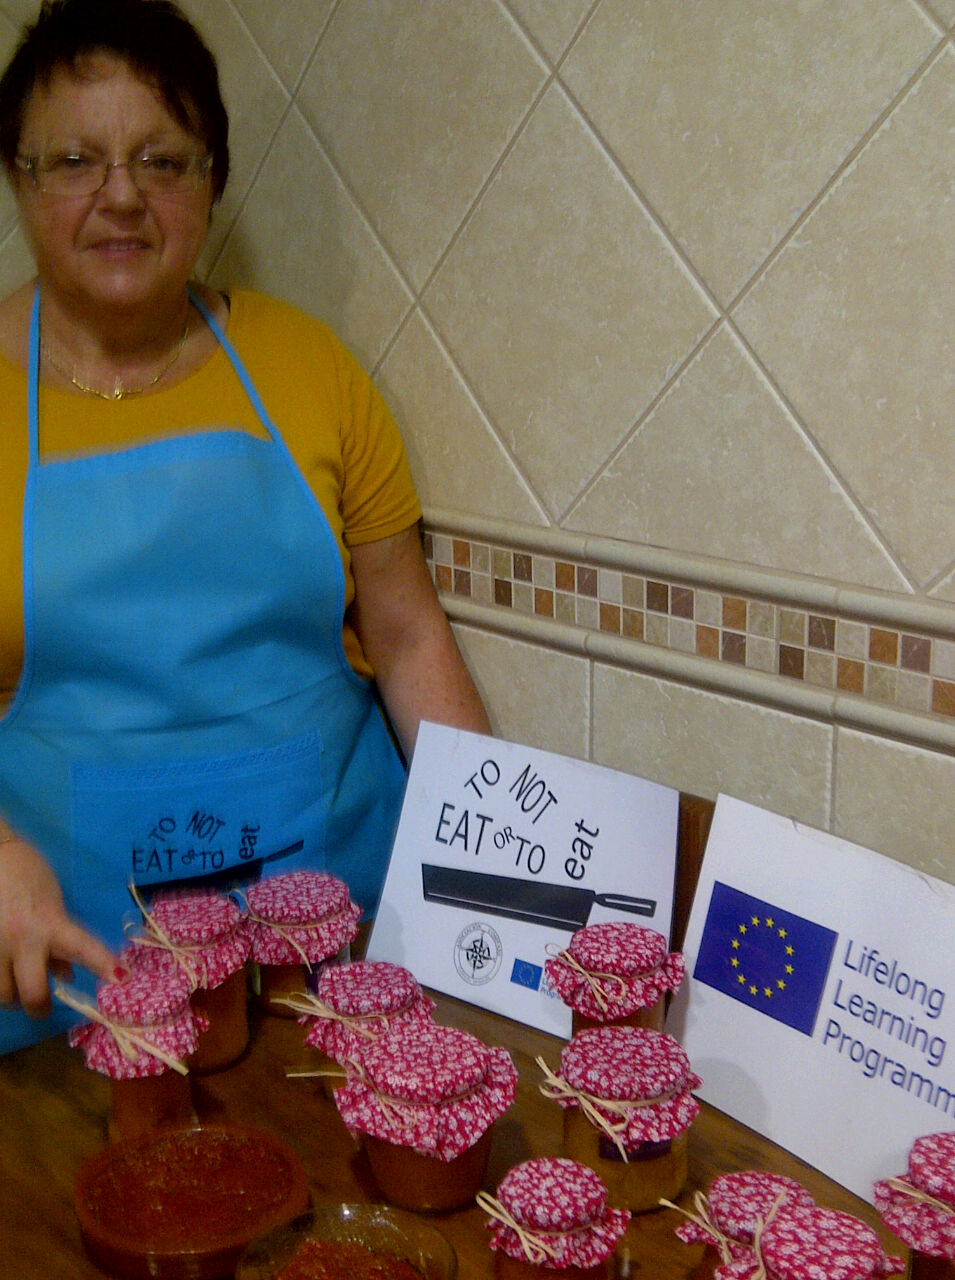
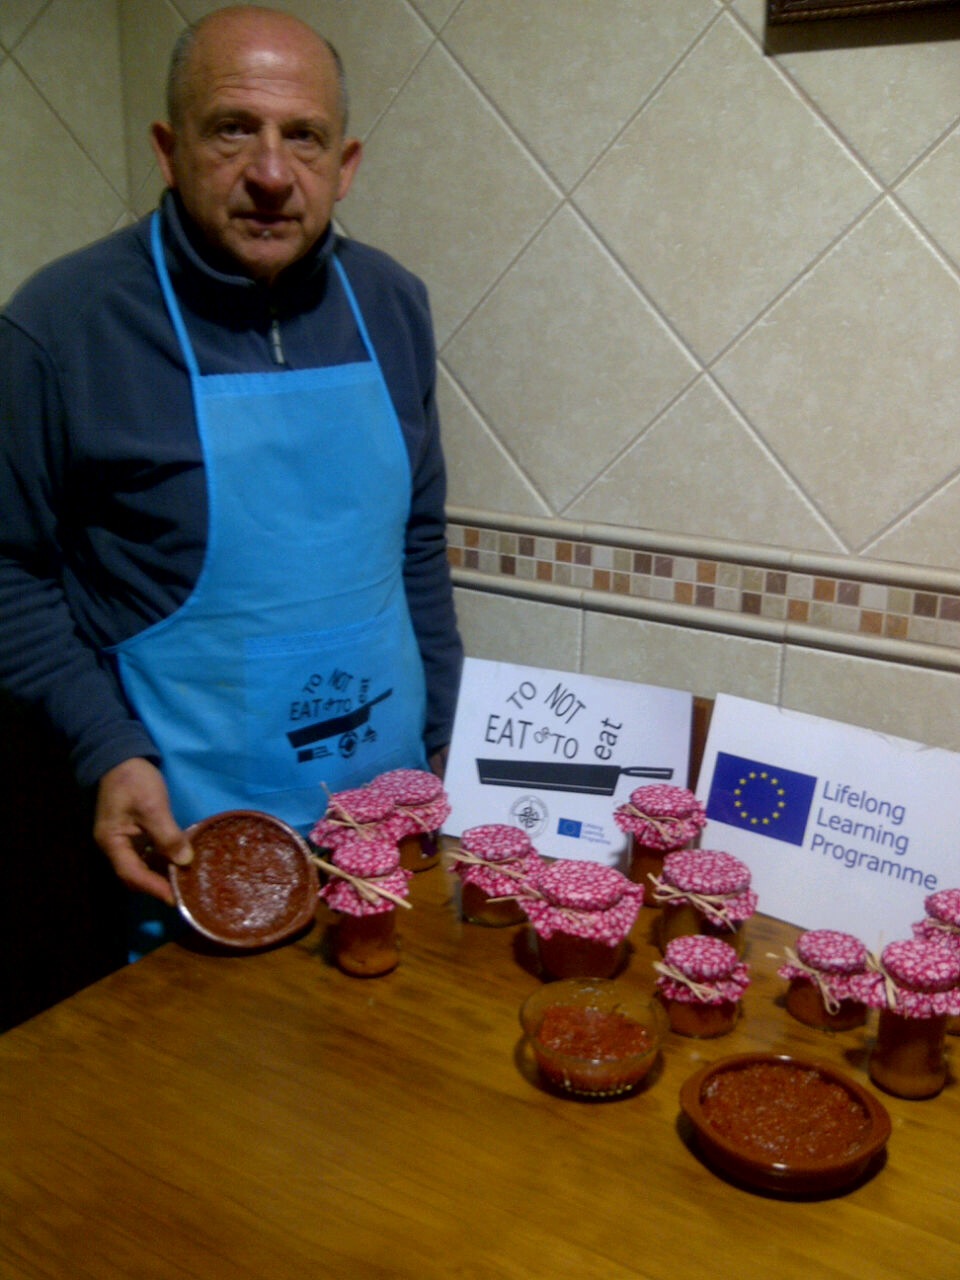
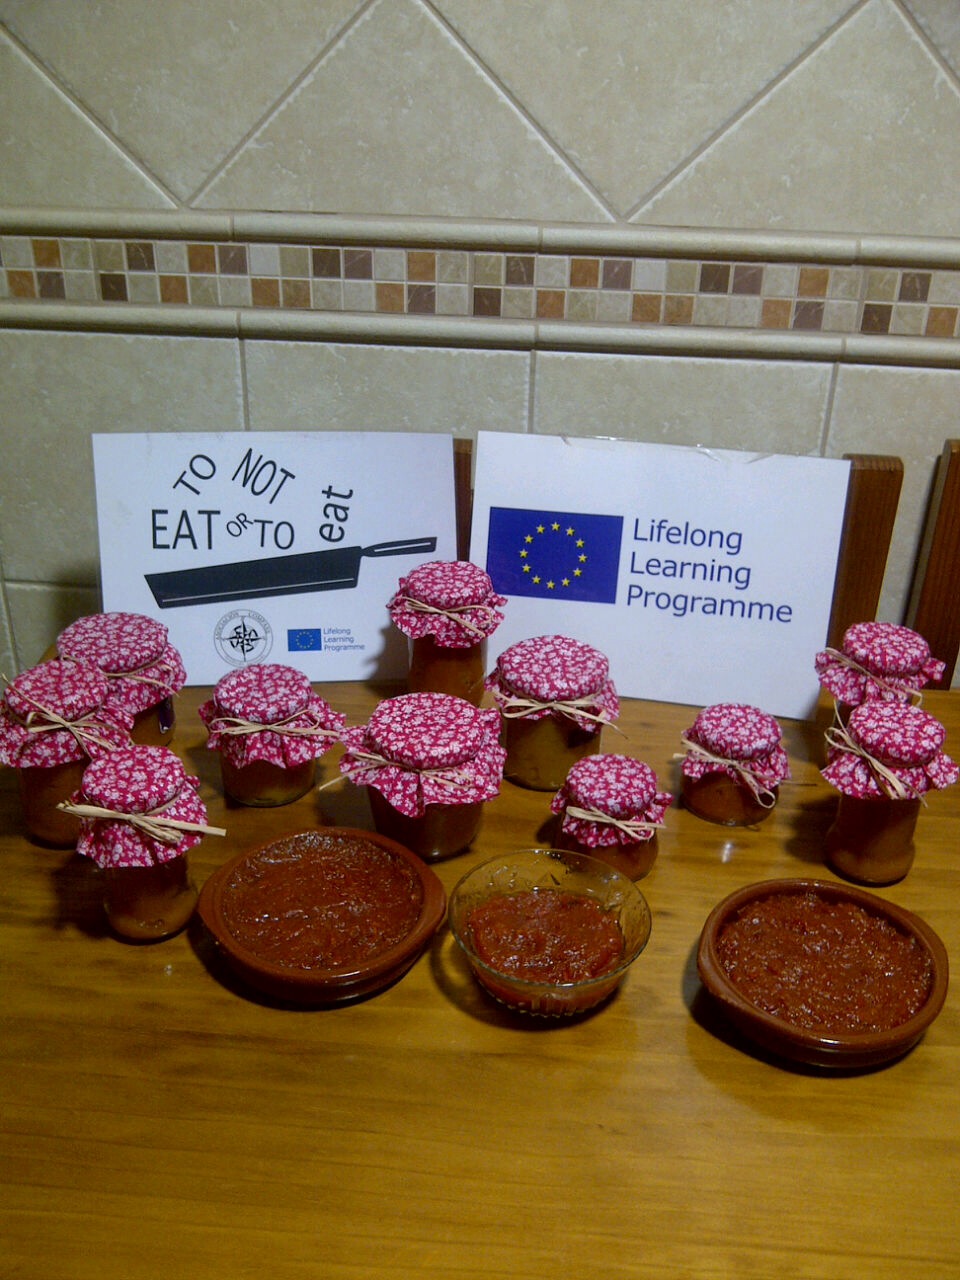
TALLER MERMELADA TRADICIONAL (To eat or not to eat)